|
ROX Speed FX 5 Inch Riser Combo Kit By Bill "BillaVista" Ansell |
IntroductionEverybody loves to customize their ride, and I'm certainly no exception. Before I bought my Grizzly 700, I did a lot of research online on popular mods and accessories and one item that kept popping up over and over again was the Rox Speed FX 5 Inch Riser Combo Kit. The consistency with which people praised this kit put it at the top of my list even before the Grizz came home. The kit is designed to replace the stock handlebars and provides greater adjustability of the handlebars, much better looks, and for most people - improved ergonomics. |
 |
According to the manufacturer, the kit is described as follows: Here's a look at the kit and its installation. |
|
 |
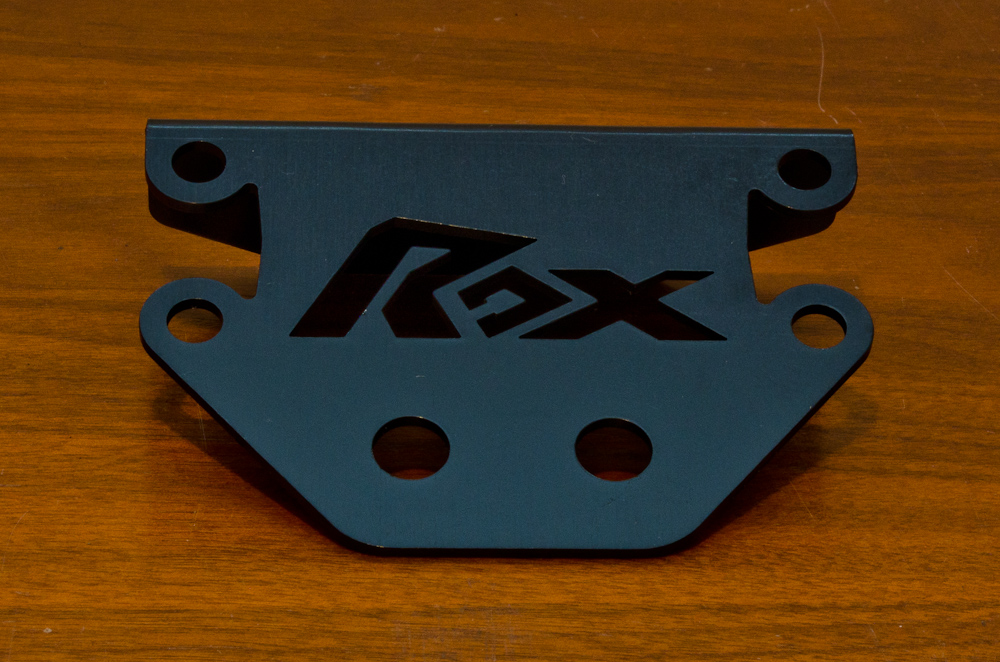
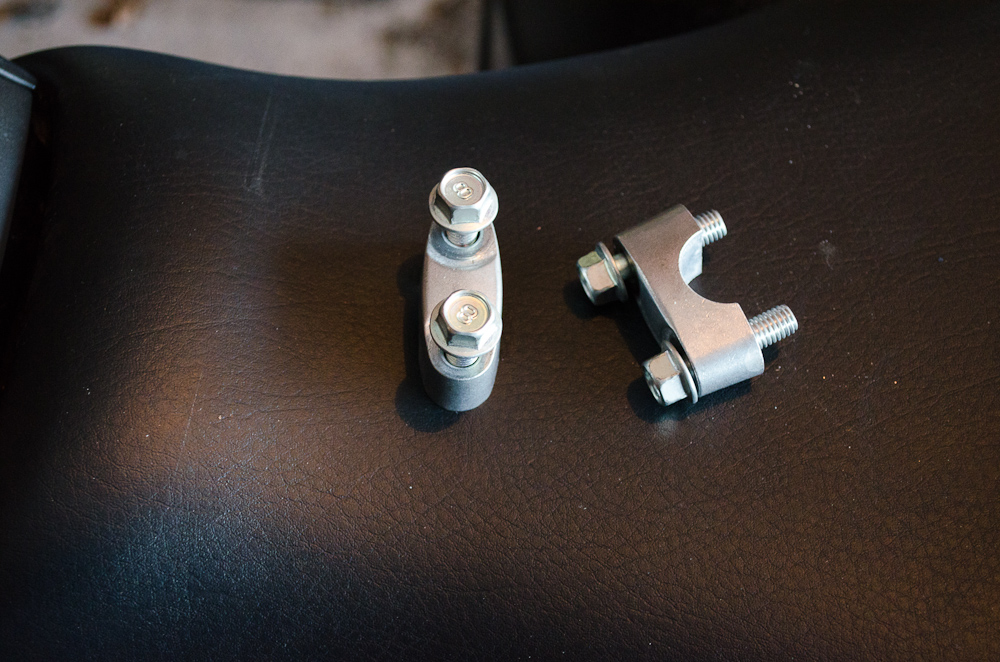
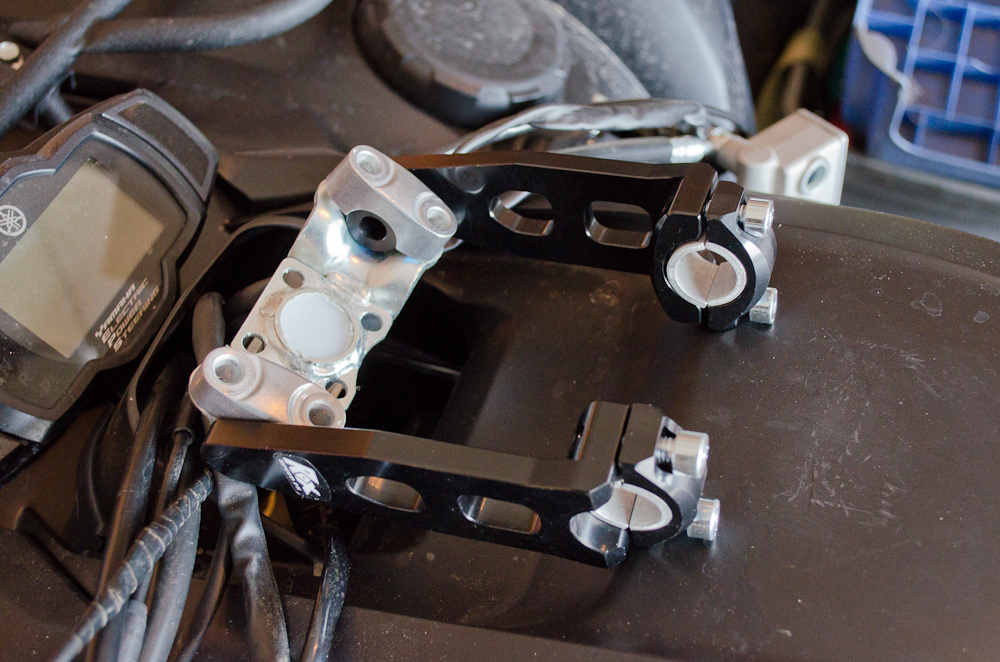
These are the Pivoting Risers - the parts that connect the new handlebars to the steering stem of the ATV. | ||||||||||||||
 |
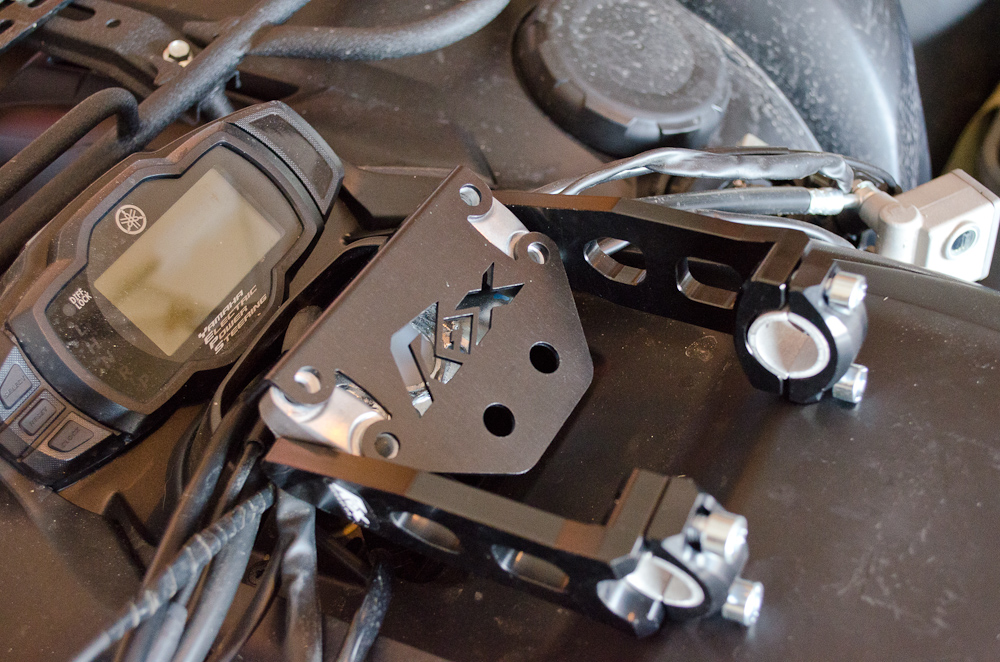
This is the dash panel that replaces the little plastic cover on the stock Grizzly. Note that it has two round holes that can be used for locating accessory switches. | ||||||||||||||
 |
Pivoting Risers and Grizzly dash panel. | ||||||||||||||
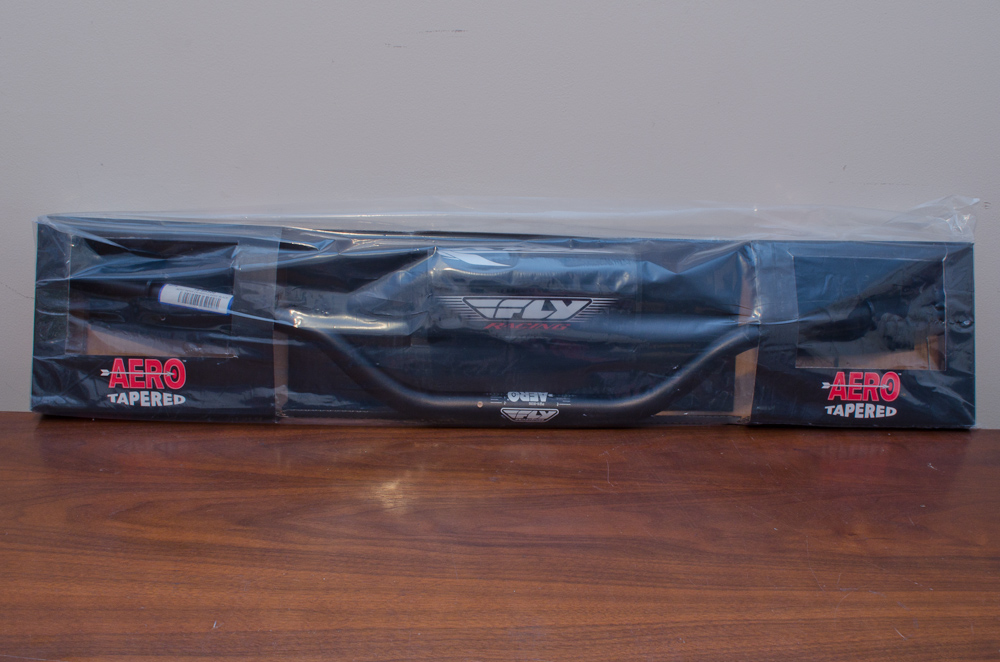 |
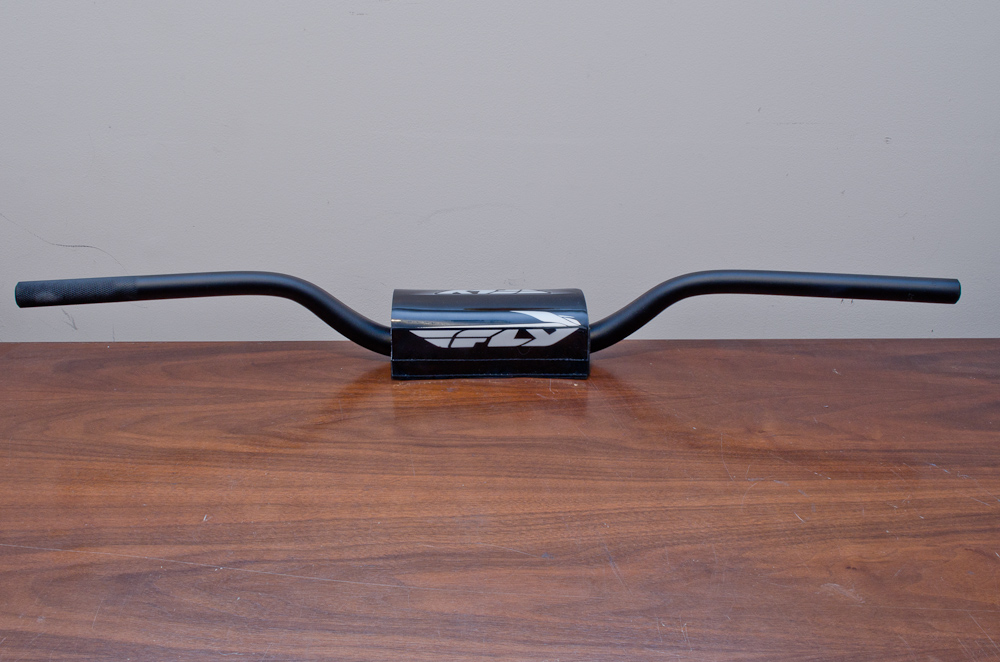
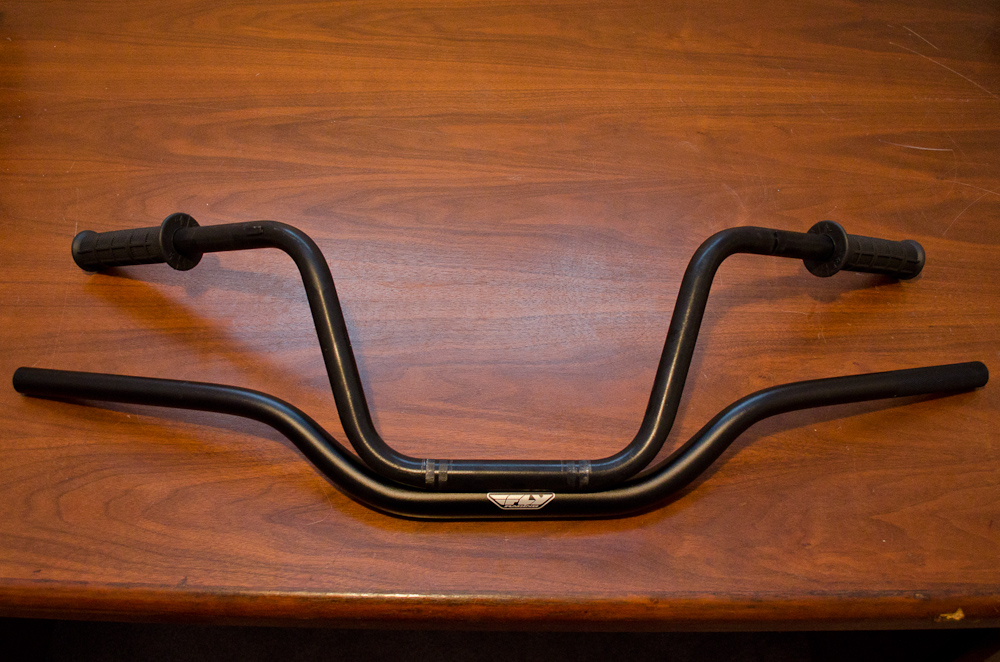
The Fly Racing Aero Taper CR- HI bend fat bars and Fly Racing handlebar pad. | ||||||||||||||
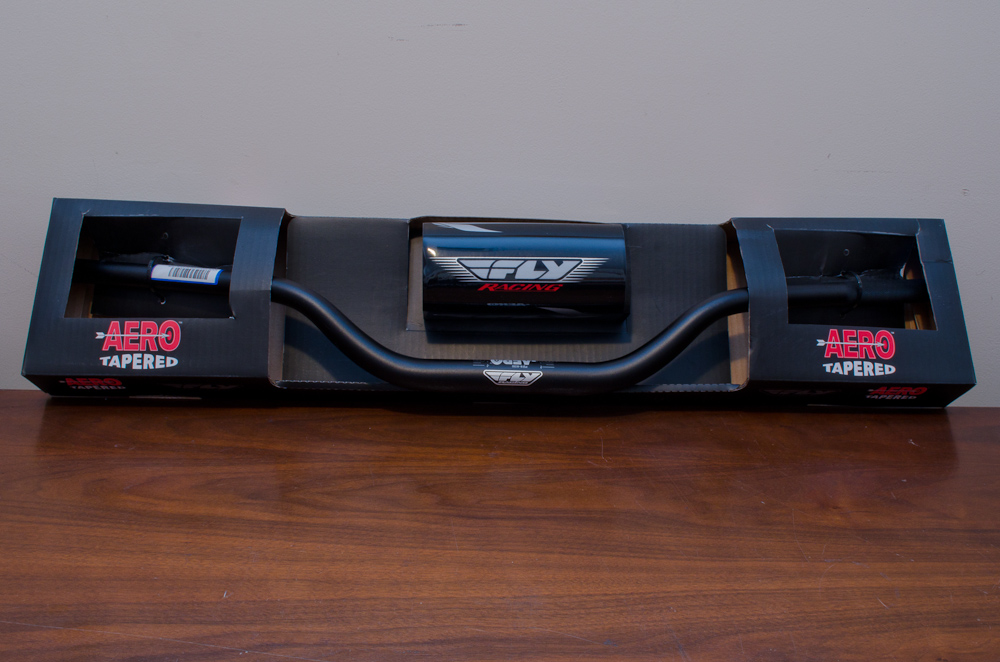 |
Bars and pad in the box. | ||||||||||||||
 |
Back of the box. | ||||||||||||||
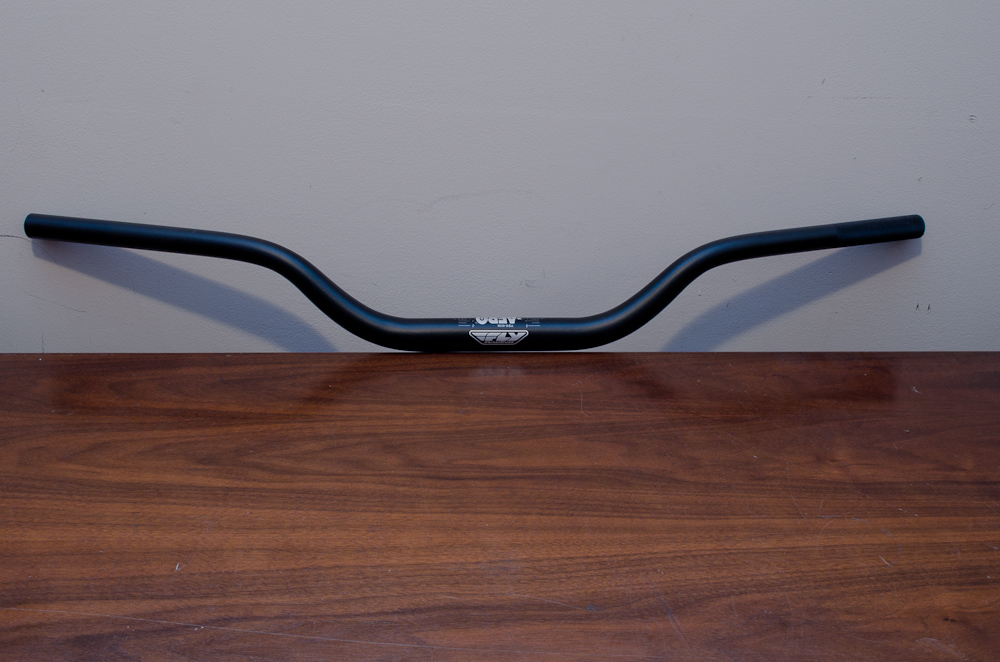 |
Bars removed from the box. | ||||||||||||||
 |
Bars and pad. | ||||||||||||||
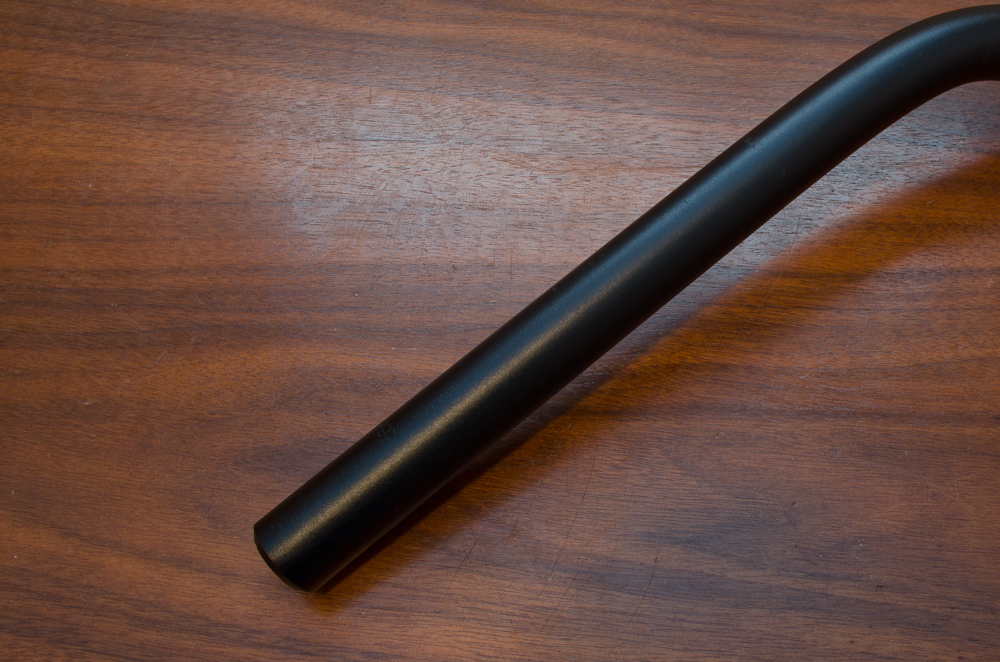 |
The right side of the bars are smooth to accommodate twist-throttle used on dirt bikes (the handlebars are not ATV-specific). | ||||||||||||||
 |
The left grip area has a knurled texture to promote secure grip attachment. | ||||||||||||||
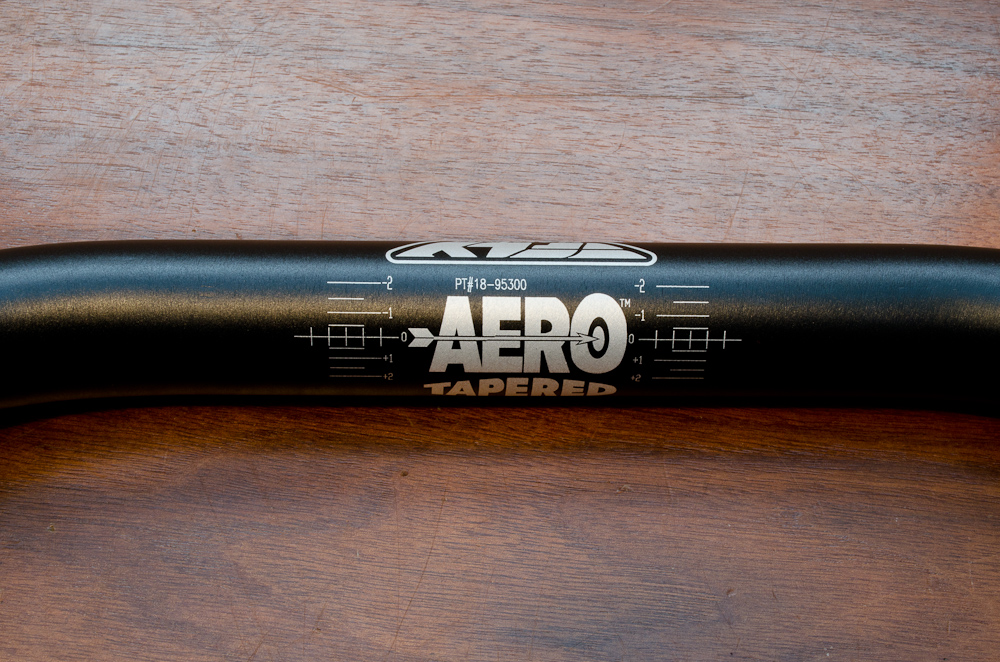 |
The centre of the bars has these alignment marking to assist with precise adjustment of position once they are installed. | ||||||||||||||
 |
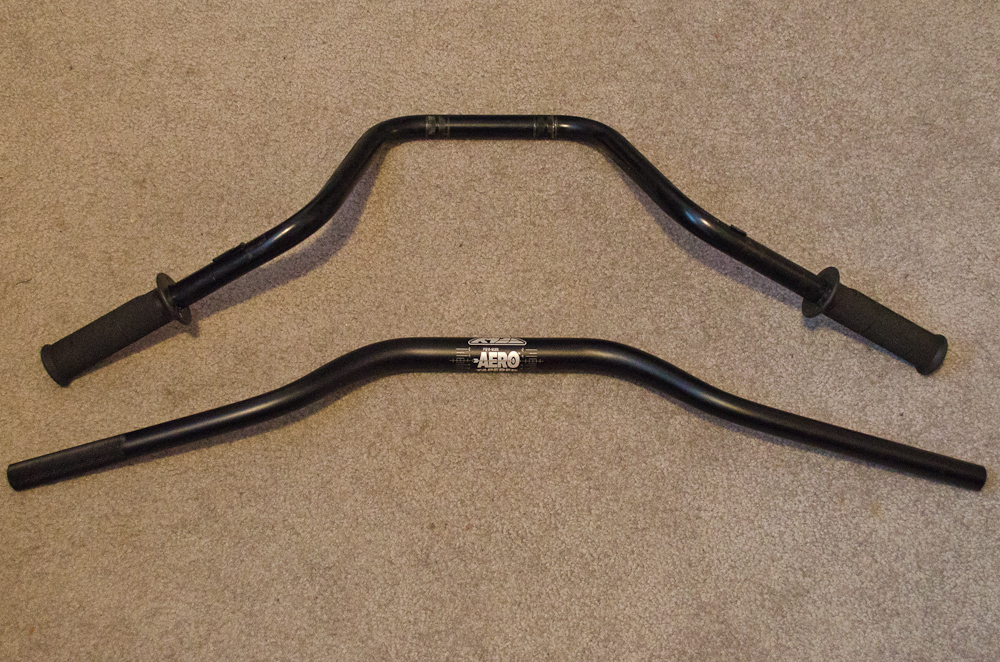
Bars and pad seen from behind (the driver's view). | ||||||||||||||
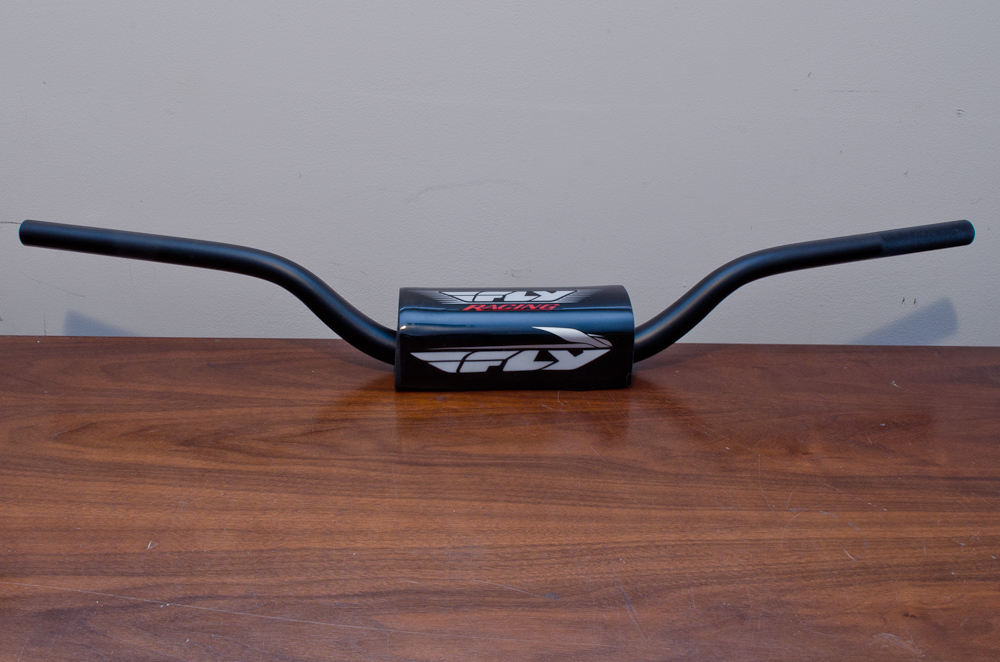 |
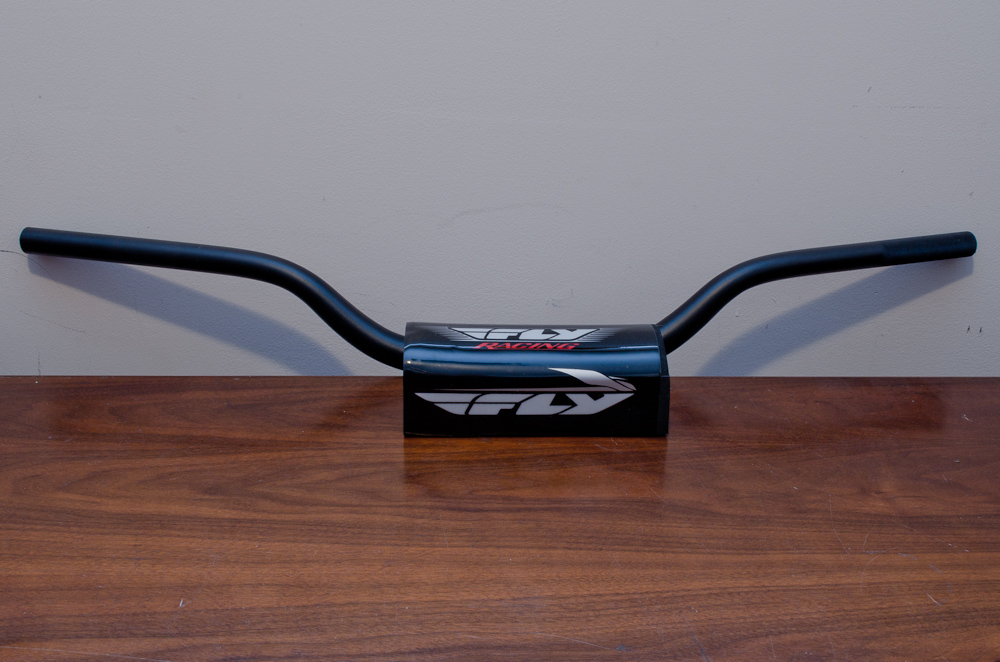
Bars and pad seen from the front. | ||||||||||||||
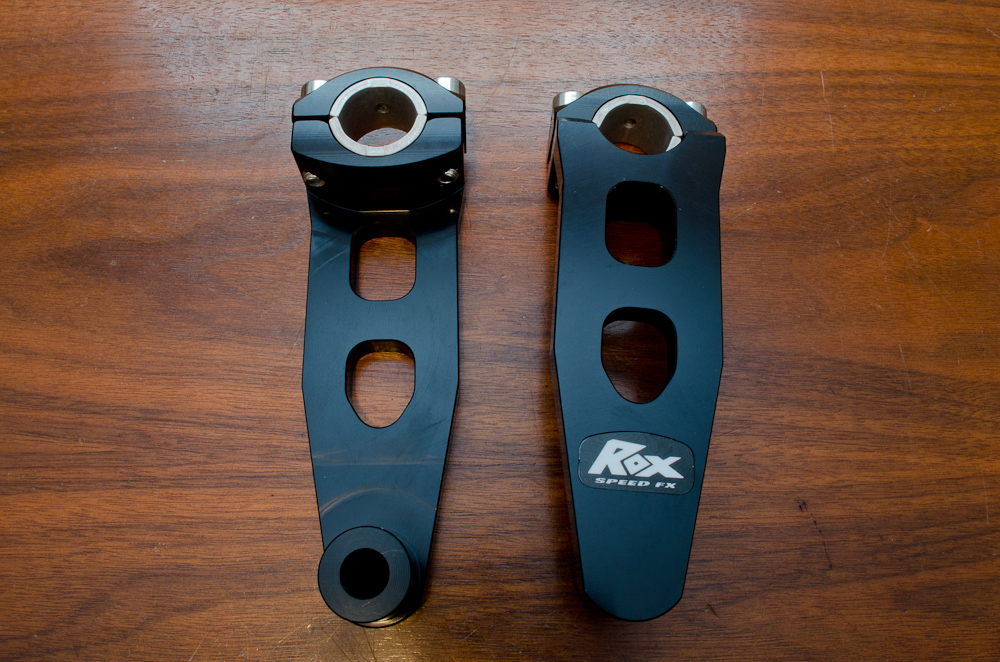 |
The Rox Speed FX pivoting handlebar risers. | ||||||||||||||
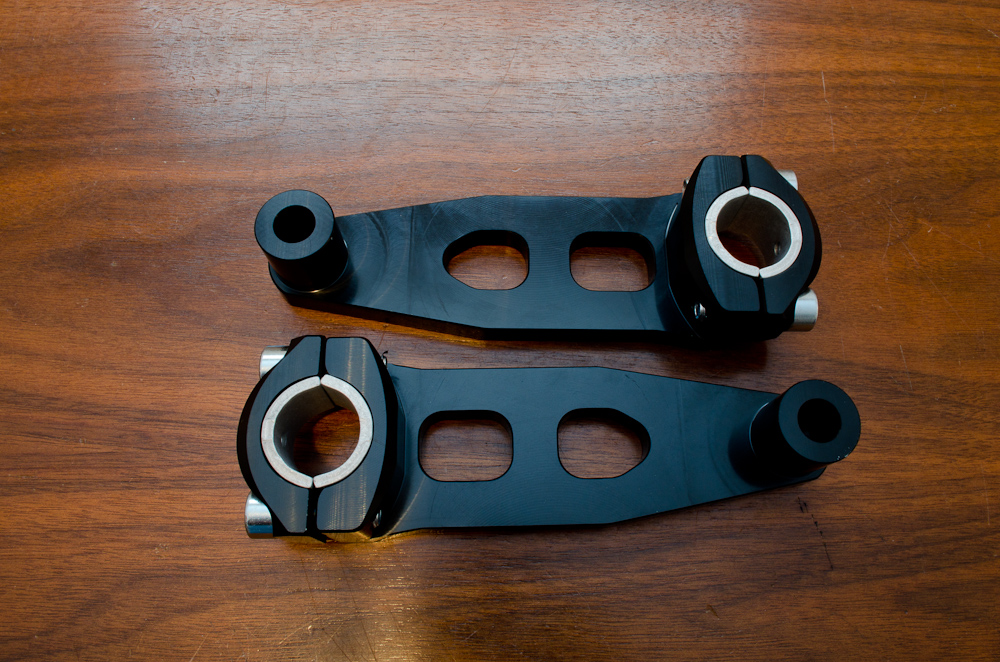 |
The Rox Speed FX pivoting handlebar risers. | ||||||||||||||
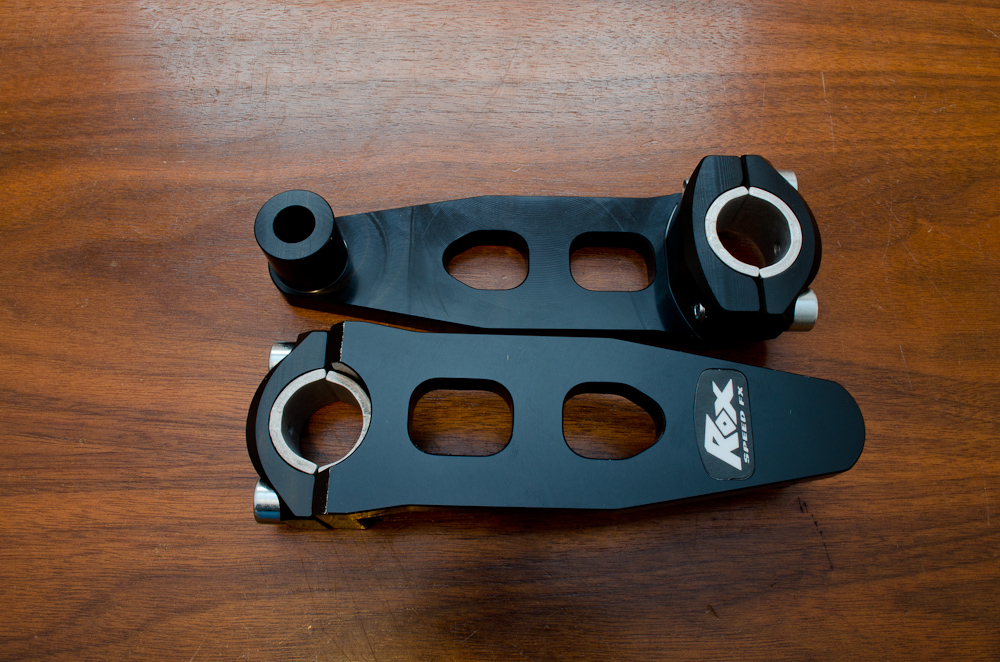 |
The Rox Speed FX pivoting handlebar risers. | ||||||||||||||
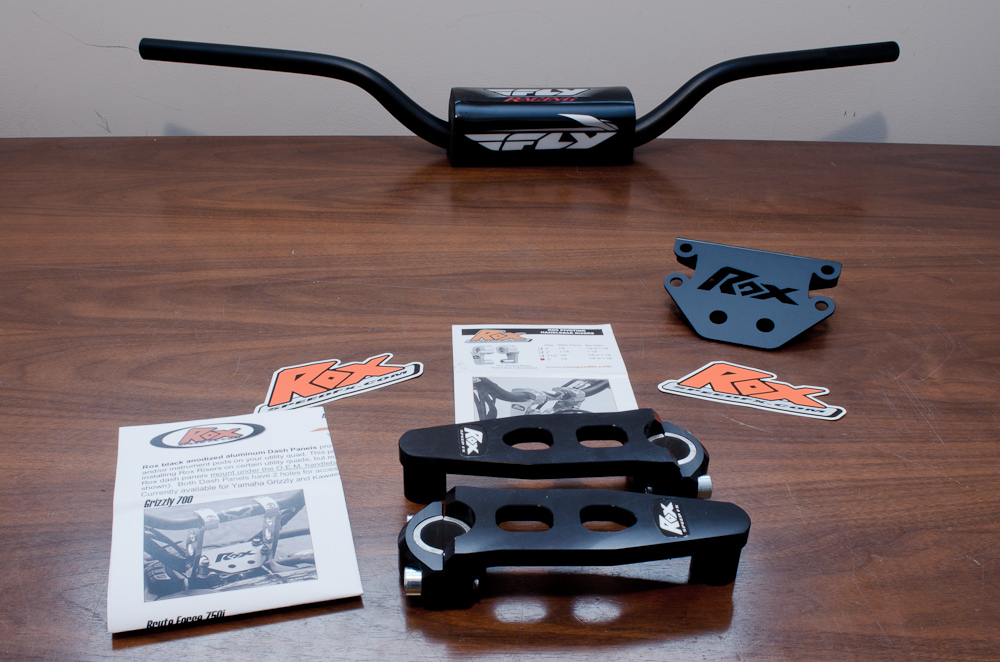 |
The complete kit laid out. | ||||||||||||||
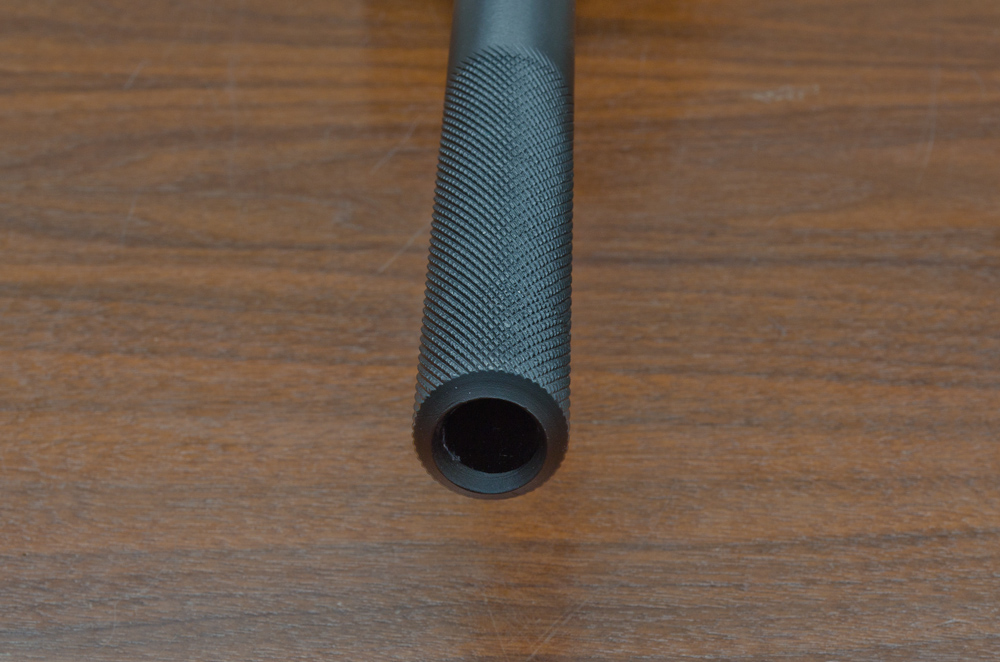 |
Note that the bars have a standard 7/8" outside diameter but fairly small inside diameter so that accessories designed to fit inside the bars (like the bar-ends that come with some grips). | ||||||||||||||
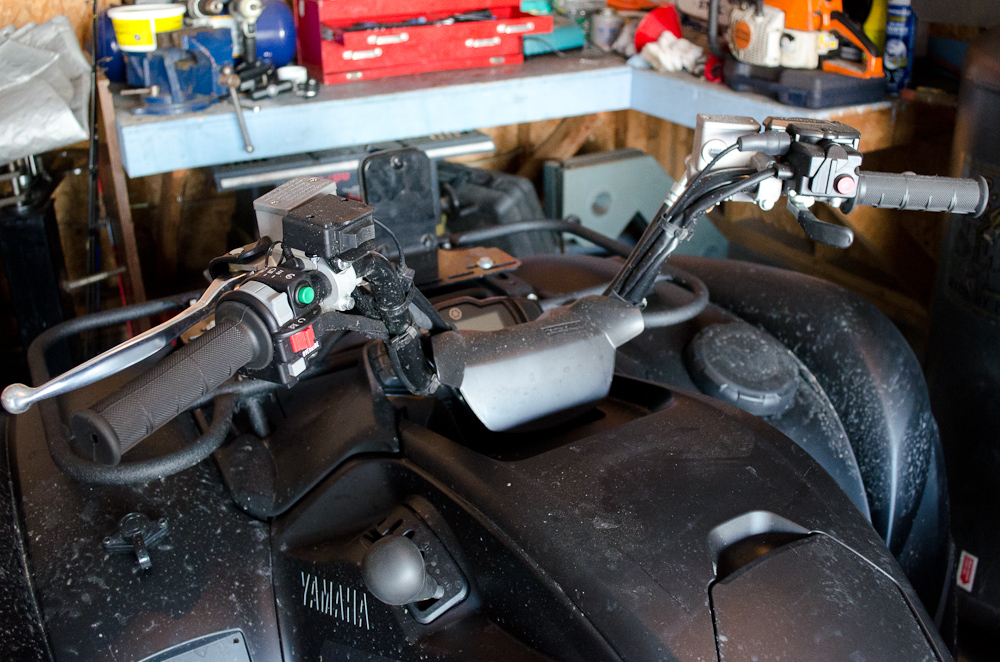 |
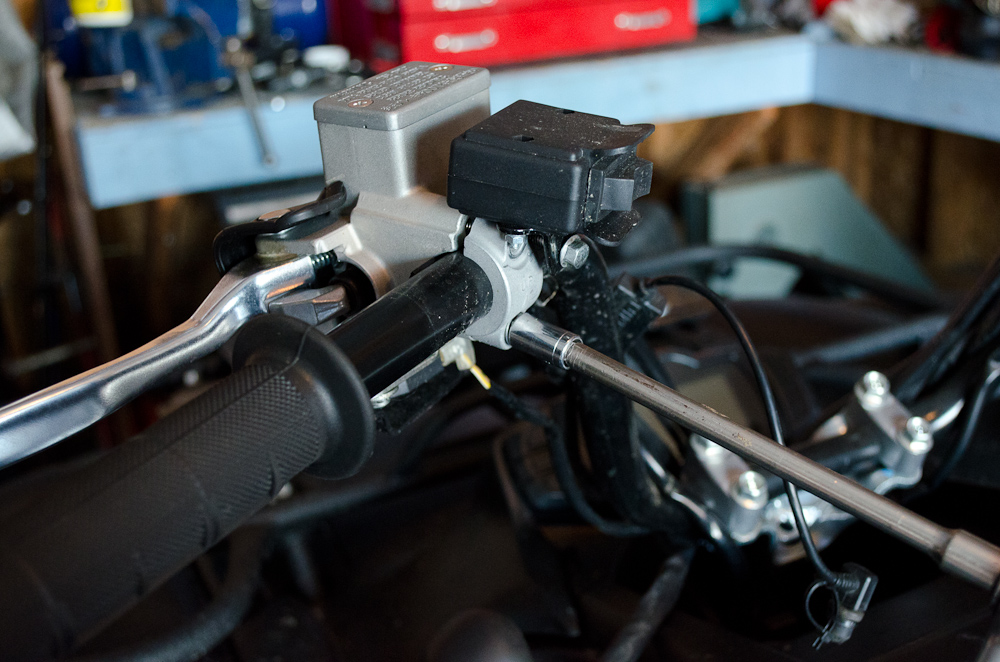
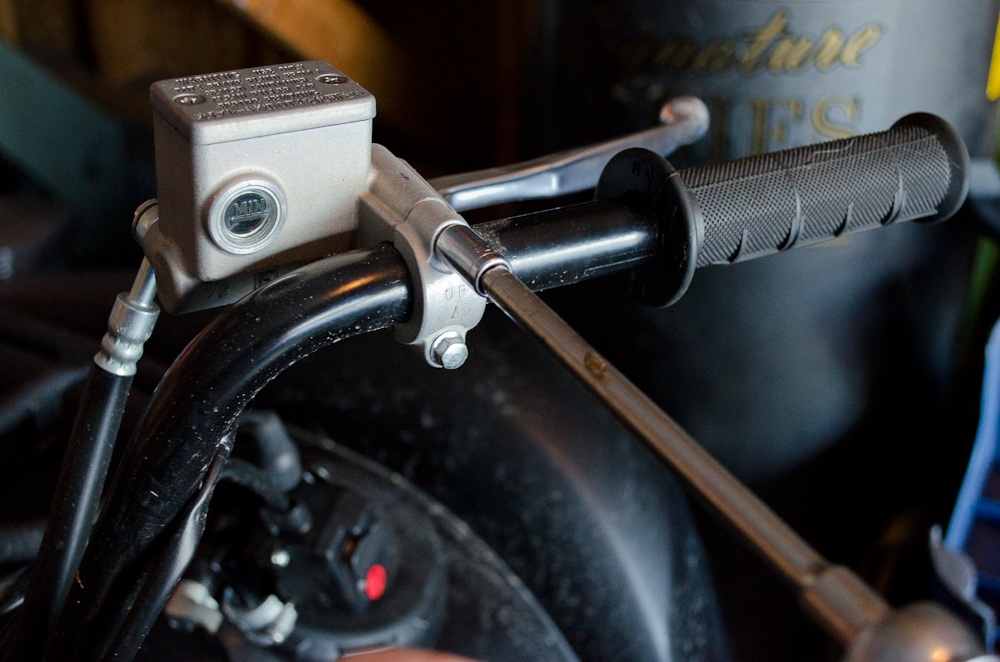
The stock Yamaha Grizzly handlebar setup that will be replaced. | ||||||||||||||
 |
Obviously, all your handlebar controls on the left... | ||||||||||||||
 |
...and on the right will have to be removed and reinstalled on the new handlebars. The nice thing is that the stock cables are just long enough to accommodate the new bar and riser setup without any adjustment or re-routing. |
||||||||||||||
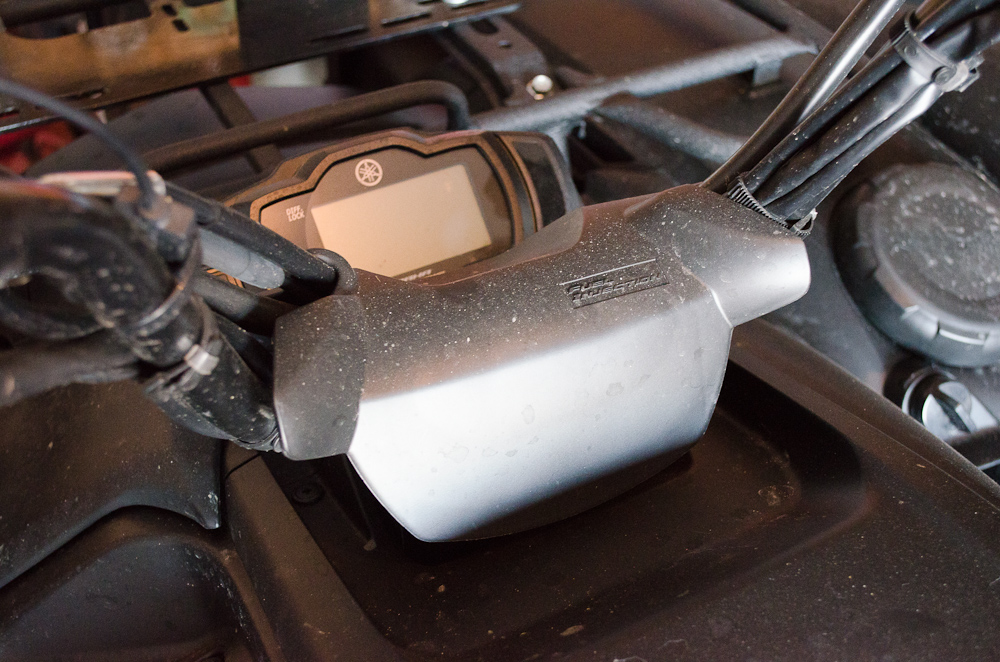 |
This is the stock Grizzly dash panel cover that will be replaced with the Rox dash panel. Begin the installation by removing it. It just pulls off. |
||||||||||||||
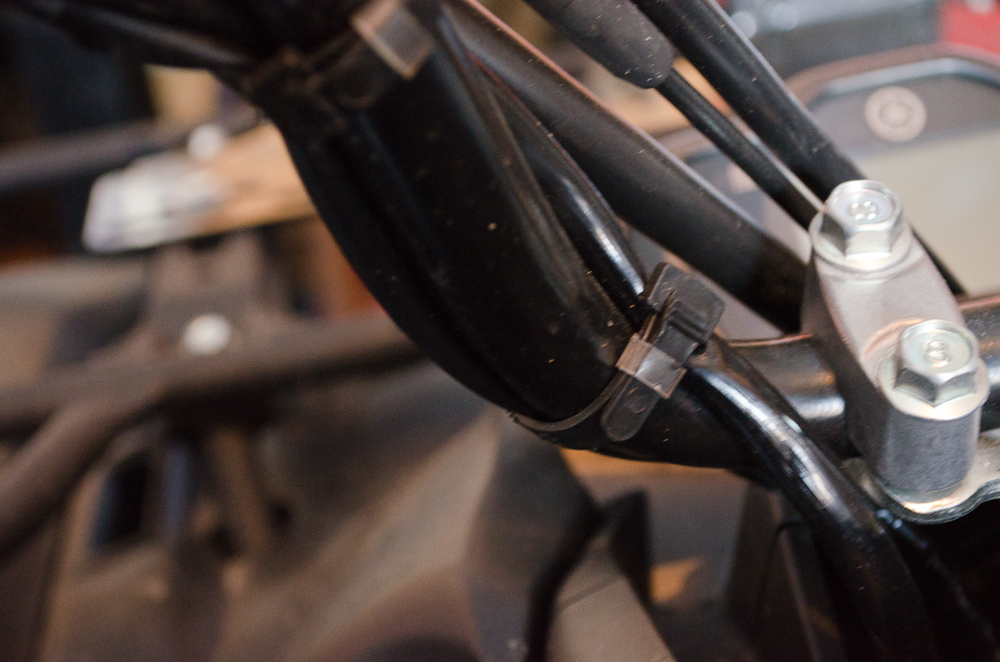 |
Next, locate and cut off any cable ties securing the cables to the stock handlebars. | ||||||||||||||
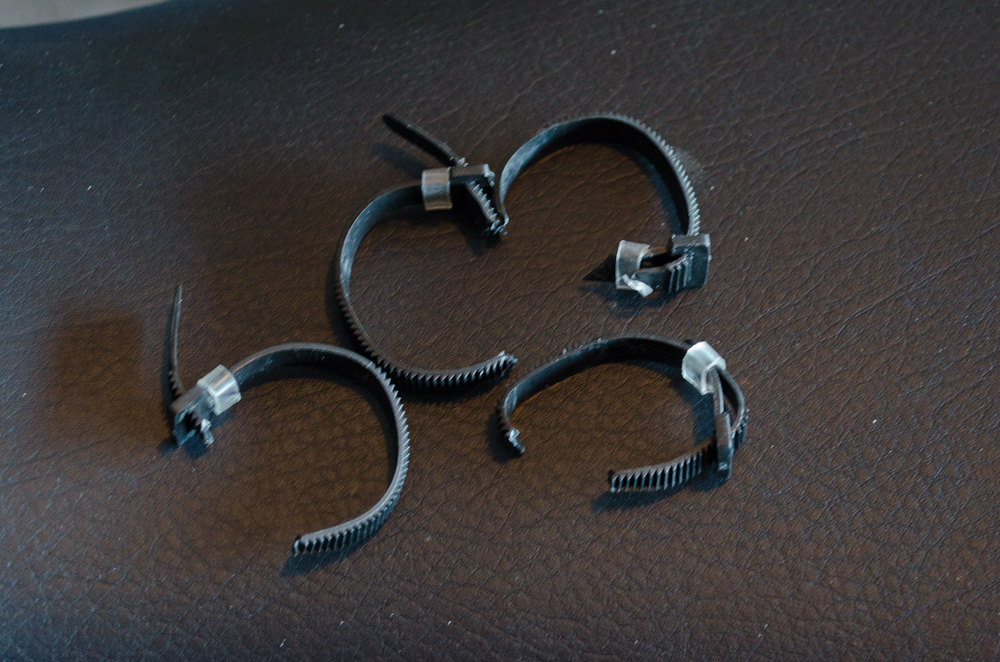 |
I had to remove a total of four. | ||||||||||||||
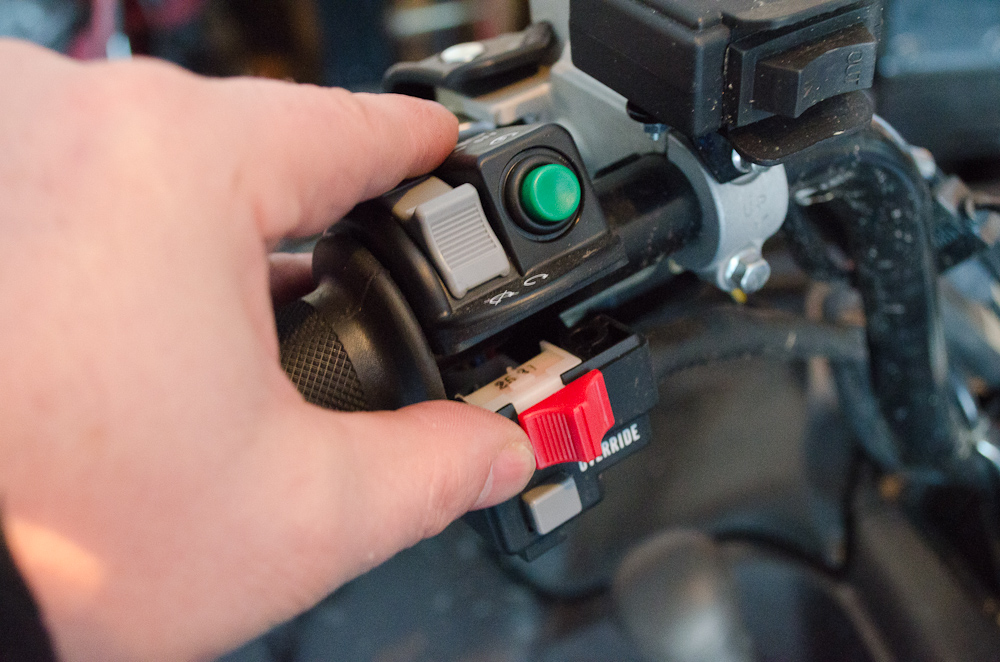 |
Use a Phillips #2 screwdriver to remove the control cluster on the left handlebar. | ||||||||||||||
 |
Using a 10mm socket, remove the bolts securing the left brake control. | ||||||||||||||
 |
Using the Phillips screwdriver remove the throttle assembly. | ||||||||||||||
 |
Then use the 10mm socket to remove the right-hand brake controls. | ||||||||||||||
 |
Carefully lay all the controls and cables down out of the way. | ||||||||||||||
 |
Remove the clamps holding on the stock handlebars, and remove the handlebars. If you are re-using your grips, you may want to remove then before removing the handlebars from the ATV. |
||||||||||||||
 |
Stock clamps removed. | ||||||||||||||
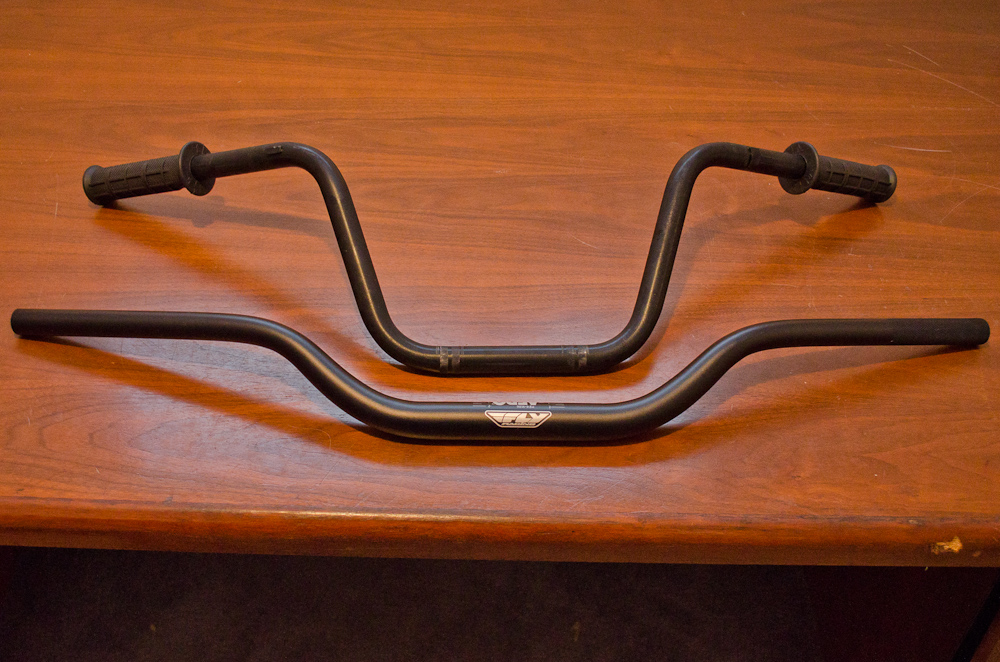
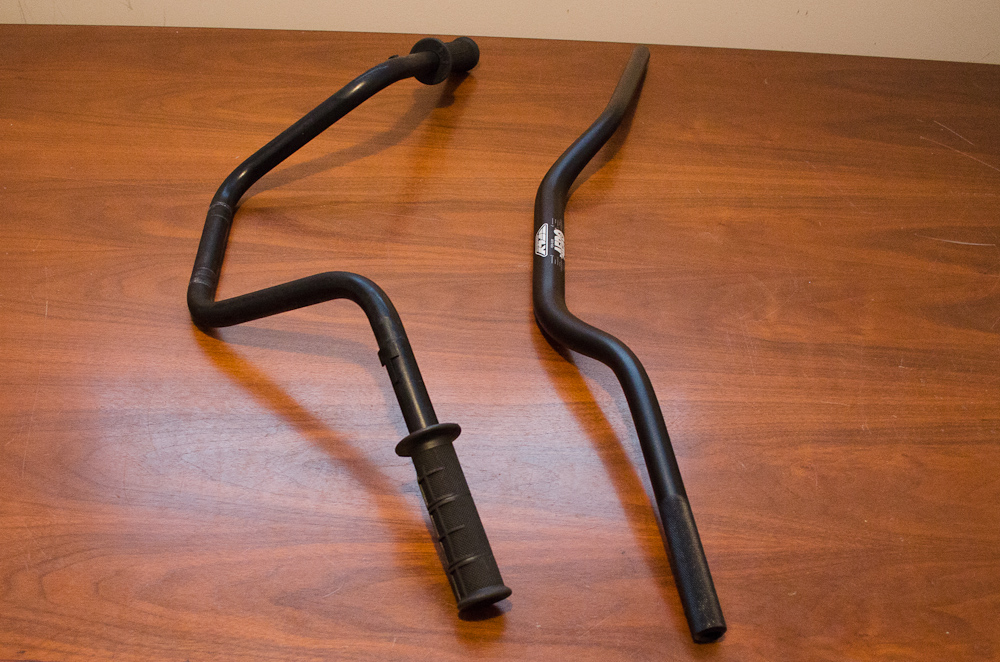
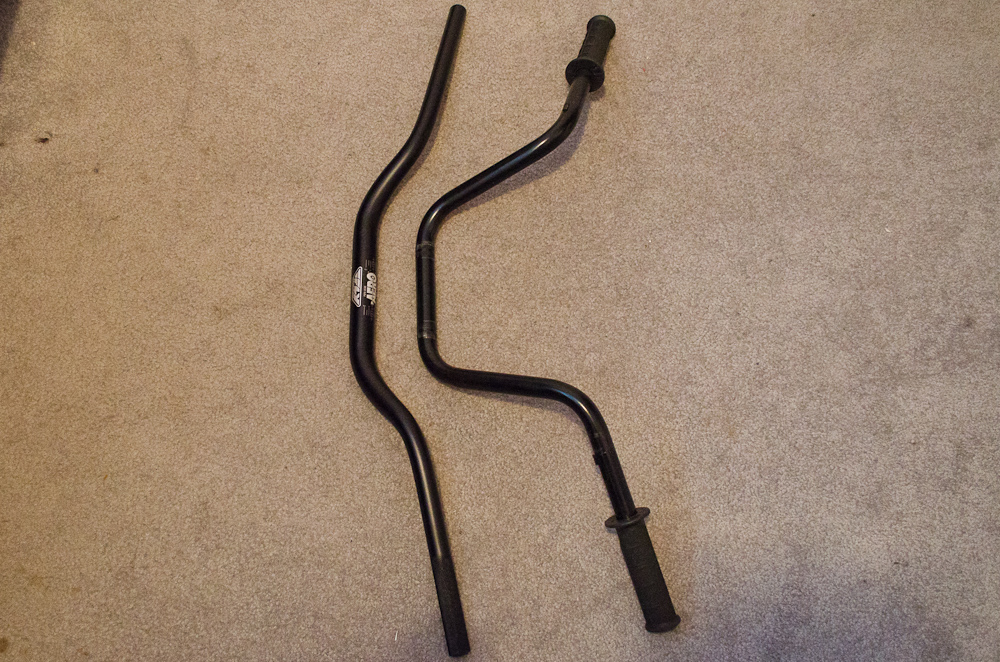
The following pics illustrate the dramatic difference between the stock and new Fly Racing handlebars.
|
|||||||||||||||
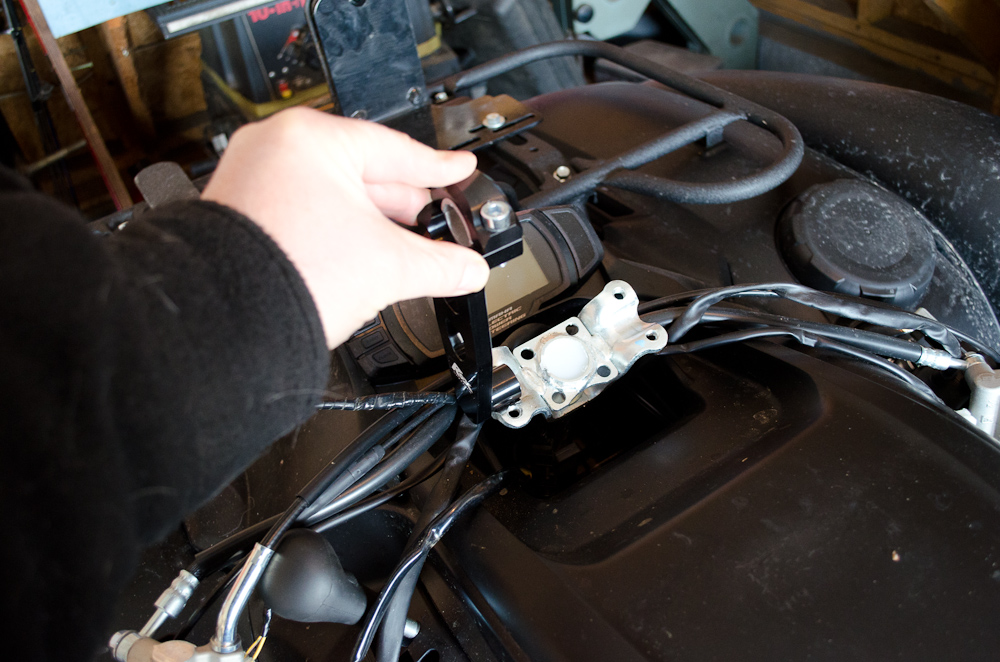 |
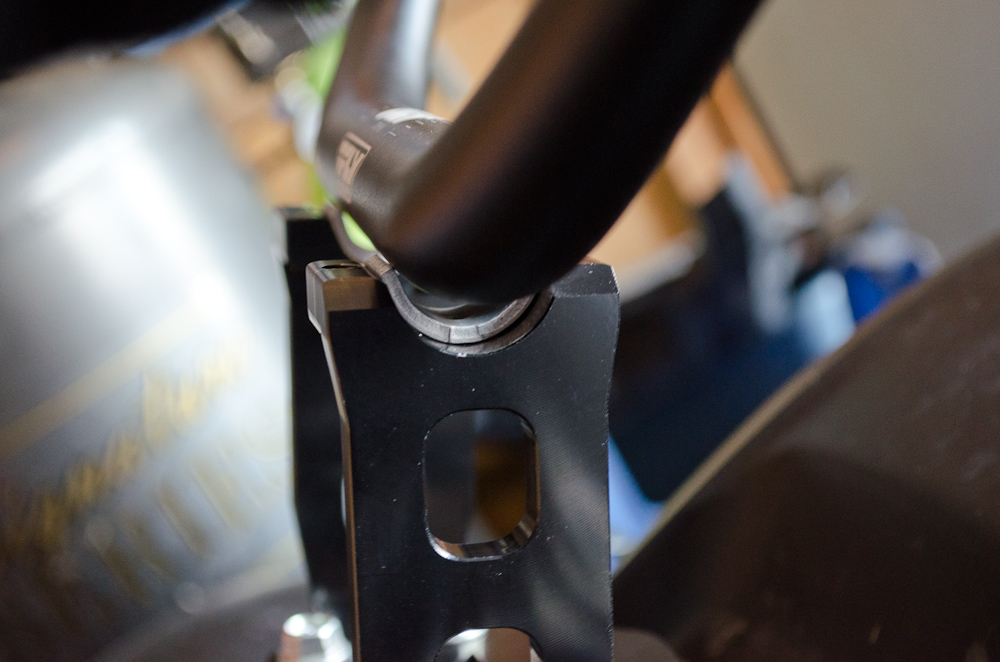
This shows how the new risers will be positioned in place on the steering stem. | ||||||||||||||
 |
Place the new risers in place on the steering stem and set the stock clamps in place. | ||||||||||||||
 |
Then lay the new dash panel in pace over the clamps... | ||||||||||||||
 |
... and reinstall the clamp bolts. | ||||||||||||||
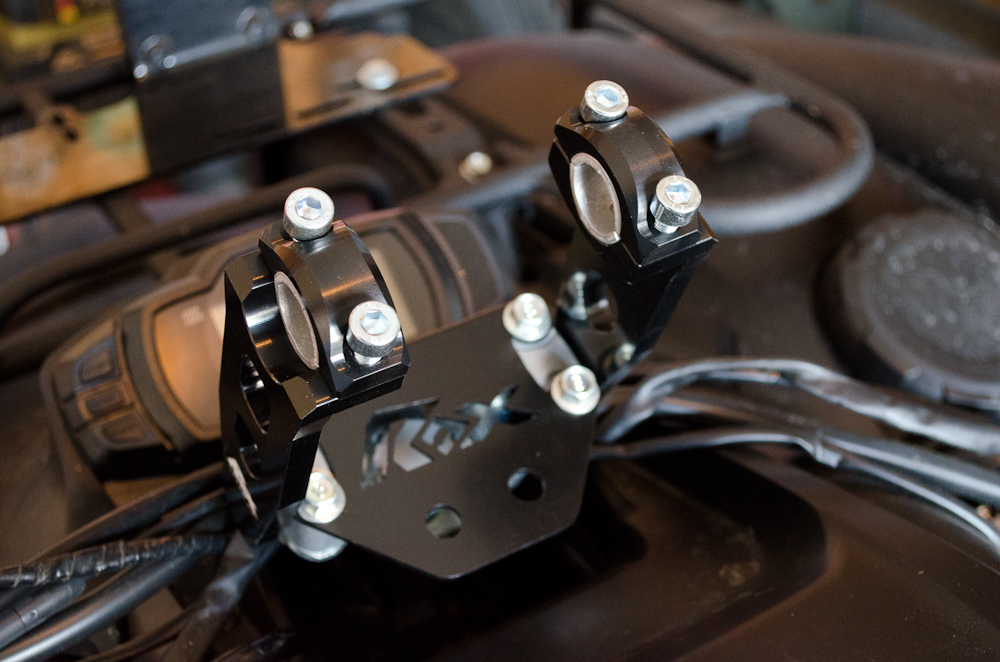 |
Raise the risers up into position and snug up the bolts. There's no need to tighten them beyond snug at this point as you will want to adjust the angle later when the new bars are installed. |
||||||||||||||
 |
Using a 6mm Allen key, remove the bolts from the top of the risers. | ||||||||||||||
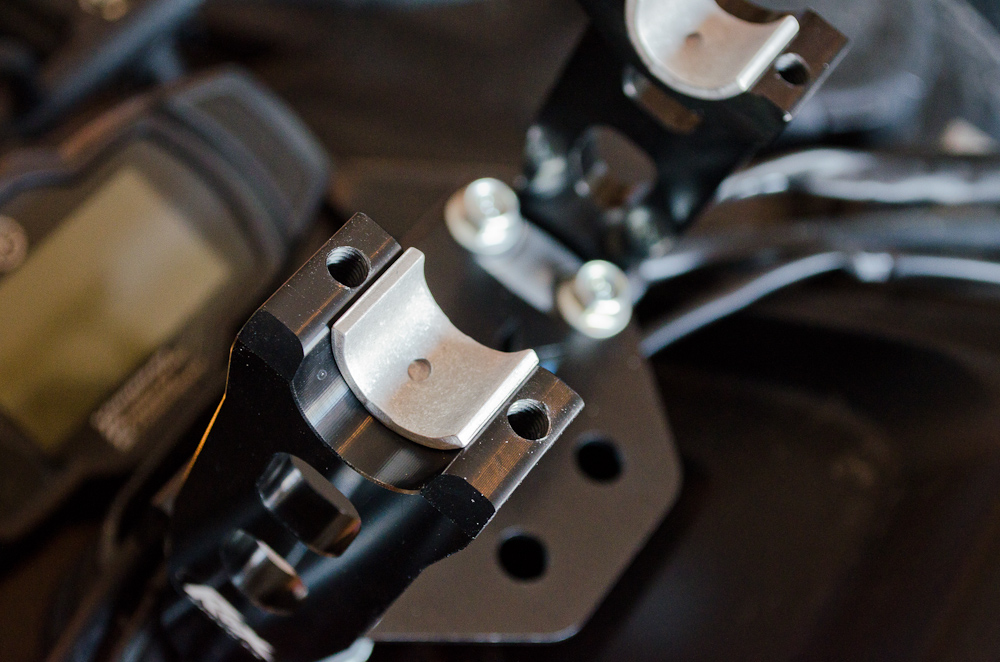 |
The risers come with these small spacers installed so that they can accommodate handlebars with a 7/8" OD centre section. | ||||||||||||||
 |
Because the Fly Racing handlebars are "fat bars" (meaning the centre section is greater than 7/8", they will not fit with the spacers in place. | ||||||||||||||
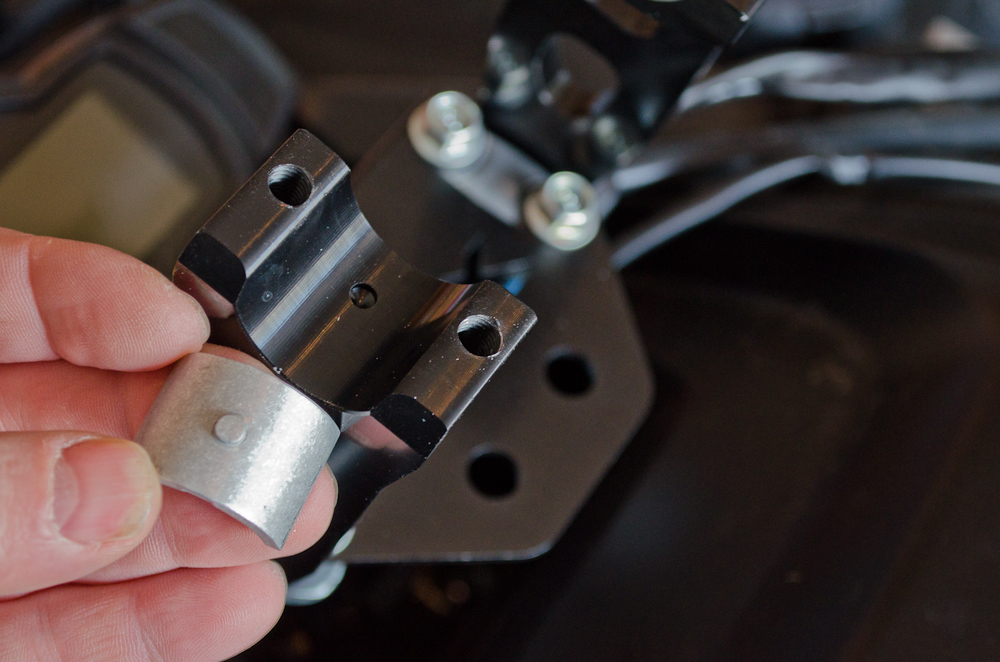 |
Simply remove the spacers from the risers and the riser clamps... | ||||||||||||||
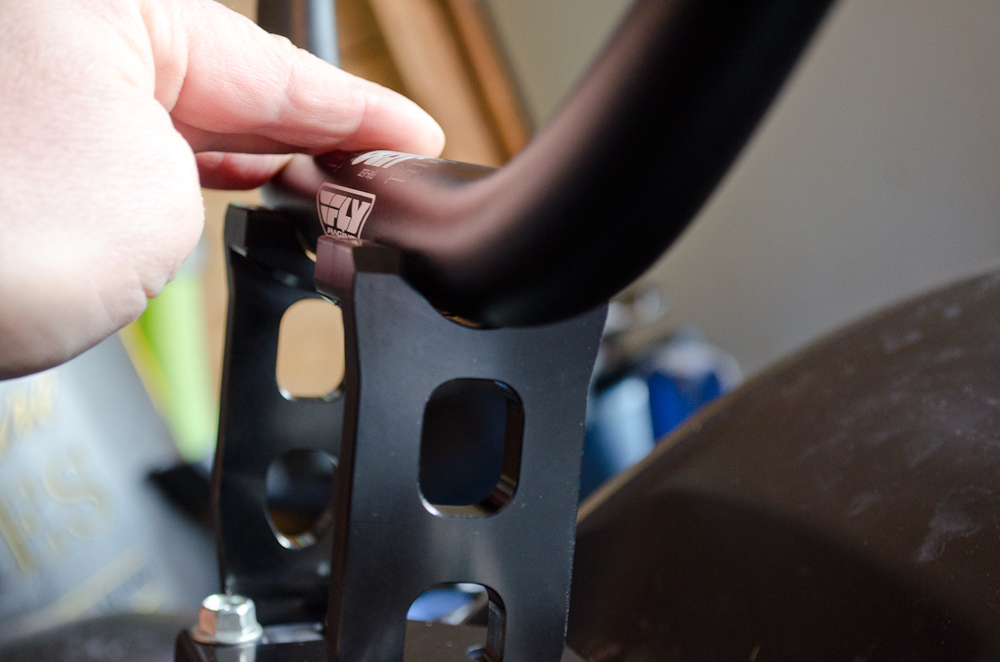 |
...fit the had lea bars in place on the risers... | ||||||||||||||
 |
...and re-install the Allen bolts, again snugging them up. | ||||||||||||||
 |
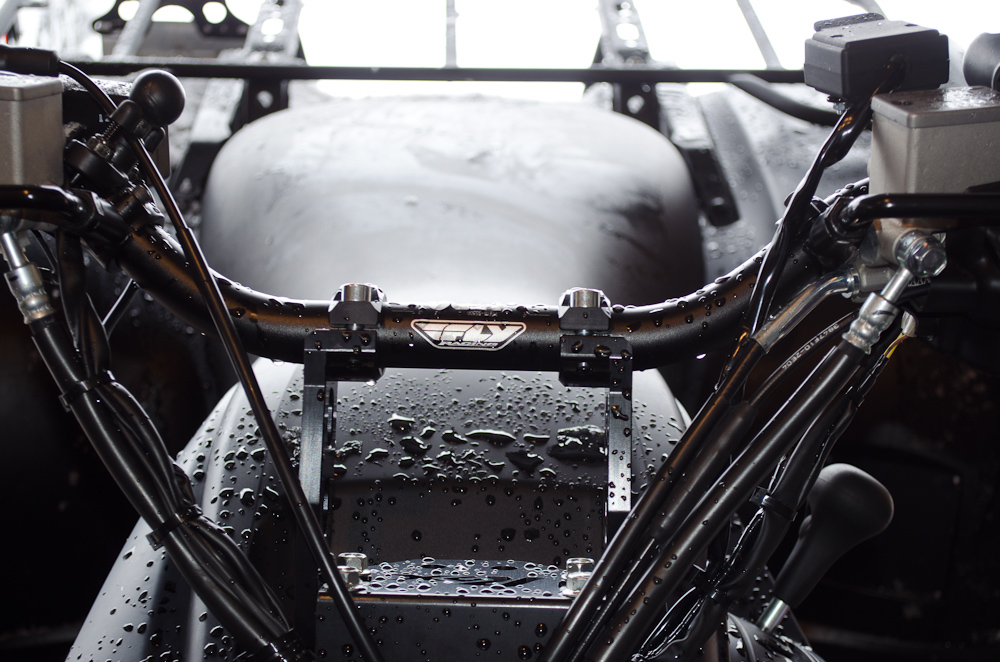
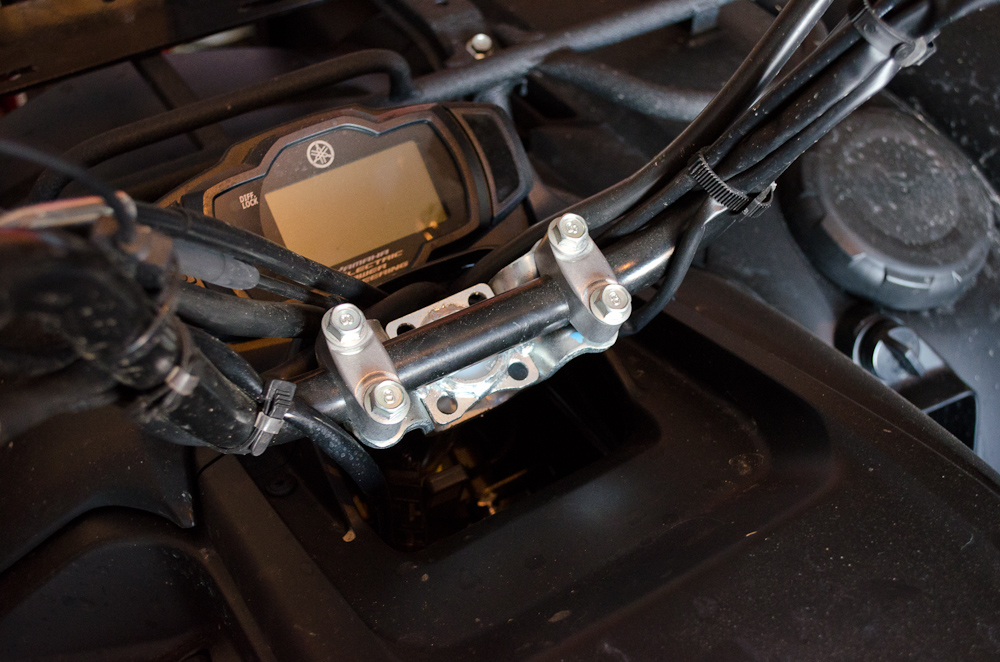
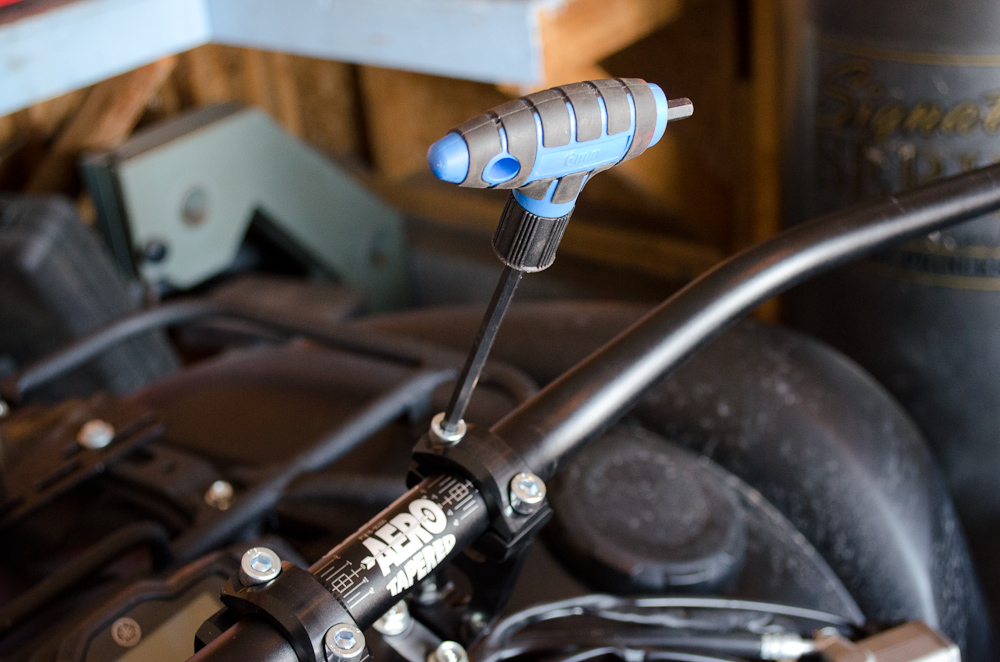
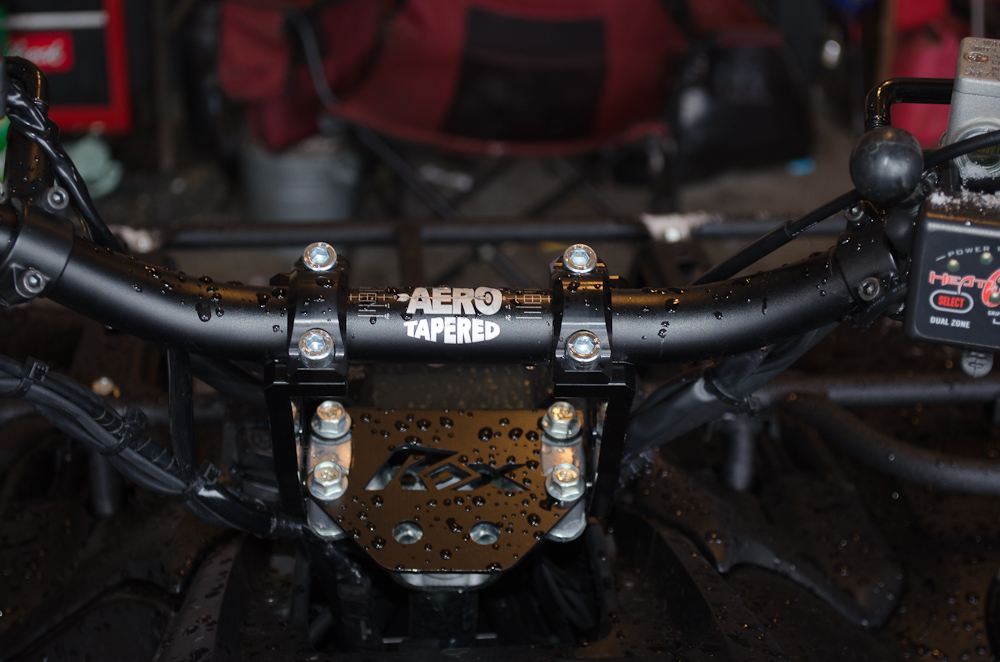
When you install the bars, use the vertical markings (the ones right next to the clamps) to make sure you get the bars perfectly centred left-to-right. | ||||||||||||||
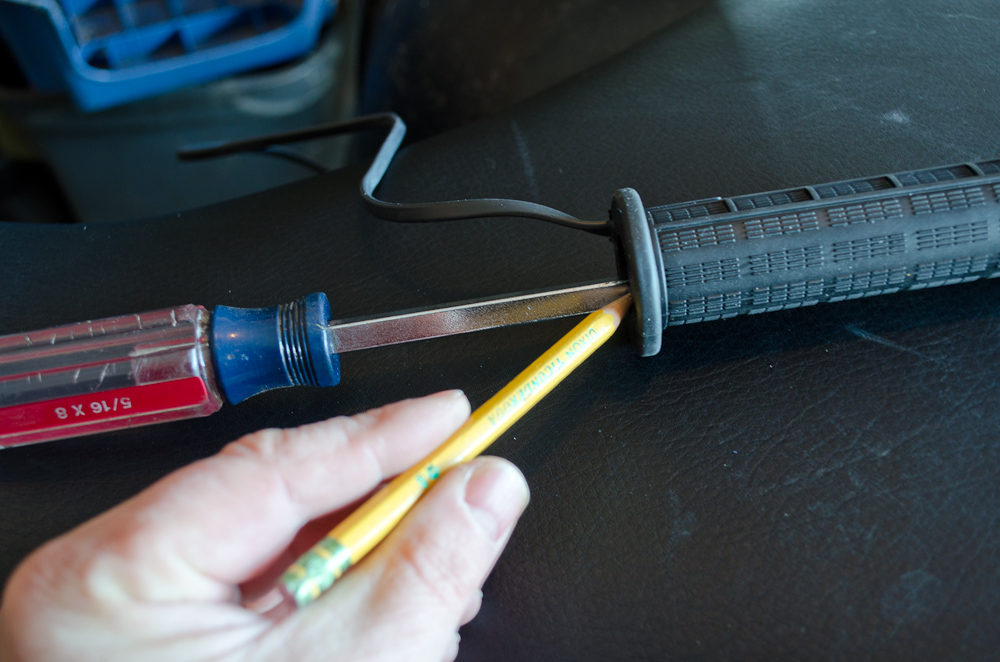 |
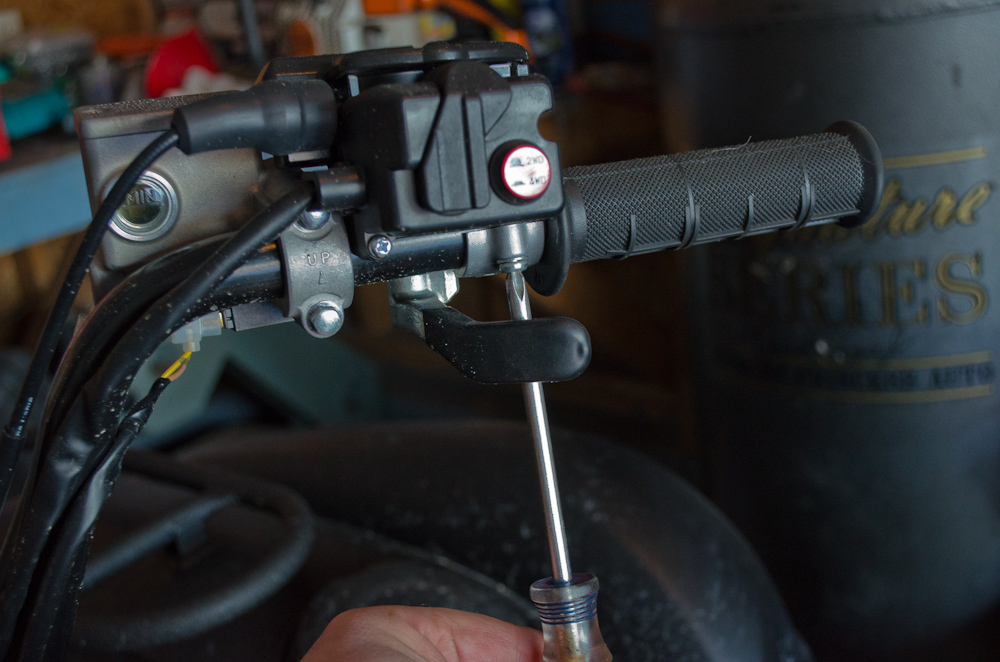
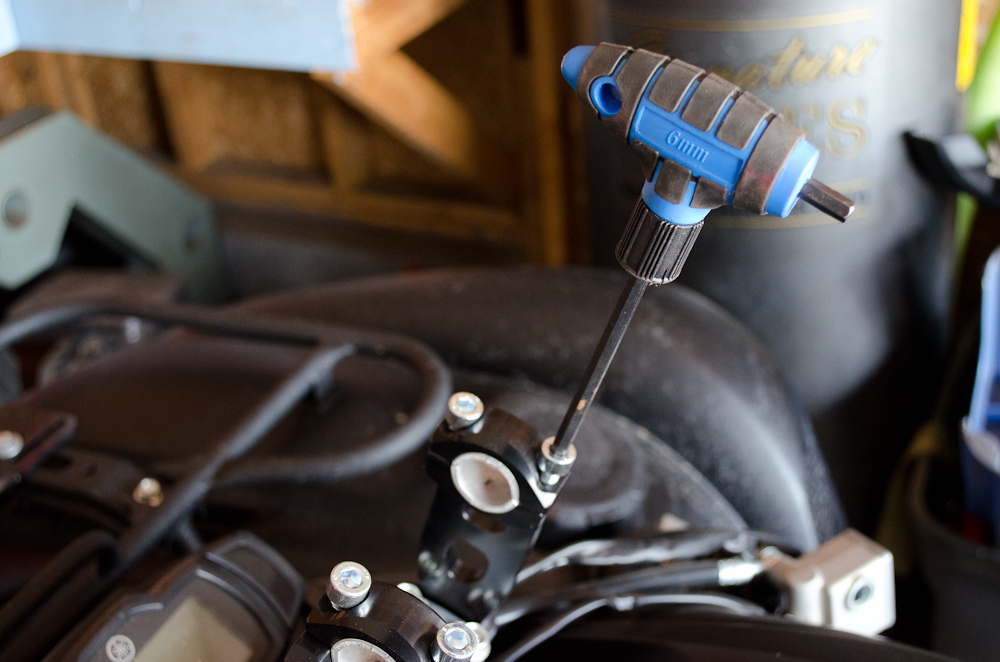
Since I was installing new heated grips on the new handlebars (see the Heat Demon Grip Warmers article for details) and it was too cold to do so when I was installing the handlebars, I marked the length of the grips on a screwdriver... | ||||||||||||||
 |
...and transferred the dimension to the bars with a little pencil mark so that I could install all the controls back on the bars in the right position before installing the new grips. |
||||||||||||||
 |
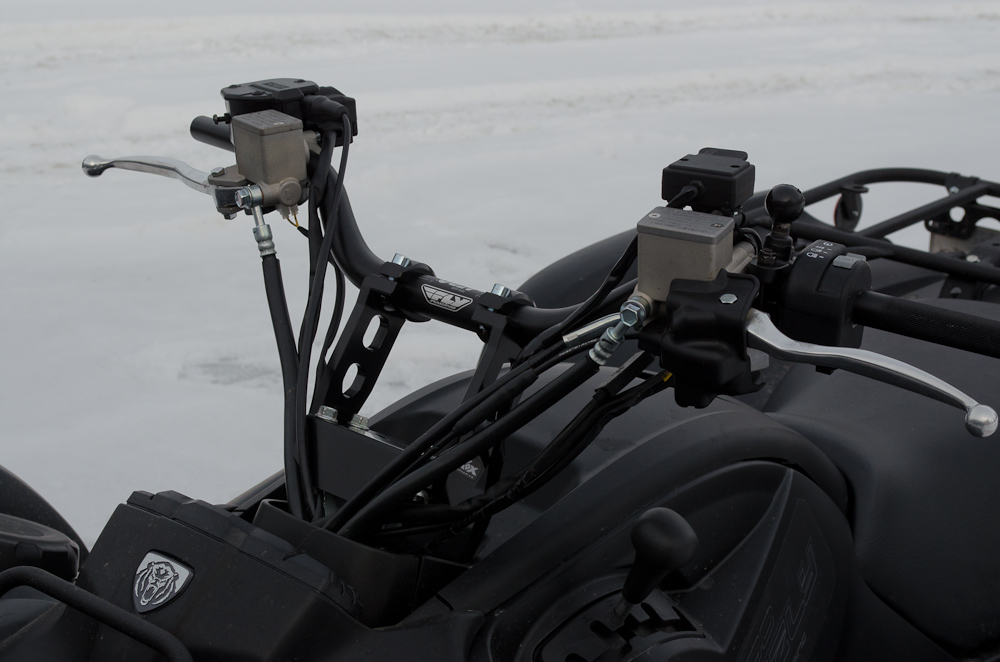
Before you tighten the steering clamps, riser clamps, and control mounts - sit on the ATV and adjust the handlebars to a comfortable position. With the handlebars adjusted to where you want them, adjust the controls and brake master cylinders to be level, and then tighten the clamps and control mounts securely. |
||||||||||||||
 |
The Fly Racing handlebar pad is supposed to mount like this. | ||||||||||||||
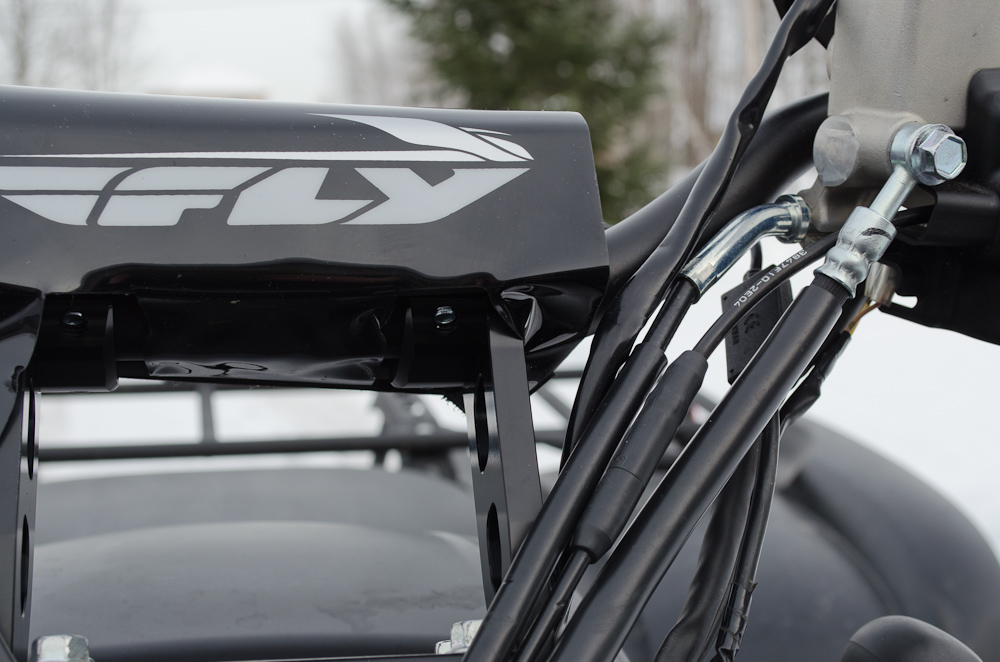 |
Unfortunately, it wasn't designed with the Rox Risers in mind, so the cutouts don't actually fit very well around the risers. | ||||||||||||||
 |
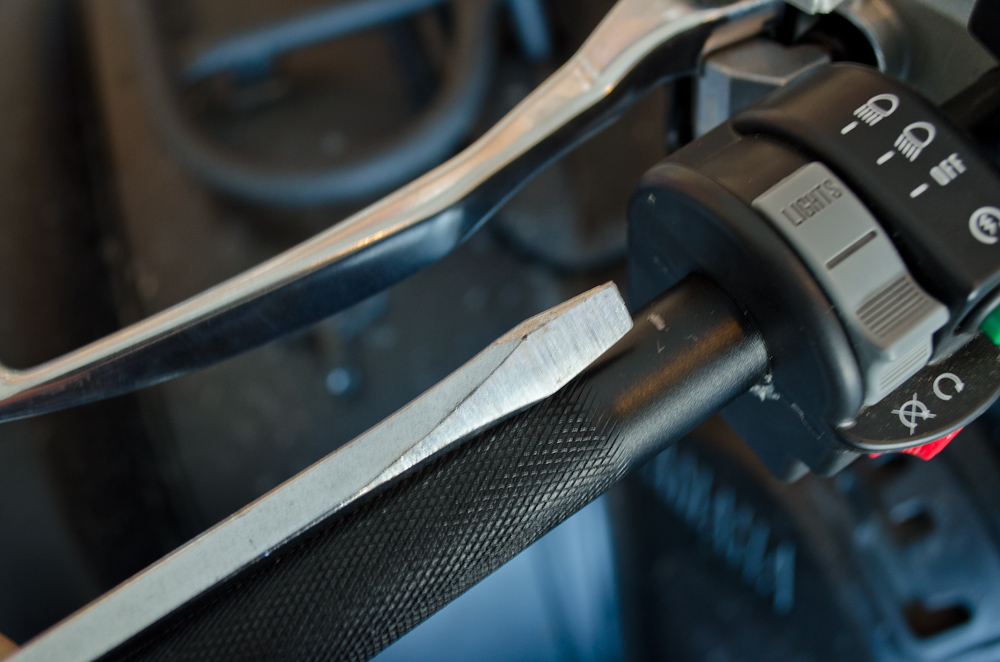
A little trimming with a sharp utility knife could probably get the pad to fit... | ||||||||||||||
 |
...but I didn't bother as I don't actually like the look of the pad in place - it looks too boxy and out of place in my opinion. | ||||||||||||||
 |
And I think the bars look much slicker without the pad. | ||||||||||||||
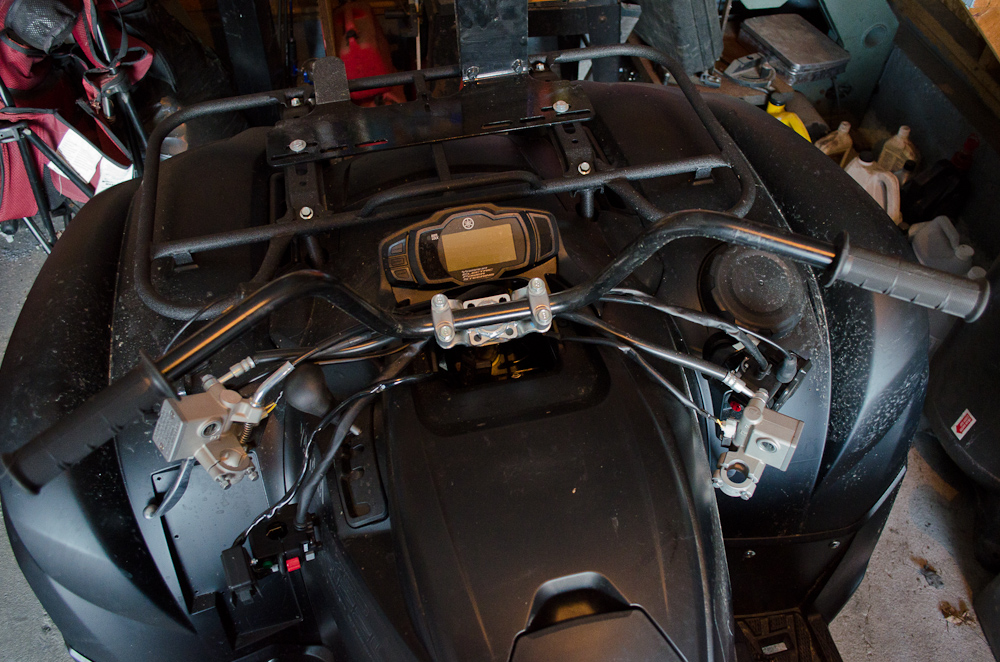
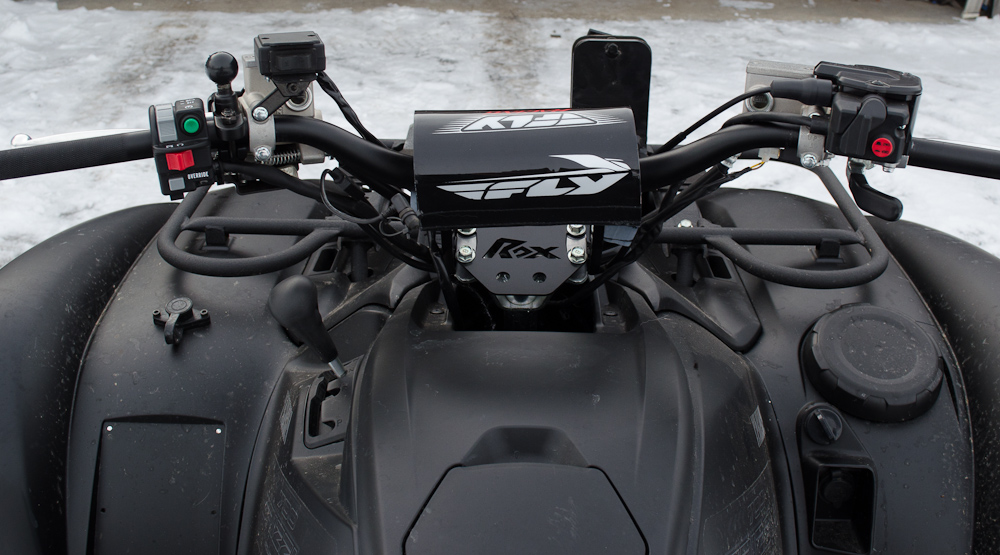
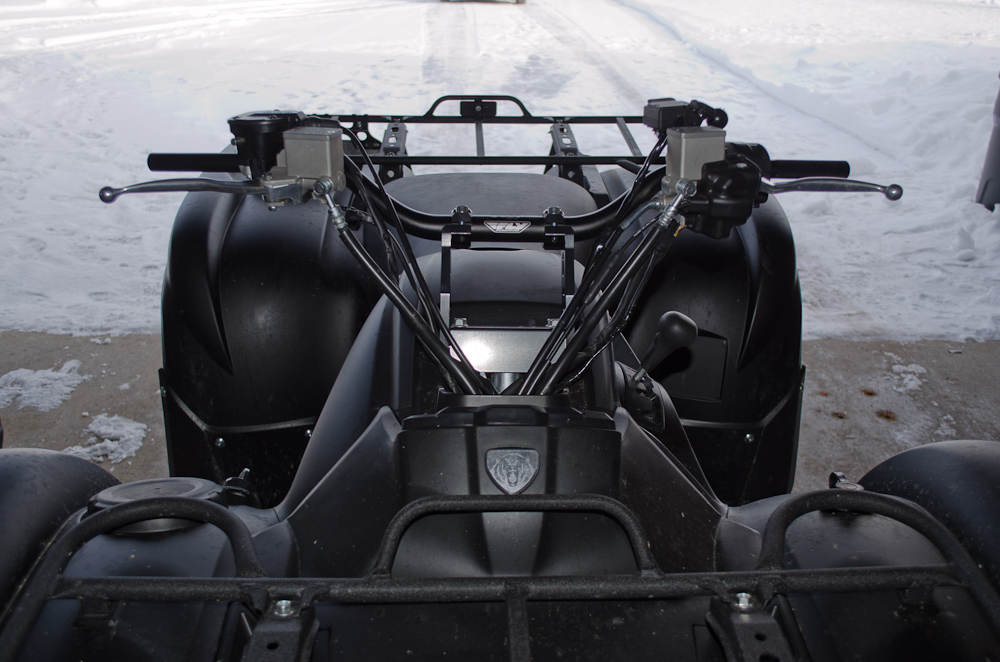
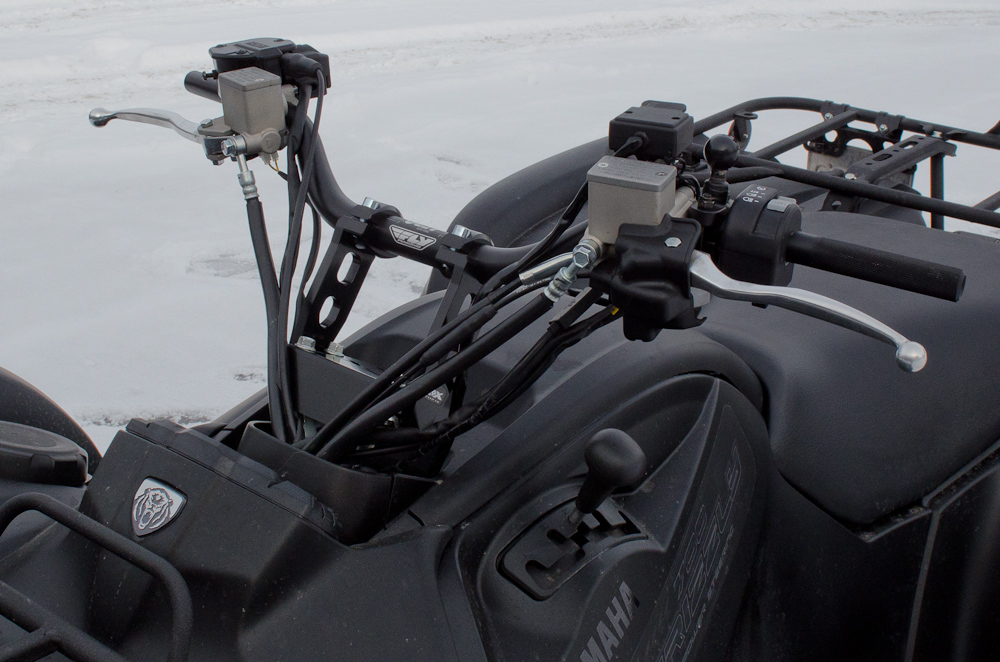
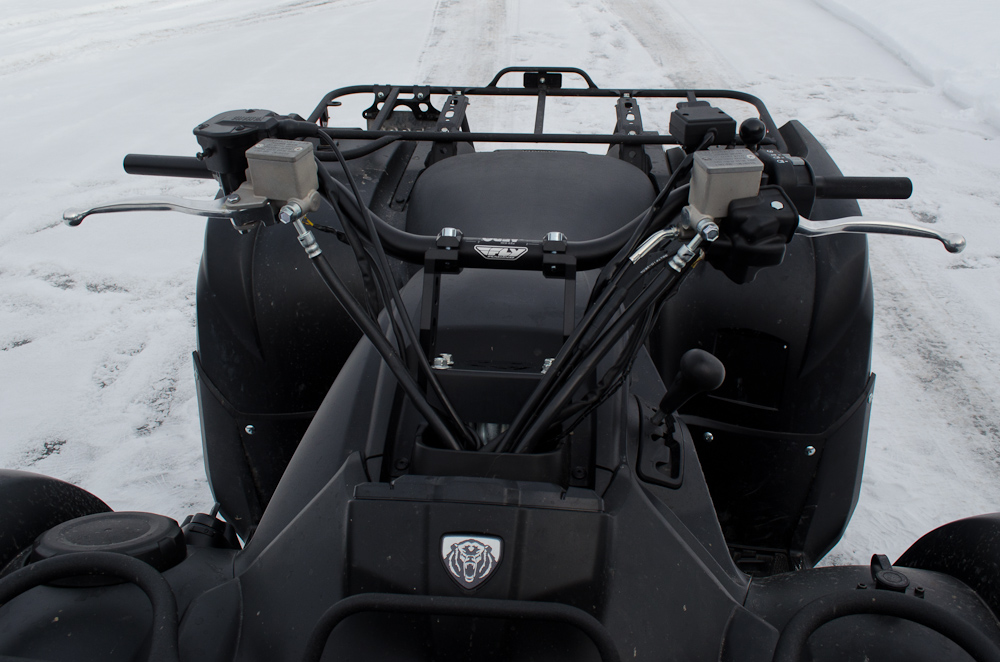
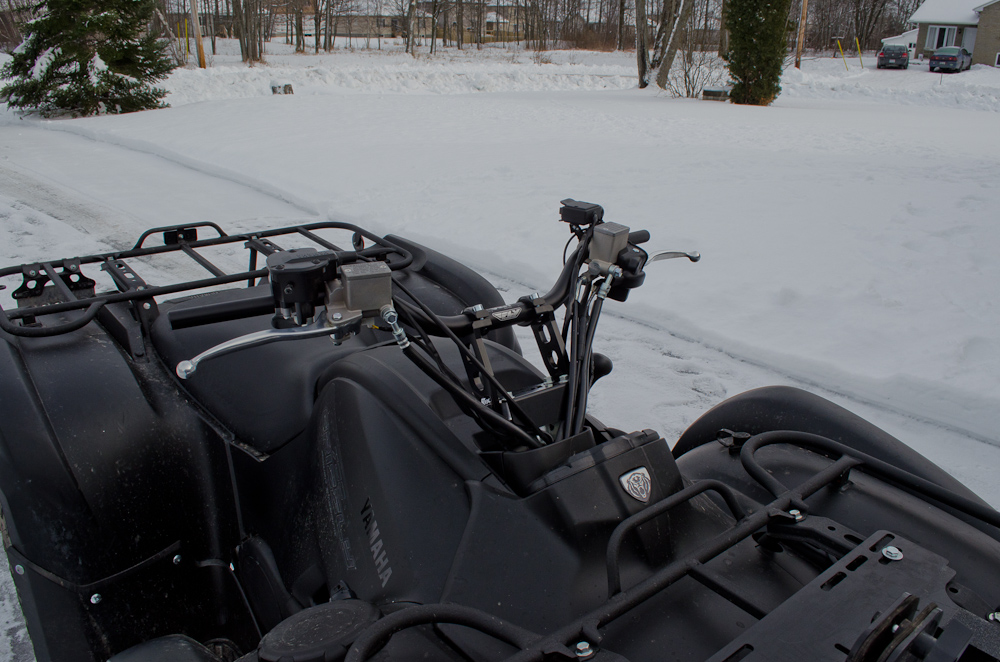
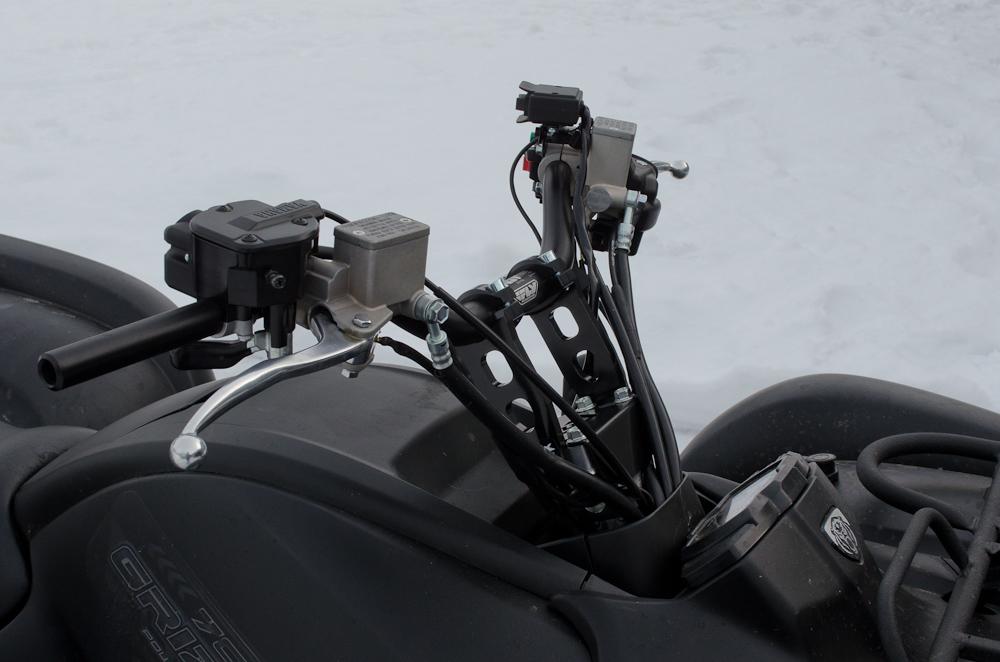
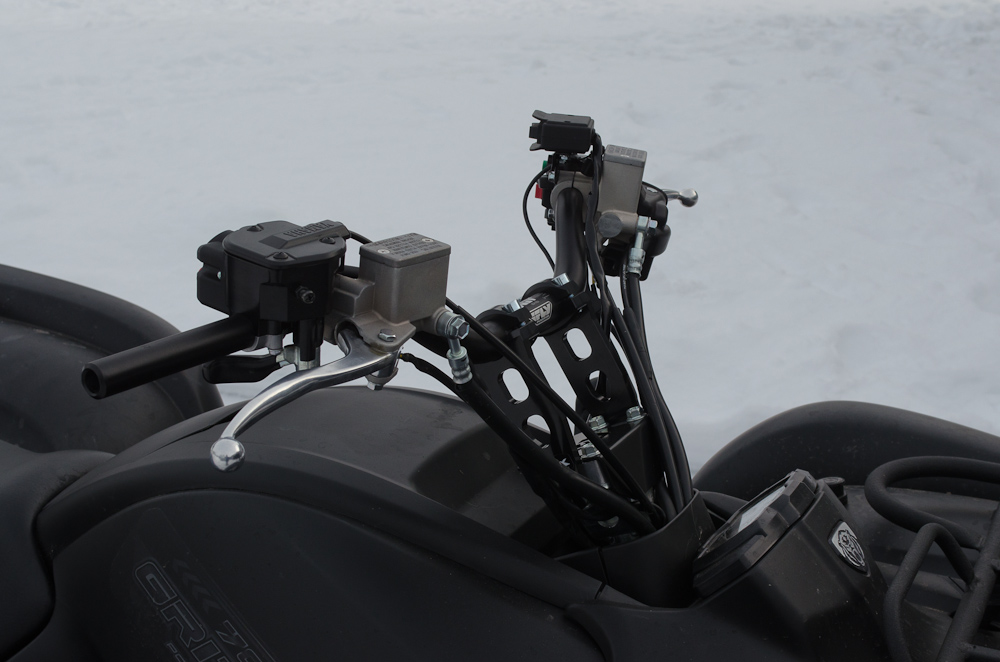
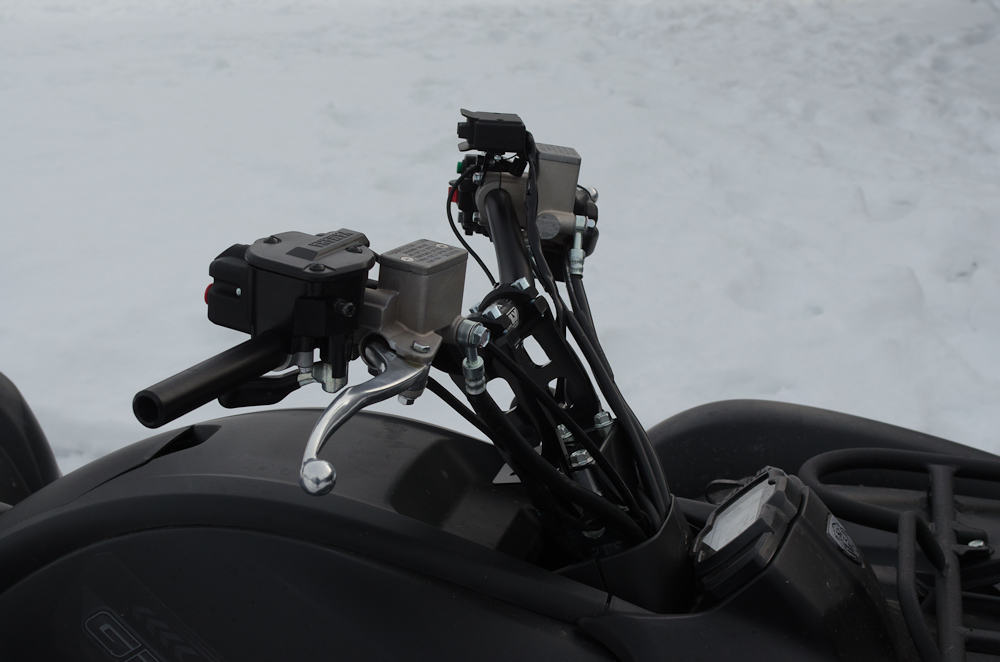
The following gallery shows a ton of different views of the new risers and handlebars installed
|
|||||||||||||||
 |
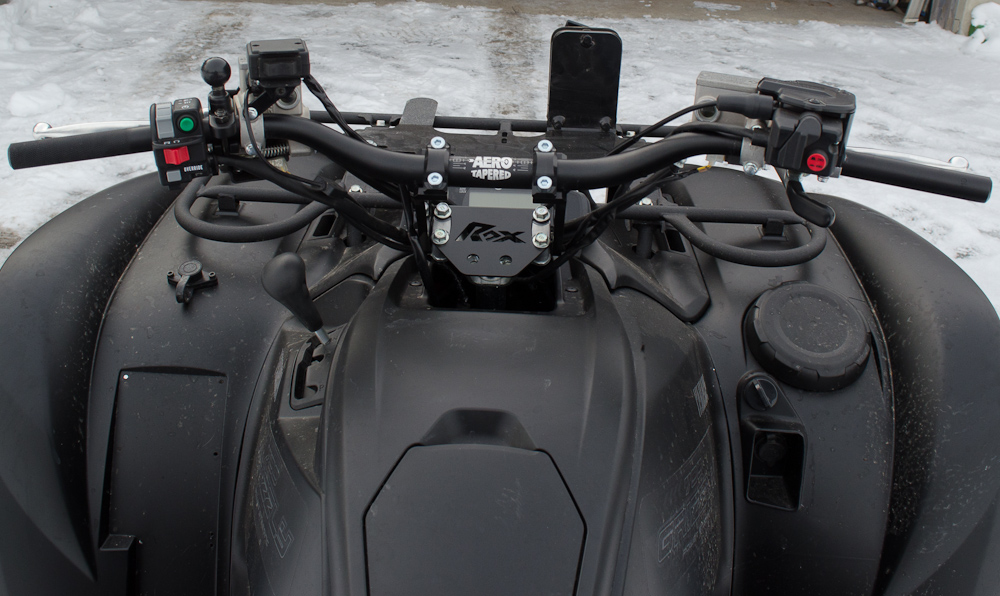
The kit definitely gives the ATV a much cleaner, more hi-tech look in my opinion, and the ability to both pivot the risers in the steering stem clamps AND rotate the bars in the riser clamps gives a huge degree of adjustability - much larger than that available in stock form where you can only rotate the bars in the steering stem clamp. | ||||||||||||||


|