|
Symtec Heat Demon Grip and Thumb Warmers By Bill "BillaVista" Ansell |
IntroductionWinter riding can add a whole new dimension and new challenges to ATV riding - not to mention enabling you to enjoy your machine (and make use of your investment!) all year round. If you live where it's cold in the winter months, some winter-specific accessories can make you a whole lot more comfortable when out on the trails in the snow and make winter riding more enjoyable. |
 |
| In my opinion, the best and therefore first such accessory you should consider is a set of grip and thumb warmers. This article covers the Heat Demon Quad Zone ATV Pack by Symtec, which includes grip warmers and a thumb warmer. In this article I'll show you how I installed the kit on my Yamaha Grizzly 700 - but as it's a universal product and installation is quite simple this procedure will work for any ATV. | |
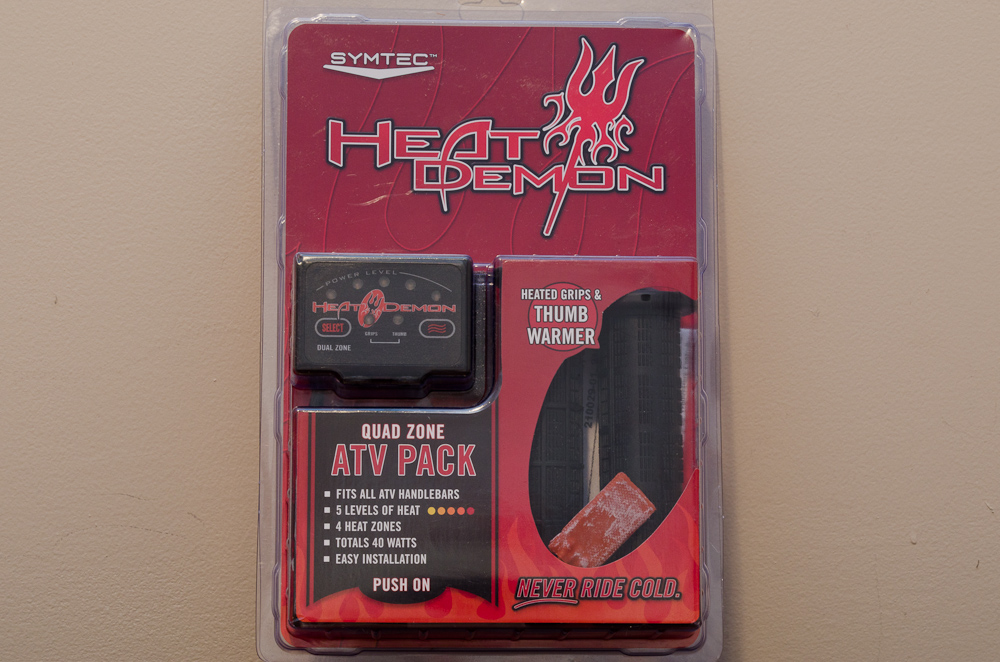 |
This is the kit in its package. Symtec make four different versions of this kit, as follows:
|
The kits with dual-zone controllers control only the included grips and thumb warmer. The kits with quad-zone controllers control the included grips and thumb warmer as well as up to two extra additional heated accessories such as a heated seat or heated boot warmers. Epoxy kits use a supplied two-part epoxy to glue the drips on to the handlebars. For the kits that are labelled POCO the grips are installed using WD-40. The WD-40 acts as a lubricant to ease installation and then once the grip is installed it causes a chemical reaction with the grip which secures the grips on the bar. In this article I'm using the quad-zone controller with POCO grips kit, part number: 210050 According to Symtec:
|
|
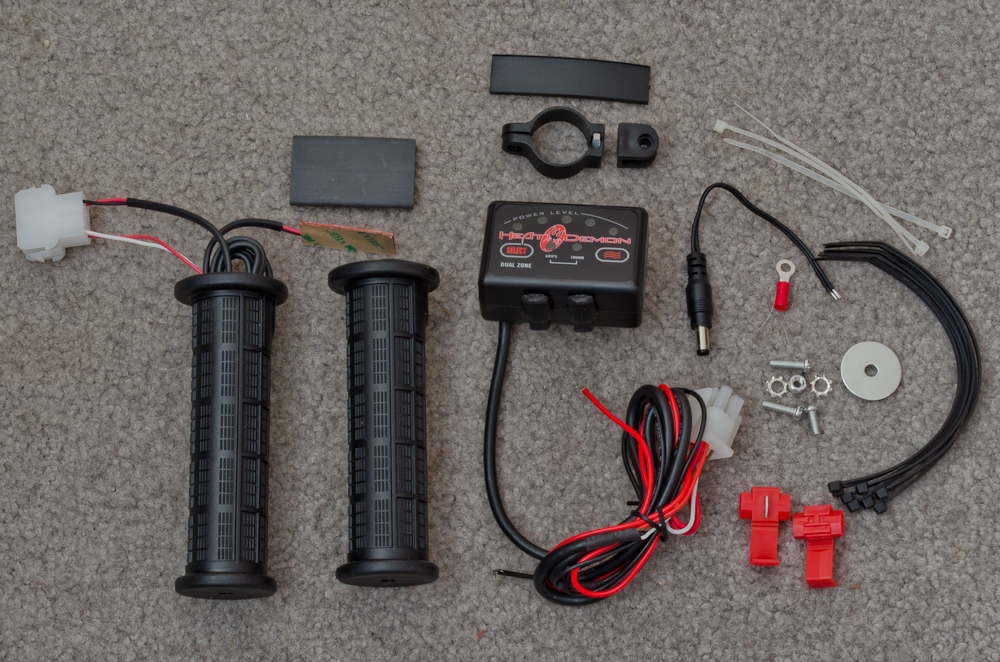 |
This is the kit, p/n: 210050. It includes the grips, thumb-warmer, quad-zone control box, and miscellaneous installation hardware. It does not include the WD-40 required to install the grips. |
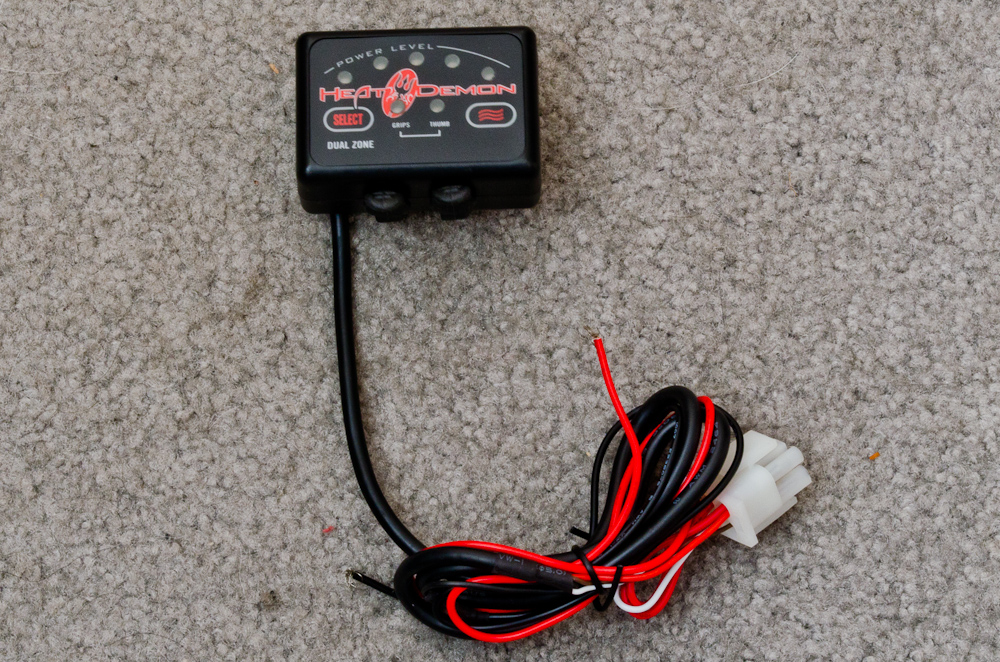 |
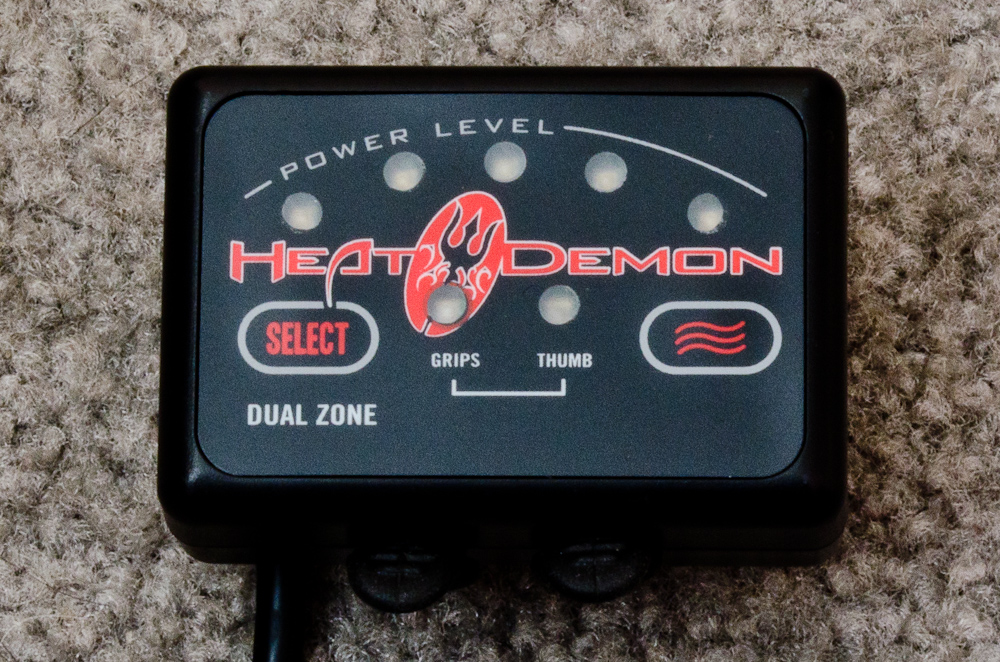
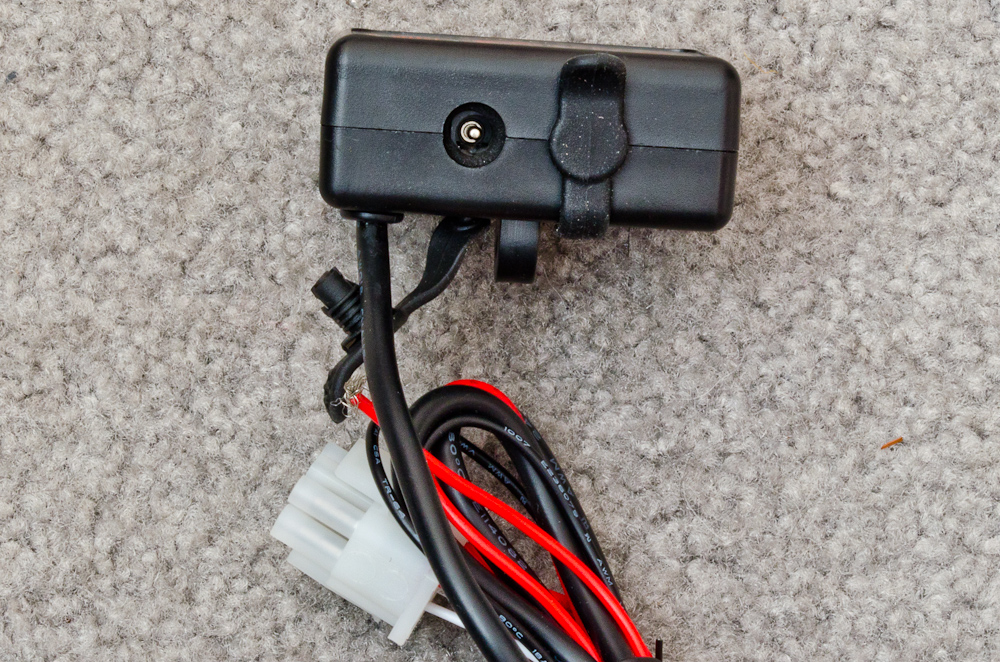
This is the quad-zone controller that mounts to the handlebars or other convenient location. |
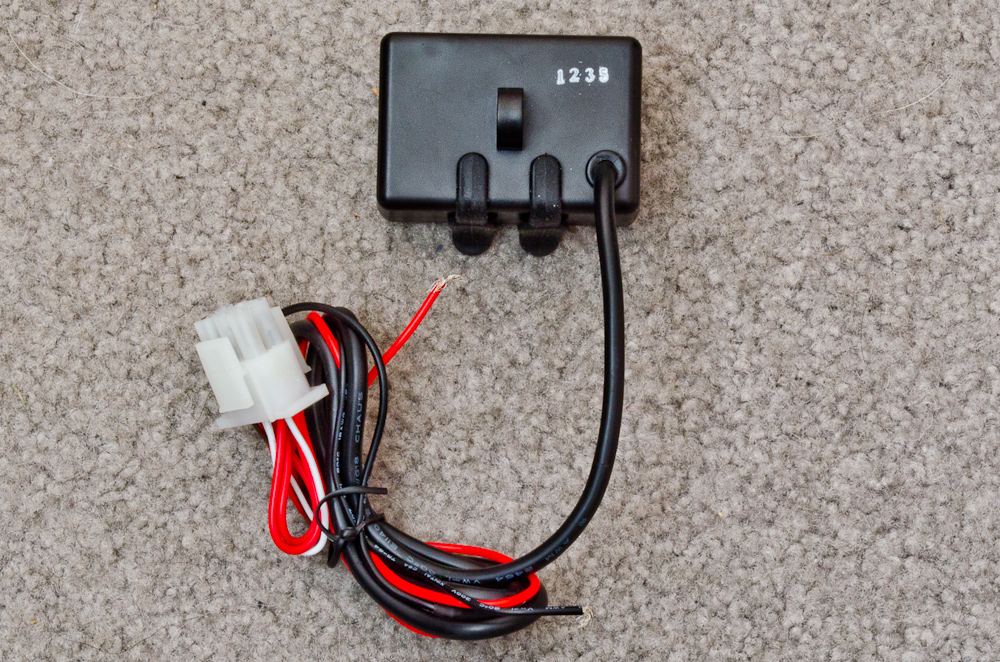 |
Back of the controller. |
|
To use the controller, you press the select button until the LED above the component you wish to control is lit, then press the heat-level button (the one with the wave symbol on it, on the right) to select the desired heat/power level for the component in question. Each time you press the heat button, the power level LEDs light up in succession, starting at one light (Level 1) and going up to five lights (Level 5) and then starting over at Level 1. The observant will note that this controller is actually labelled "DUAL ZONE" and there are only two control LEDs visible - one for "GRIPS" and one for "THUMB". This is because, by some strange accident, my quad-zone controller came with the wrong face plate stuck on the front. It is actually a quad-zone controller, which you can tell from the two accessory ports on the bottom, but the sticker is wrong. I contacted Symtec and they sent me the correct sticker to replace this one, free of charge. |
 |
The two accessory ports on the bottom of the quad-zone controller. |
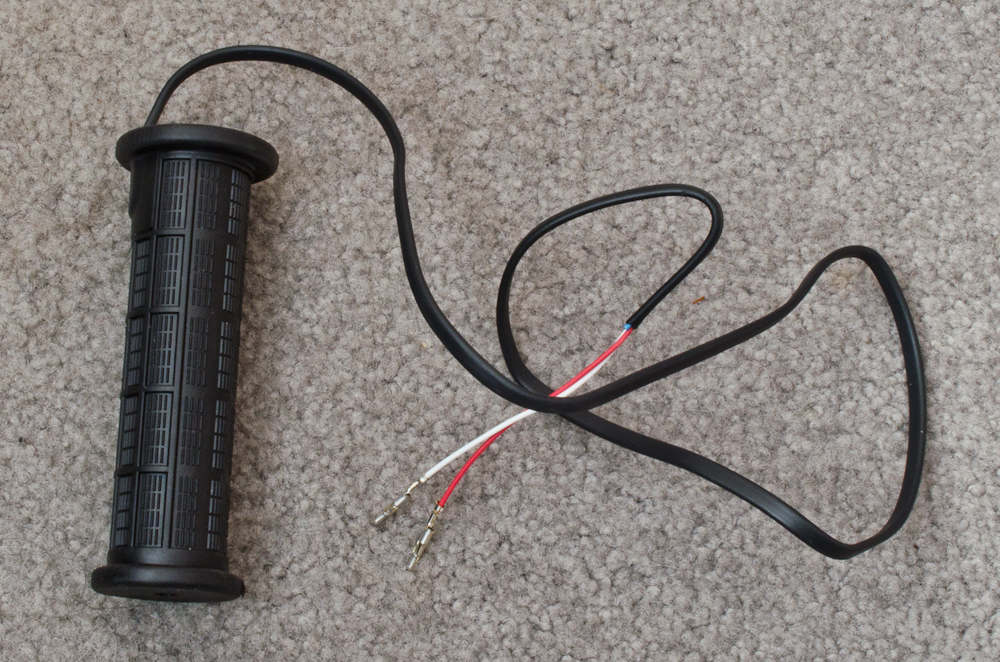 |
The left-side heated grip. |
 |
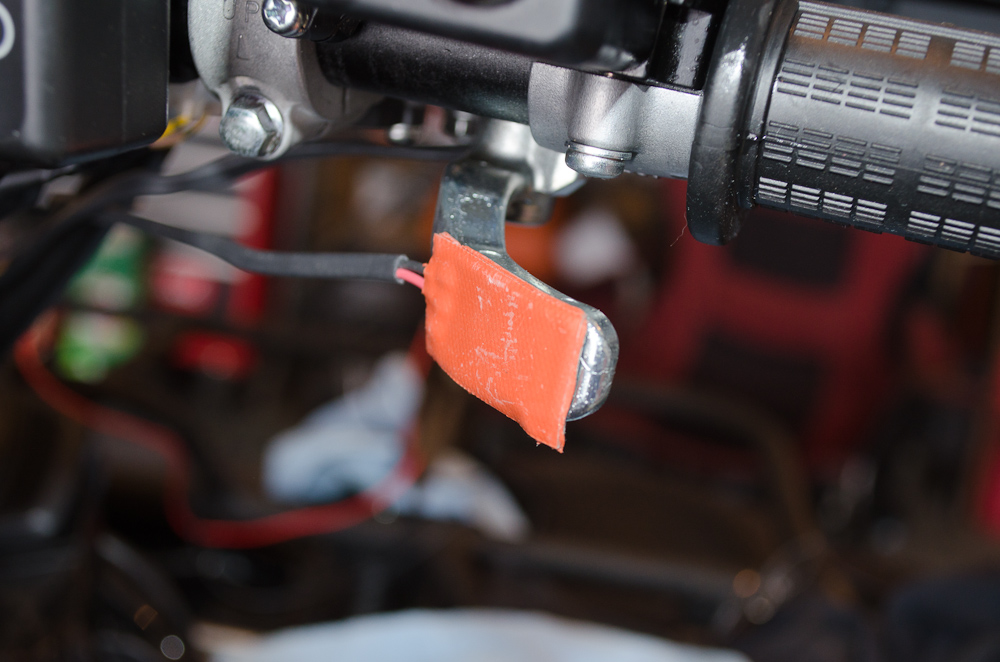
The right side heated grip with the attached thumb warmer. The thumb warmer is the orange piece in the middle. |
Installation The Heat Demon installation instructions are actually pretty good, so I won't re-cover everything they include here. However, the following are some pictures to help you visualize things and a couple of tips. |
|
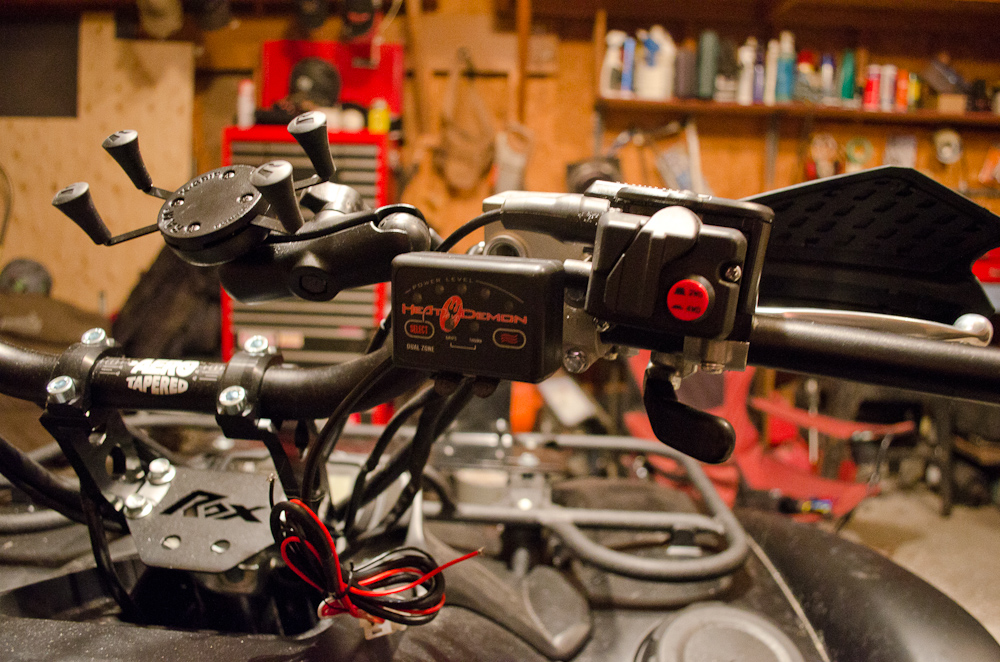 |
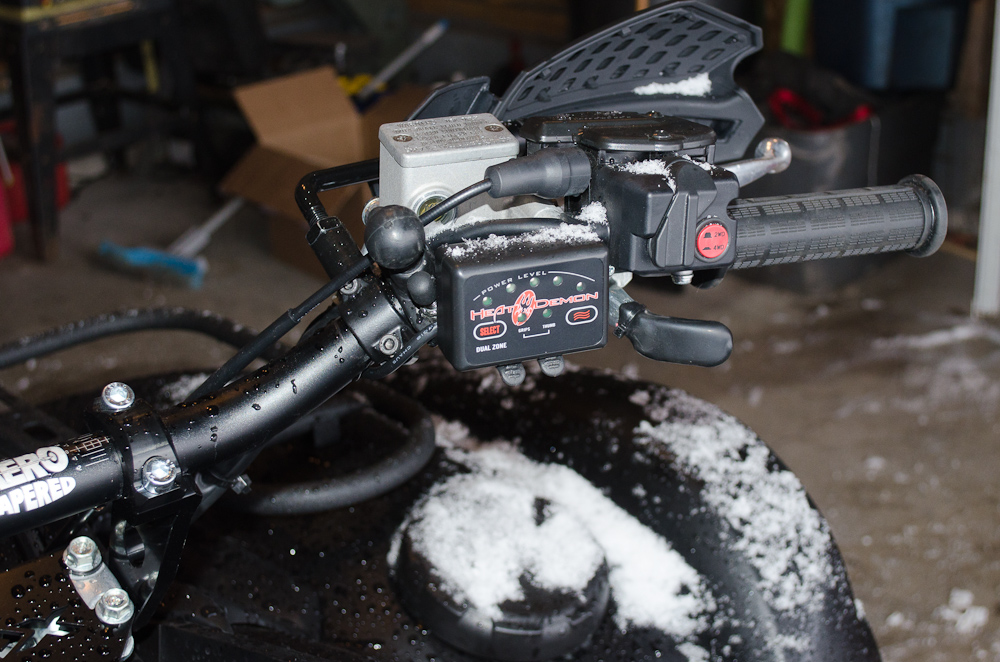
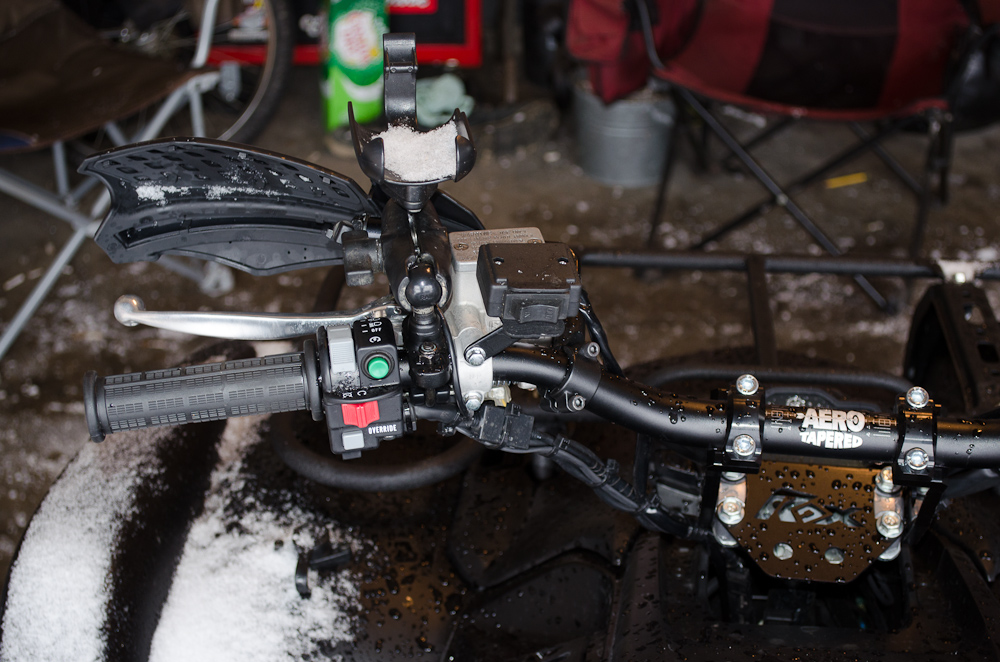
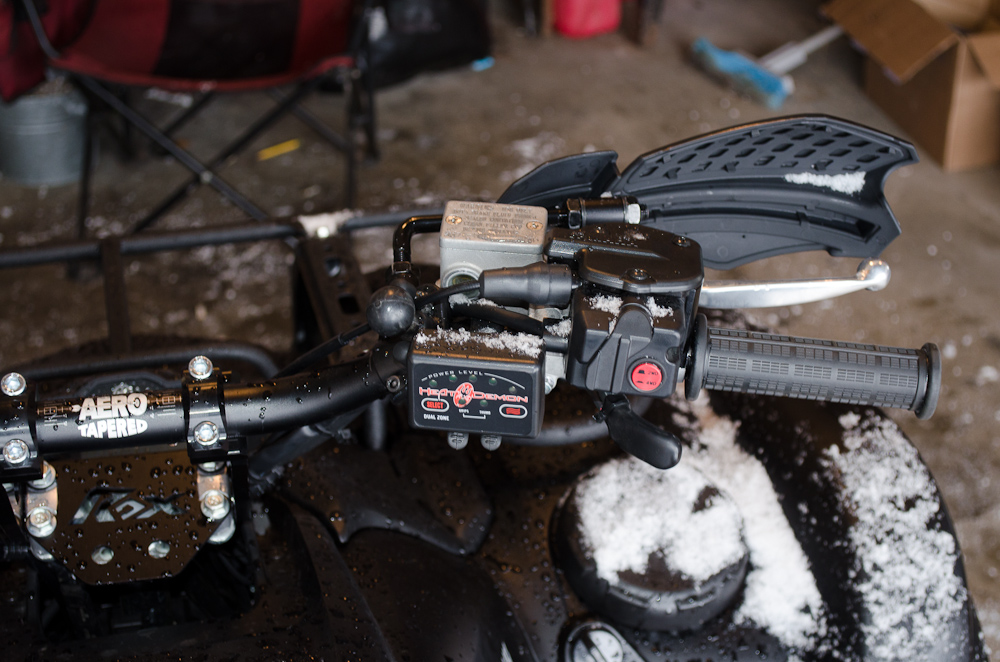
This is the controller mounted on my handlebars. |
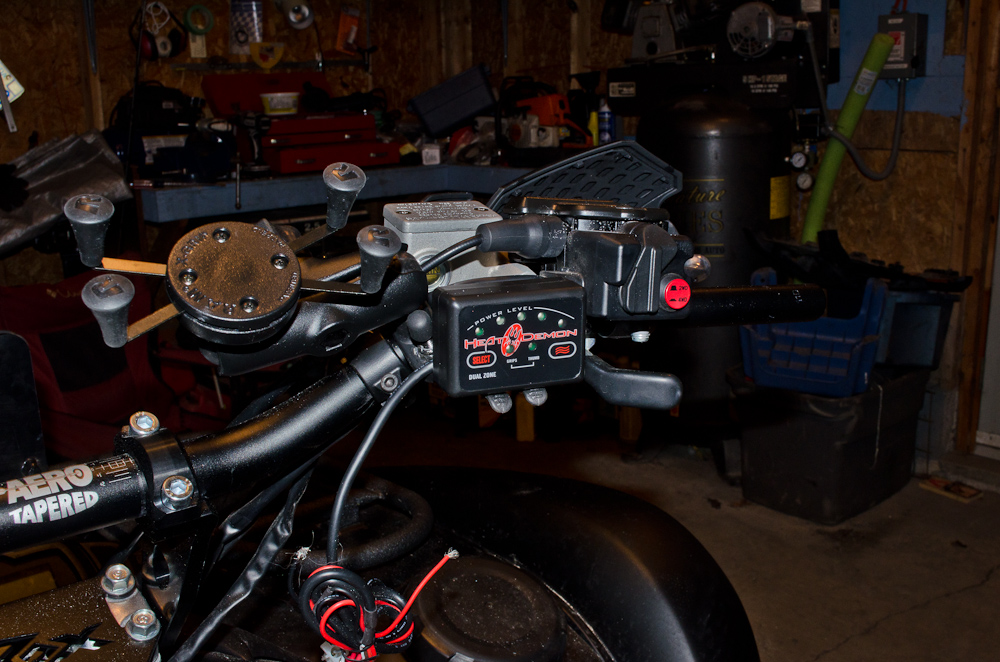 |
Space is pretty tight on my bars, but the controller doesn't take up very much room and has good flexibility for mounting in various positions at various angles. |
 |
I mounted the controller first, but you can mount it after you install the grips if you wish. To install the grips you must start with clean and dry handlebars. Easy to do in my case as the bars were brand new, but if you've removed old grips, especially grips that were glued on, take the time to clean the bars carefully. |
 |
Follow the procedure carefully in the instructions to mount the grips. For the POCO grips, three (3) applications of WD-40 are required, as follows:
|
 |
Follow the same procedure to install the right hand grip. |
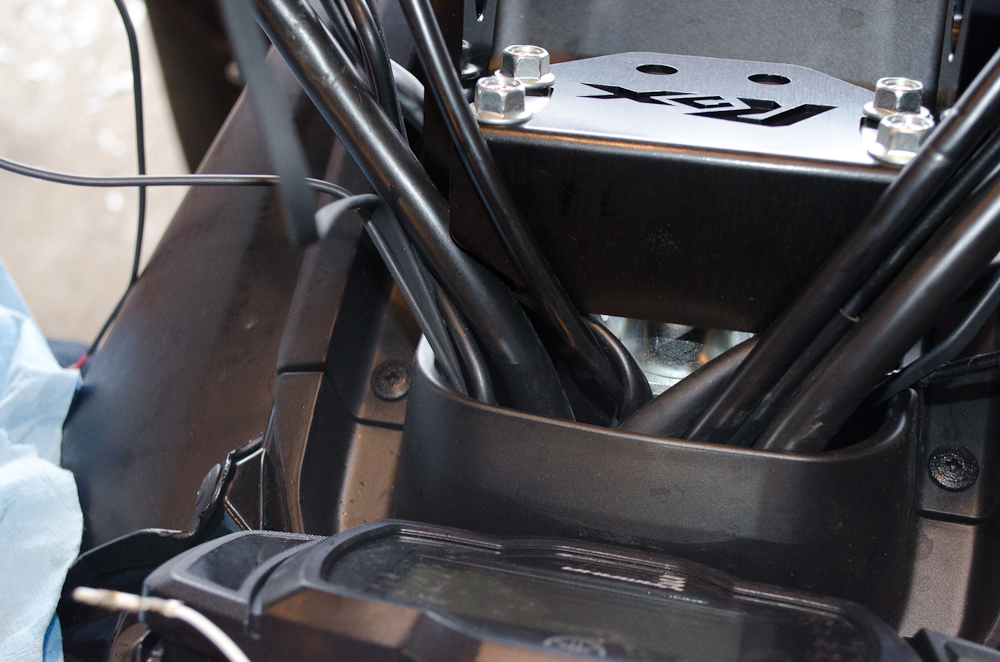 |
Route the wires from the grips down through where the other cables go... |
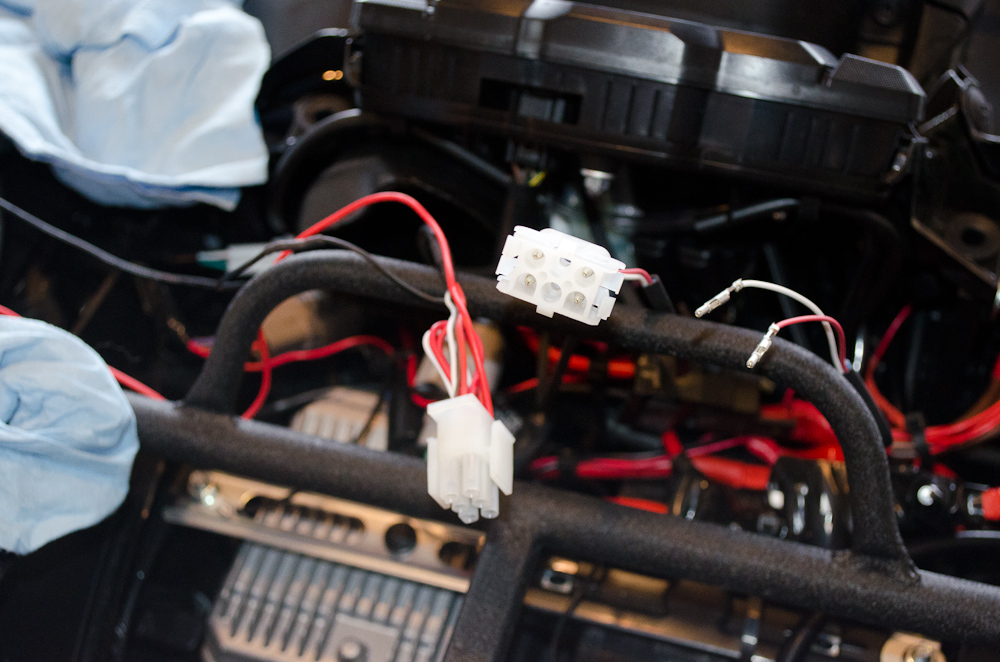 |
...and into the "electrical bay" under the hood. In this pic you can see the two pins (from the left-hand grip) on the right that must be inserted into the back side of the female end of the 6-pin connector. |
 |
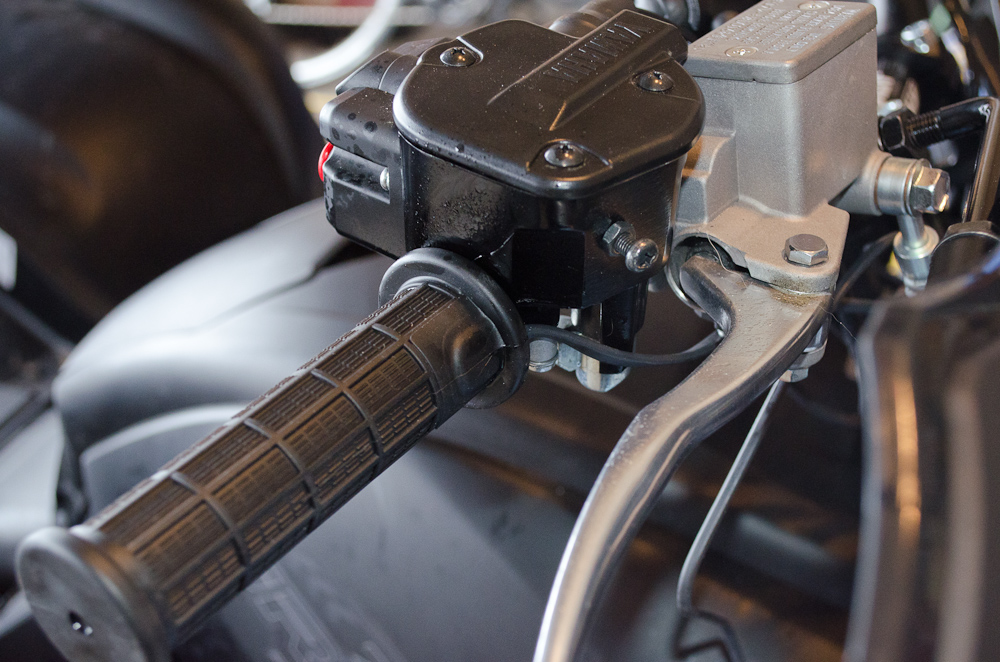
To install the thumb warmer, the instructions say to just stick it on and then cover it with the supplied heat shrink tubing. I prefer to carefully remove the factory throttle cover... |
 |
(throttle cover removed) |
 |
...and then stick the thumb warmer to the throttle lever... |
 |
...and carefully stretch the stock cover back over the throttle lever with thumb warmer. It helps if the cover is warm and soft when you do this. |
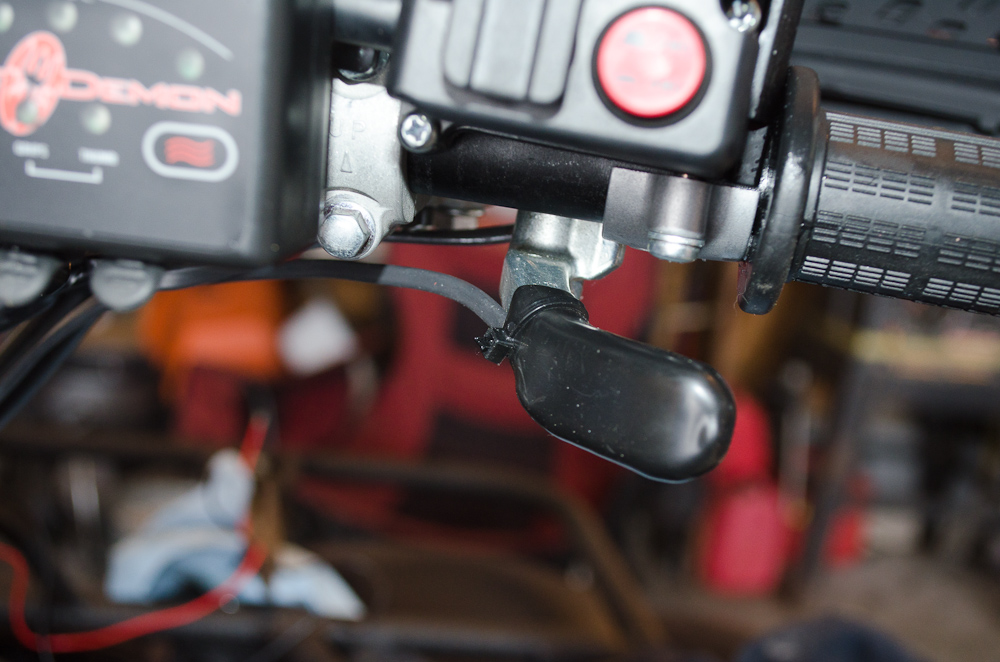 |
I added a small zip tie around the stock cover for extra security. |
 |
When you route the wire for the thumb warmer, be sure to leave enough slack for complete movement of the throttle lever from fully closed to fully open. |
Electrical ConnectionsOnce you have the grips, thumb-warmer, and controller installed, and the wires run to the electrical compartment (battery bay), the electrical connections are very easy. Here is a schematic:
Before you make any electrical connections, disconnect the negative cable from the battery to prevent accident or injury. |
|
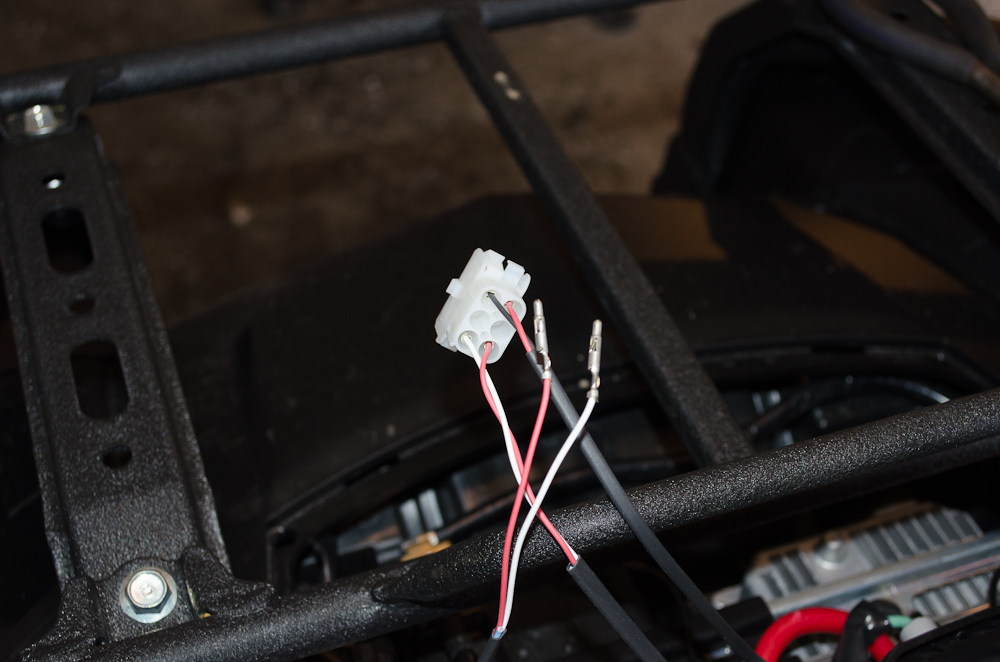 |
Take the two pin connectors that are connected to the left grip (one red and one black) and insert them into the middle holes at the back of the female side of the 6-pin connector. Push them until the click securely into place and can't pull out. The instructions say there is no orientation of wires (i.e. it doesn't matter which wire goes in which hole). I matched the red wire up to the side where the existing red wires enter the connector. |
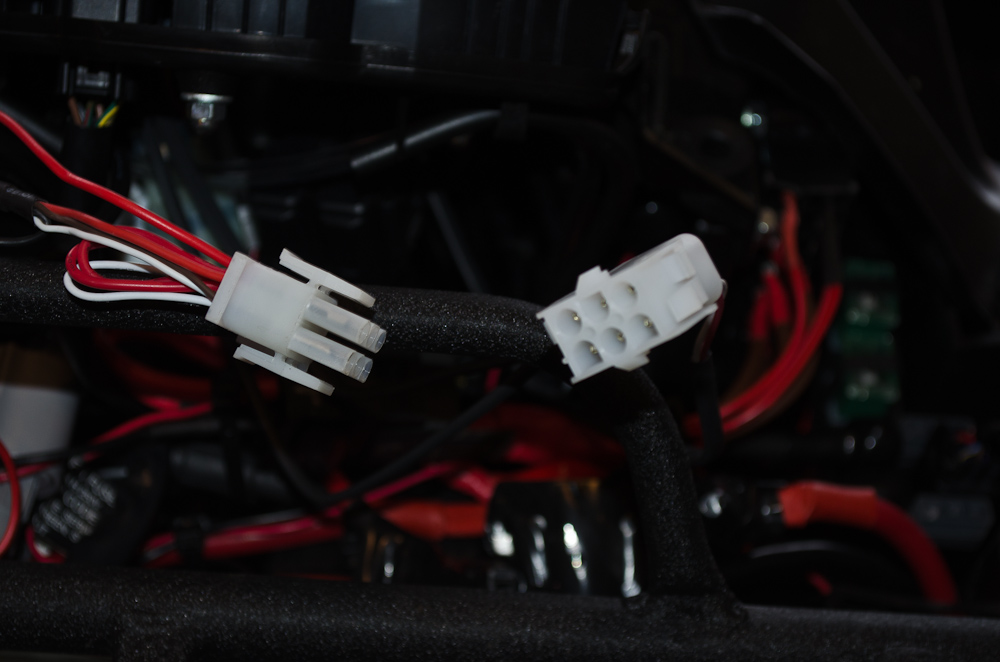 |
The male connector on the left is connected to the controller. The female side on the right is connected to the grips and thumb warmer (see schematic above). |
 |
Connect the two halves of the 6 pin connector. |
Next, connect the red wire to a switched 12V+ source. Depending on your quad, there are a number of ways to do this. The kit supplies a tap-connector to allow you to tap into an existing wire such as an accessory plug or the hot wire to the headlight switch. That said, I really don't like nor recommend using those tap connectors - they make lousy electrical connections. If you must tap into an existing wire it is much better to carefully strip a little insulation off the wire and solder directly to it, then carefully re-insulate with epoxy or liquid electrical tape and finish with a good wrap of regular electrical tape. I would also recommend installing a small in-line fuse if connecting to an existing wire in this fashion. The quad controller draws a maximum of 14.6 Amps according to Symtec (the dual-controller draws just 3.5A) I had previously installed a small auxiliary fuse block for connecting electrical accessories such as this - see my fuse black article for details. So it was a simple matter to connect the red wire to one of the open terminals on my fuse block. Connect the Black wire to a ground. For ground connection use a frame component or a ground wire, not a rubber isolated component such as a handlebar or a steering assembly. Finally, reconnect the battery's negative cable to complete the installation. |
|
 |
With the installation complete, you can turn on the ignition and check the operation of the heated grips and thumb warmer. |
Operating InstructionsThe following are the operating instructions copied directly from the supplied instruction sheet.
|
|
 |
Left Grip - all toasty warm in the snow. |
 |
Right Grip - warm hand and toasty thumb! |
Symtec have also produced an excellent video tutorial on the installation process which you can view below:
|
|

|