 |
GFB DV+ By Bill "BillaVista" Ansell |
IntroductionGFB DV+ stands for "Go Fast Bits Diverter Valve Plus". It's a diverter valve (plus) manufactured by the company "Go Fast Bits". What is a diverter valve, and why would I want to install this upgraded aftermarket one? A diverter valve is just the most recent name for what used to be called a "blow off valve" or a "bypass valve" and it's essentially a computer-controlled safety device for your turbo. When your turbo is making boost and you close the throttle (to shift or decelerate) it takes some time for the turbo to stop spinning and making boost...meanwhile boost is still being made but has nowhere to go since the throttle is closed. If we don't have a way to vent this boost, or "divert" it...it can actually apply pressure back on the turbo impeller and cause compressor surge or "turbo flutter" which can be harmful over the long run. |
 |
So what the diverter valve does is open up and allow this excess boost to escape - either back into the inlet air stream or straight to atmosphere. The latter type are famous for making that "wooosh" sound when you close the throttle. However, both the stock style and the GFB DV+ vent back to the air inlet stream and don't make any appreicable noise when doing so. Why upgrade? There are a few benefits of upgrading the stock valve with a GFB DV+.
|
|
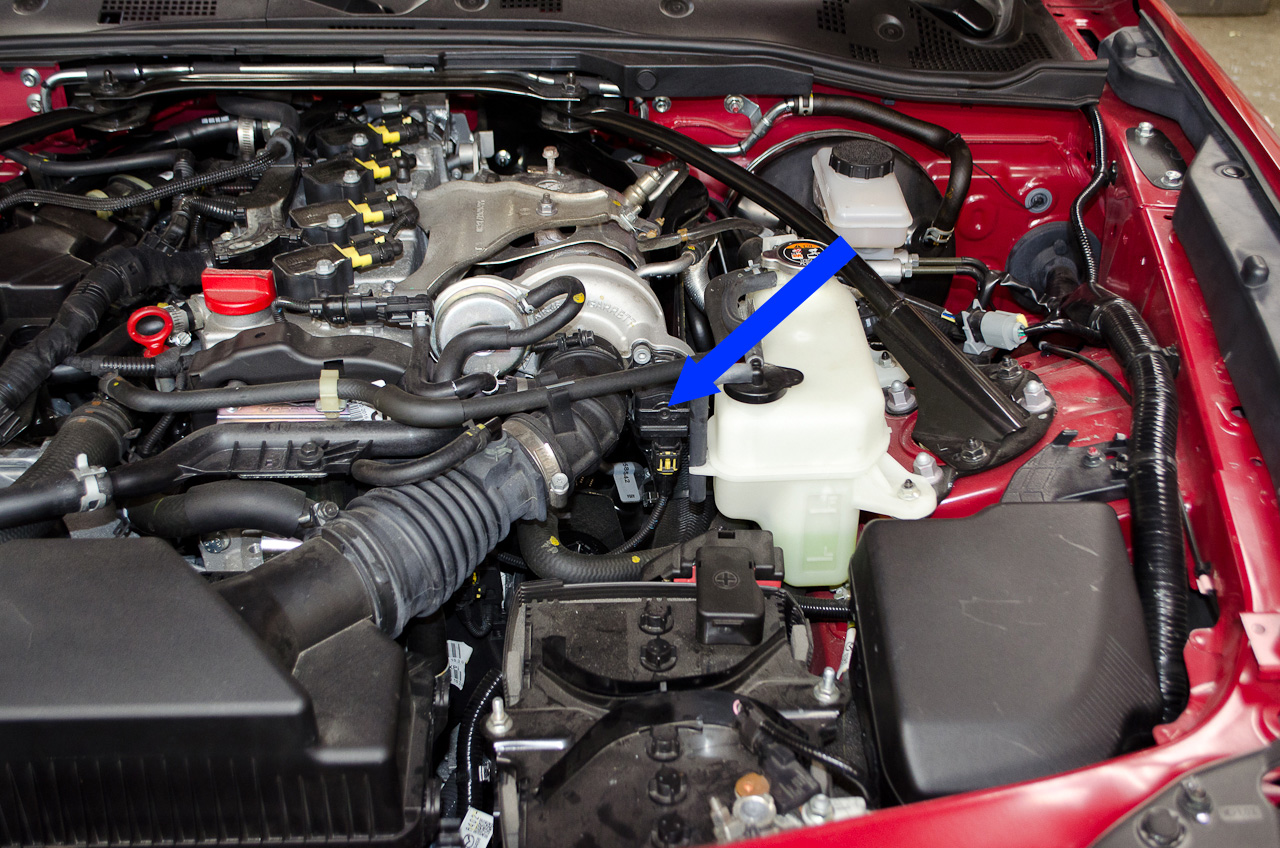 |
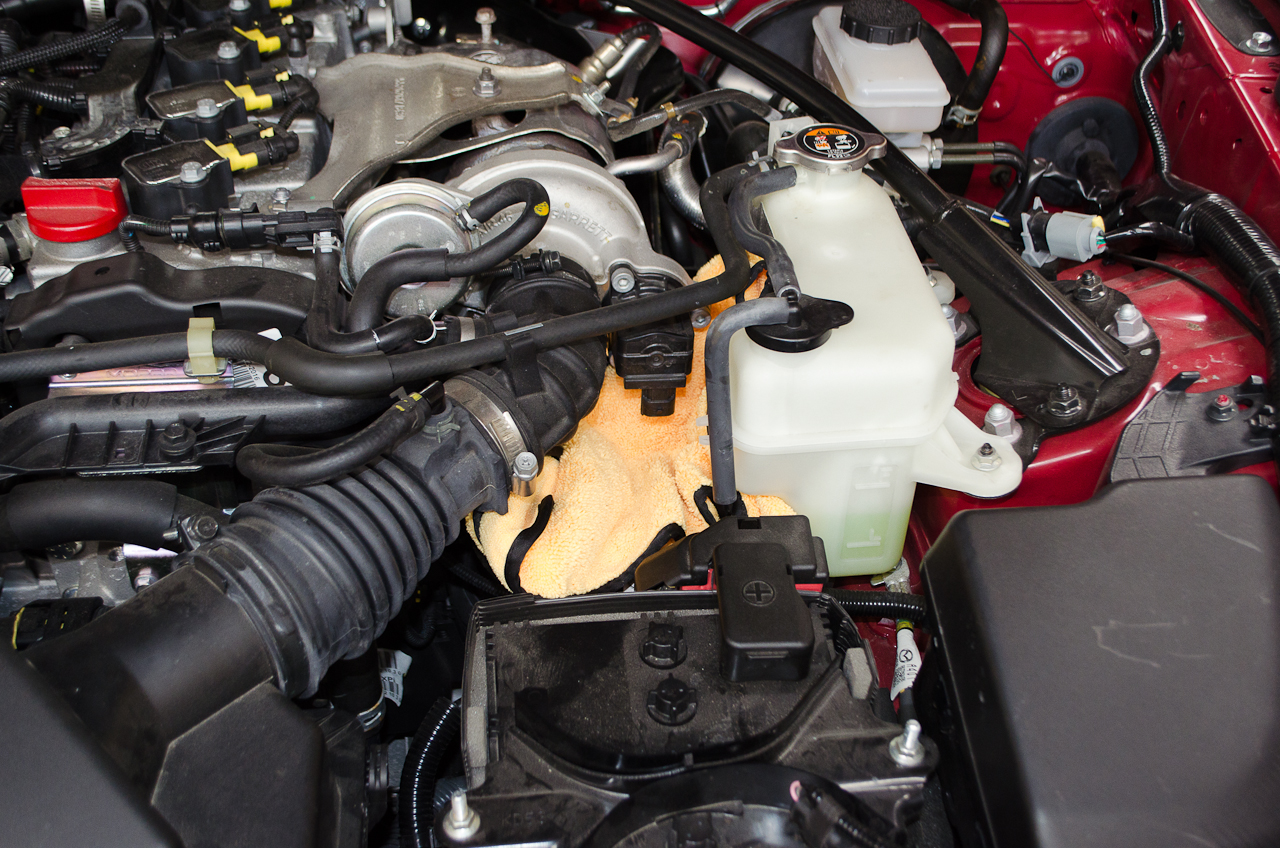
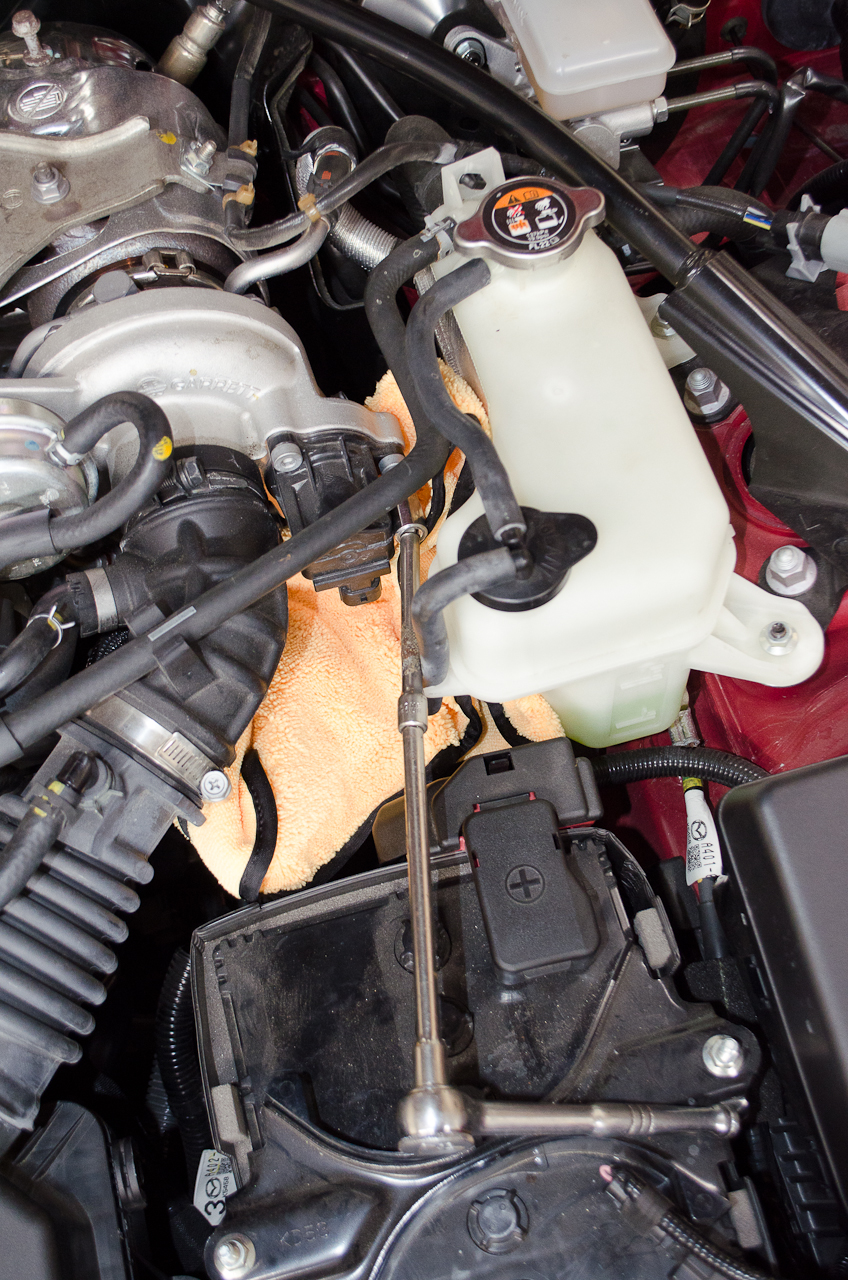
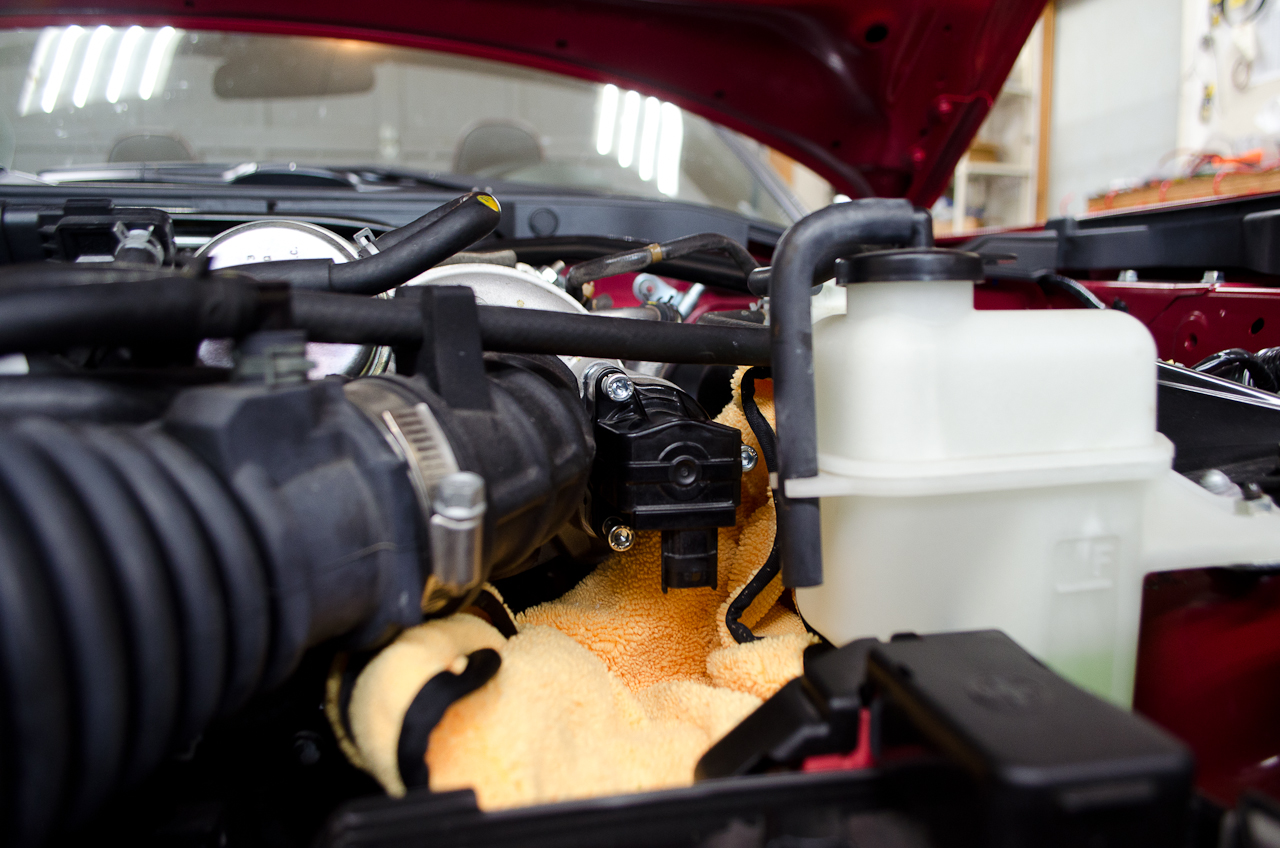
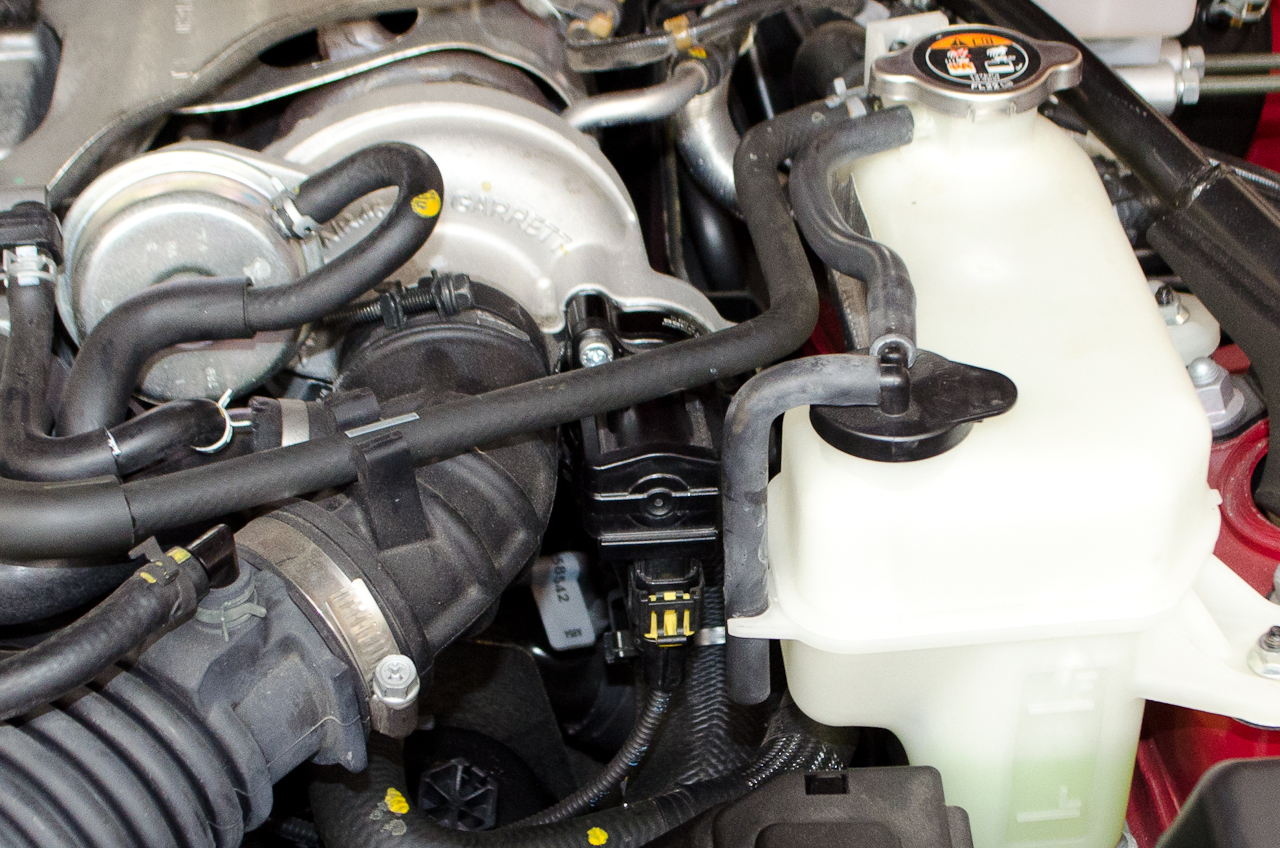
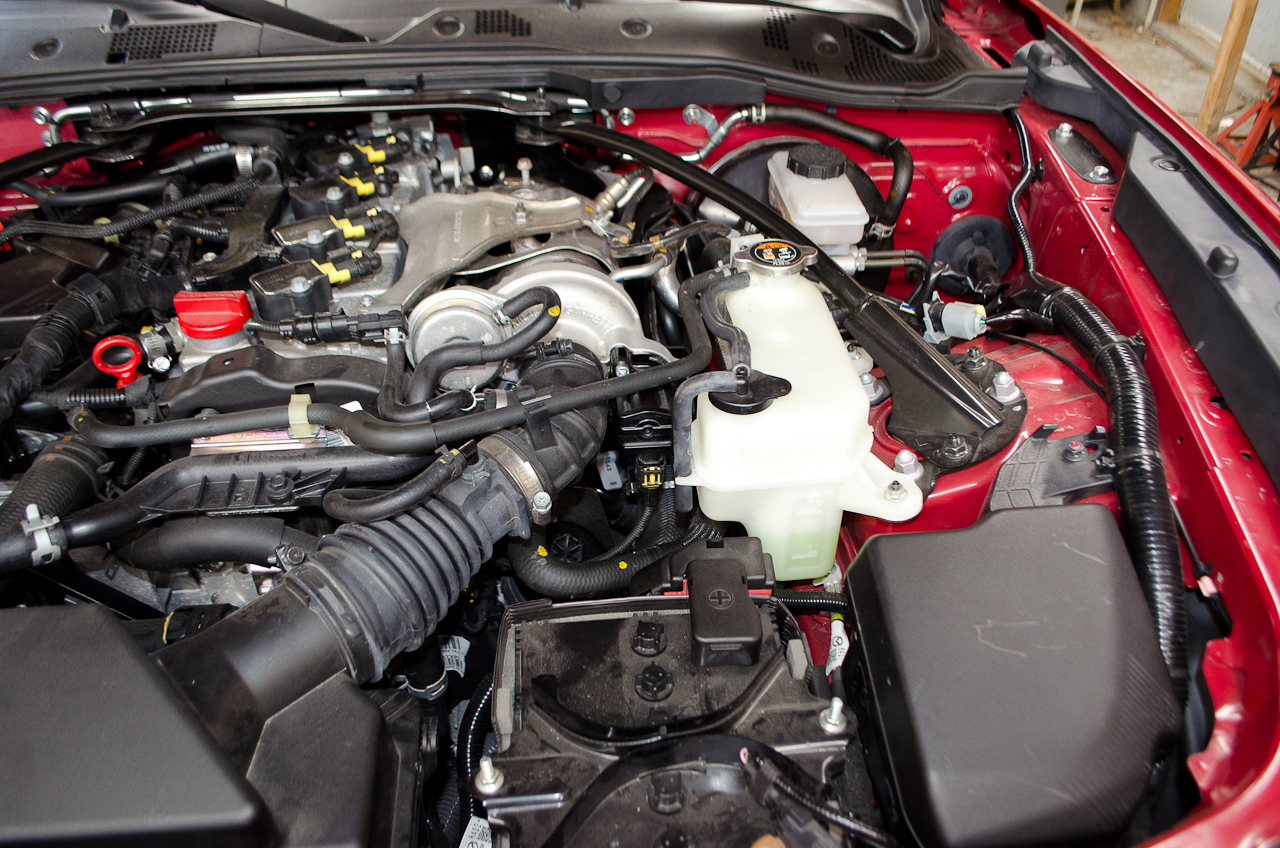
Begin by opening the hood and locating the stock Diverter Valve. Note that the factory service manual calls it the "TURBOCHARGER OVERPRESSURE CONTROL SOLENOID VALVE". |
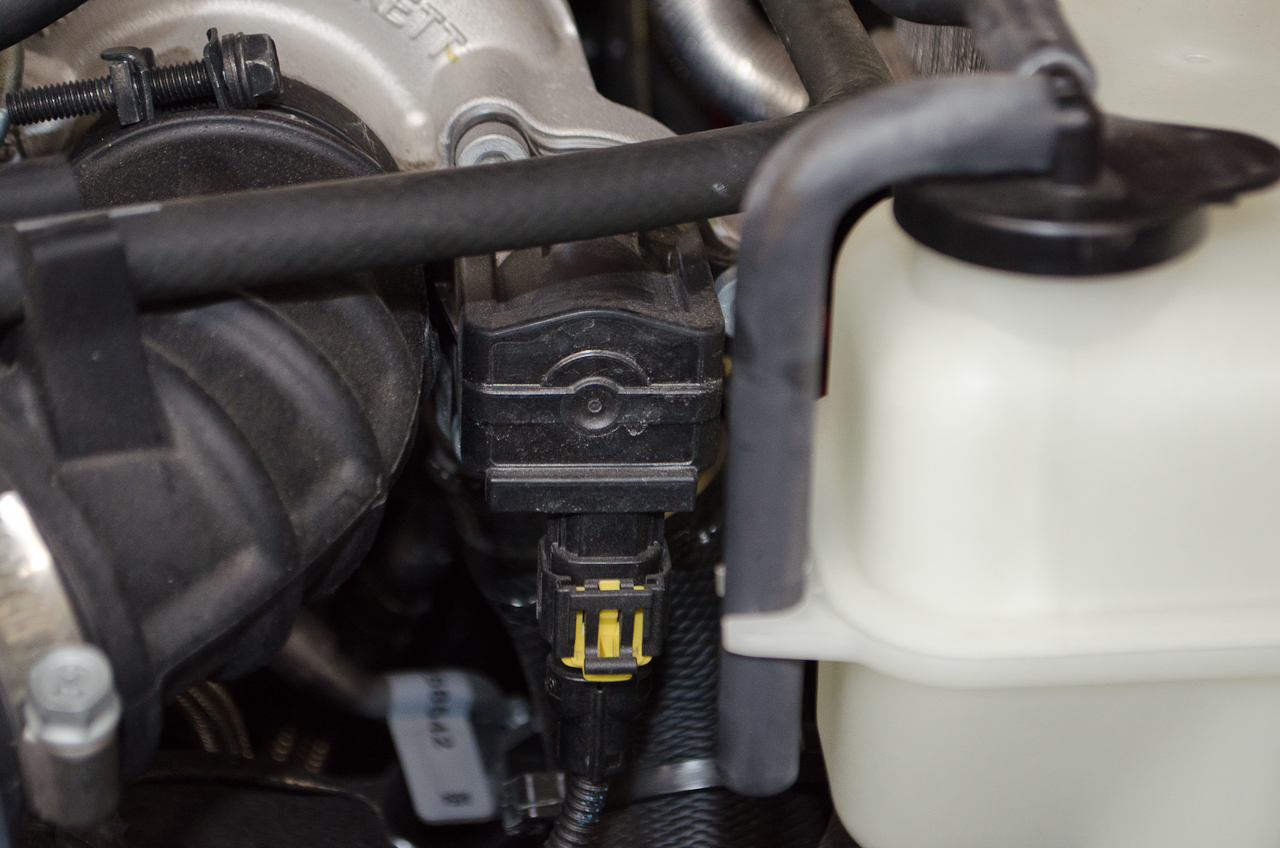 |
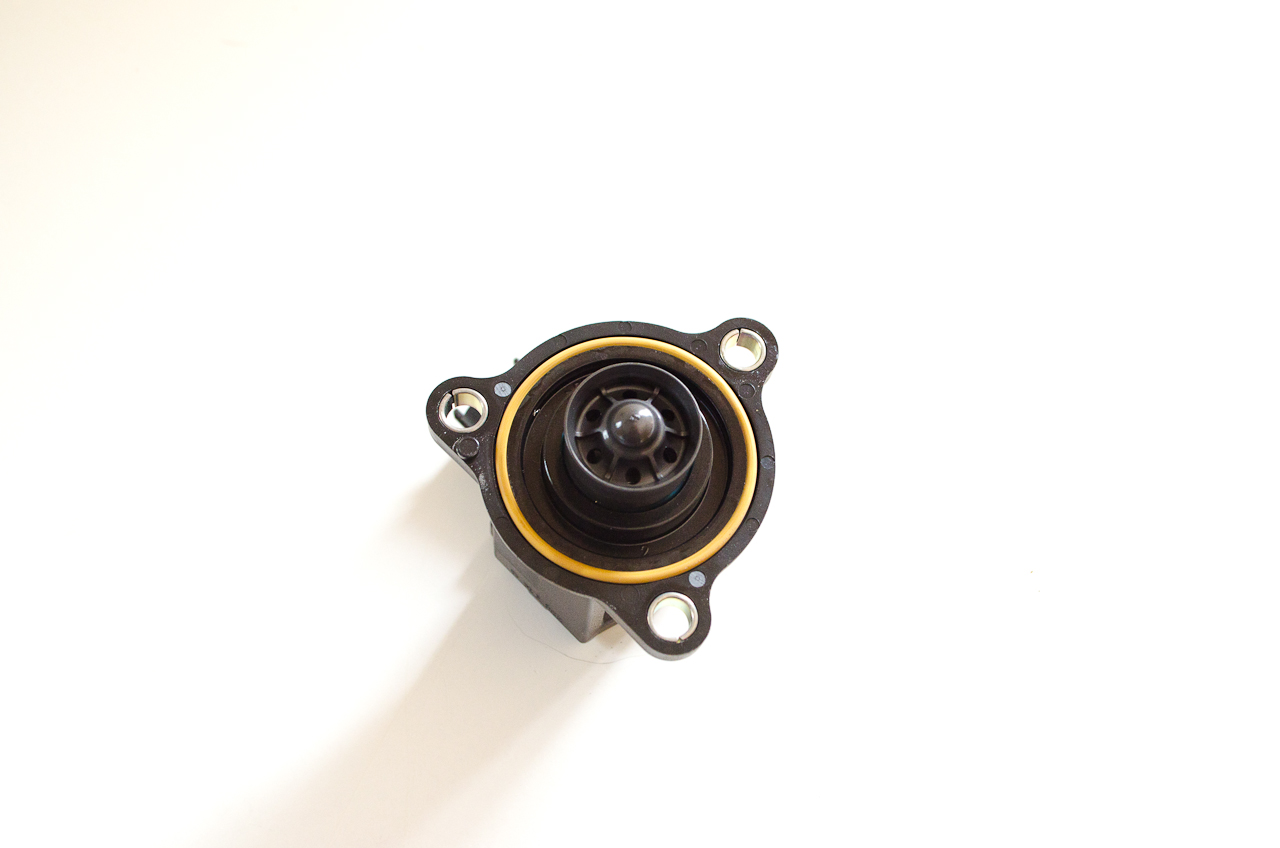
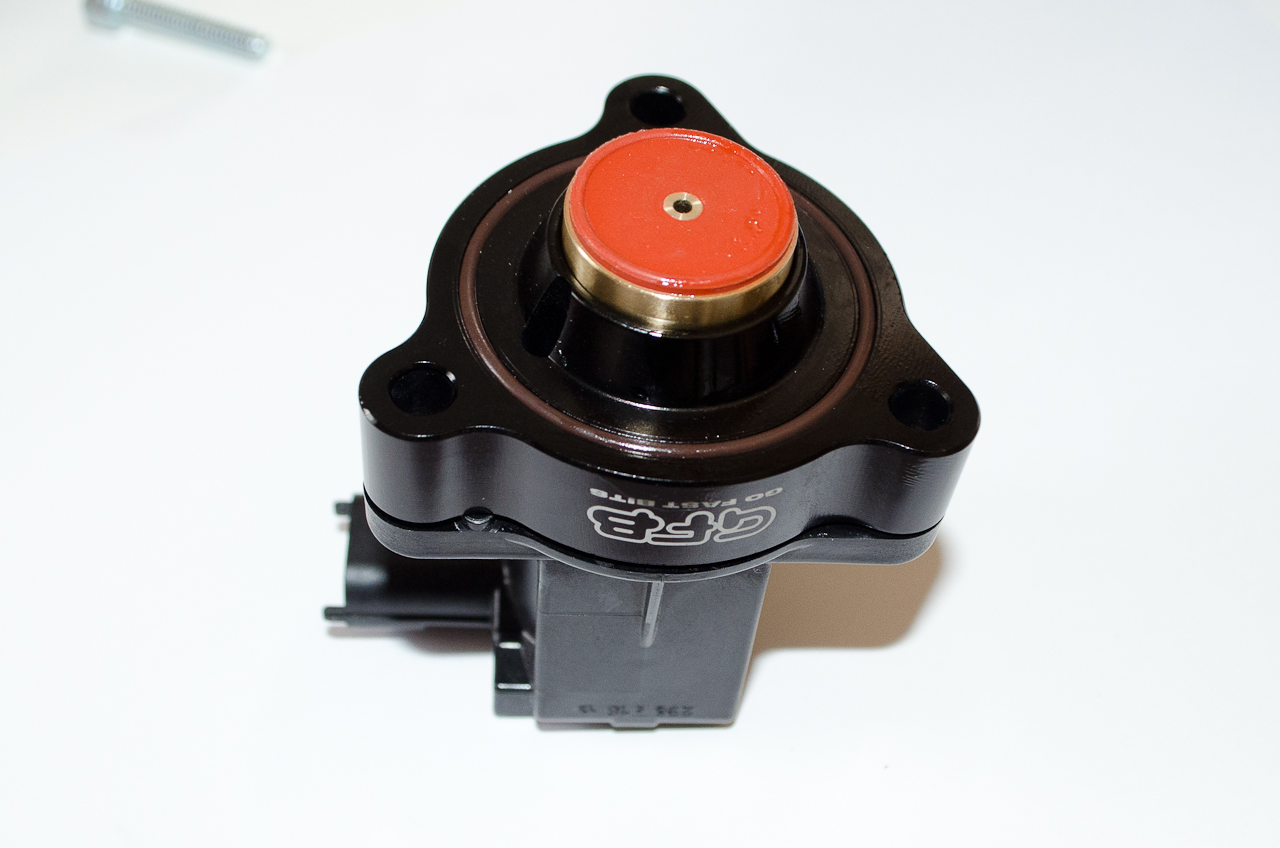
Close-up of the factory valve. |
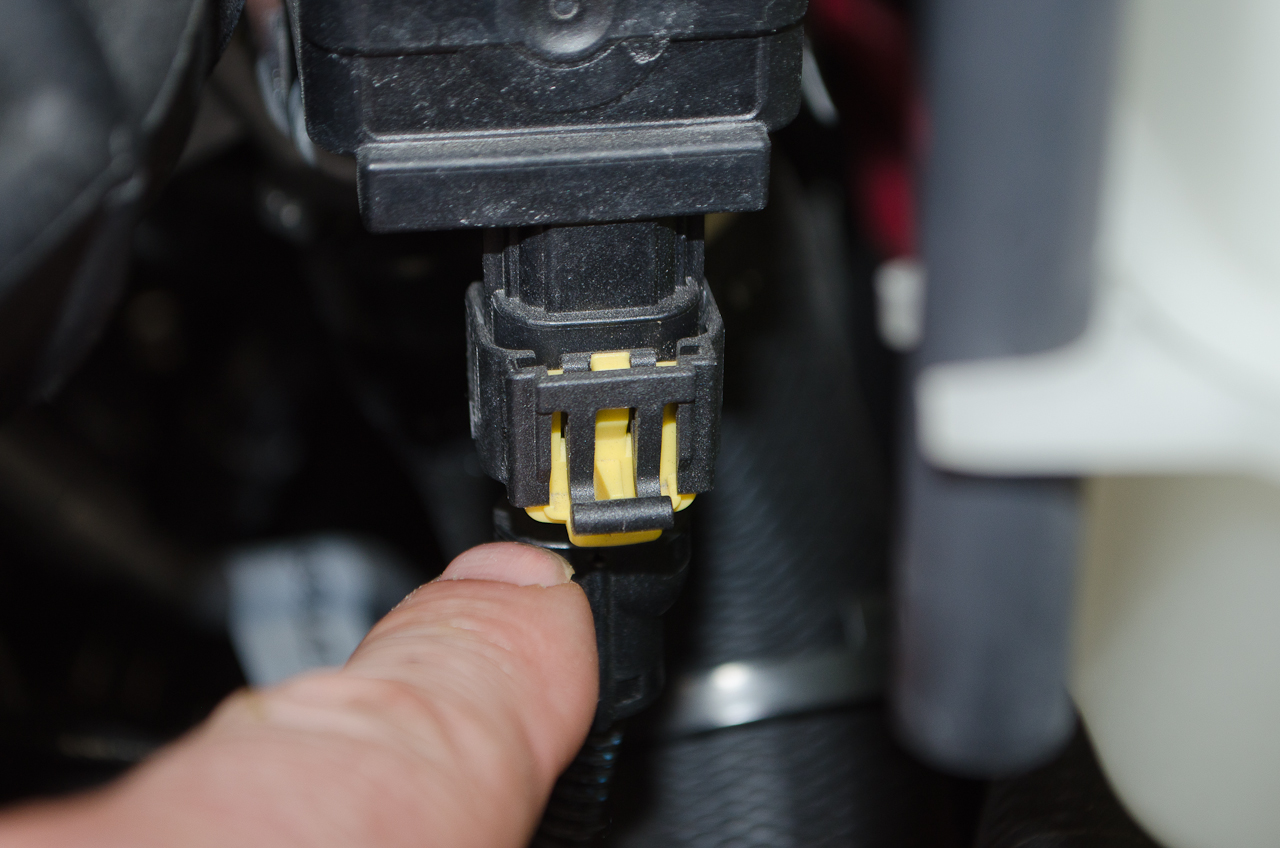 |
Begin by disconnecting the electrical connector. |
 |
Pull down on the little yellow locking tab... |
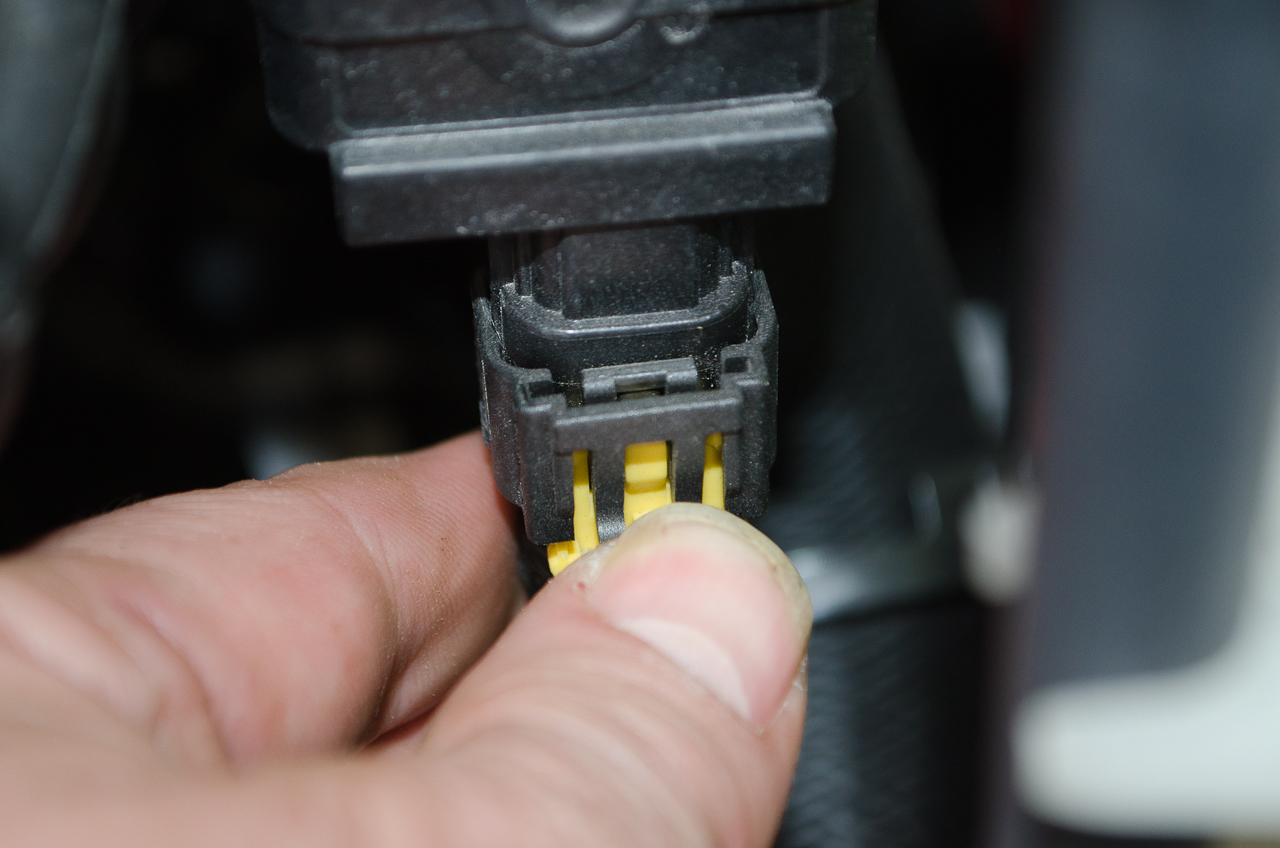 |
...and then you can squeeze the black lever and pull the connector off. |
 |
Disconnected. |
 |
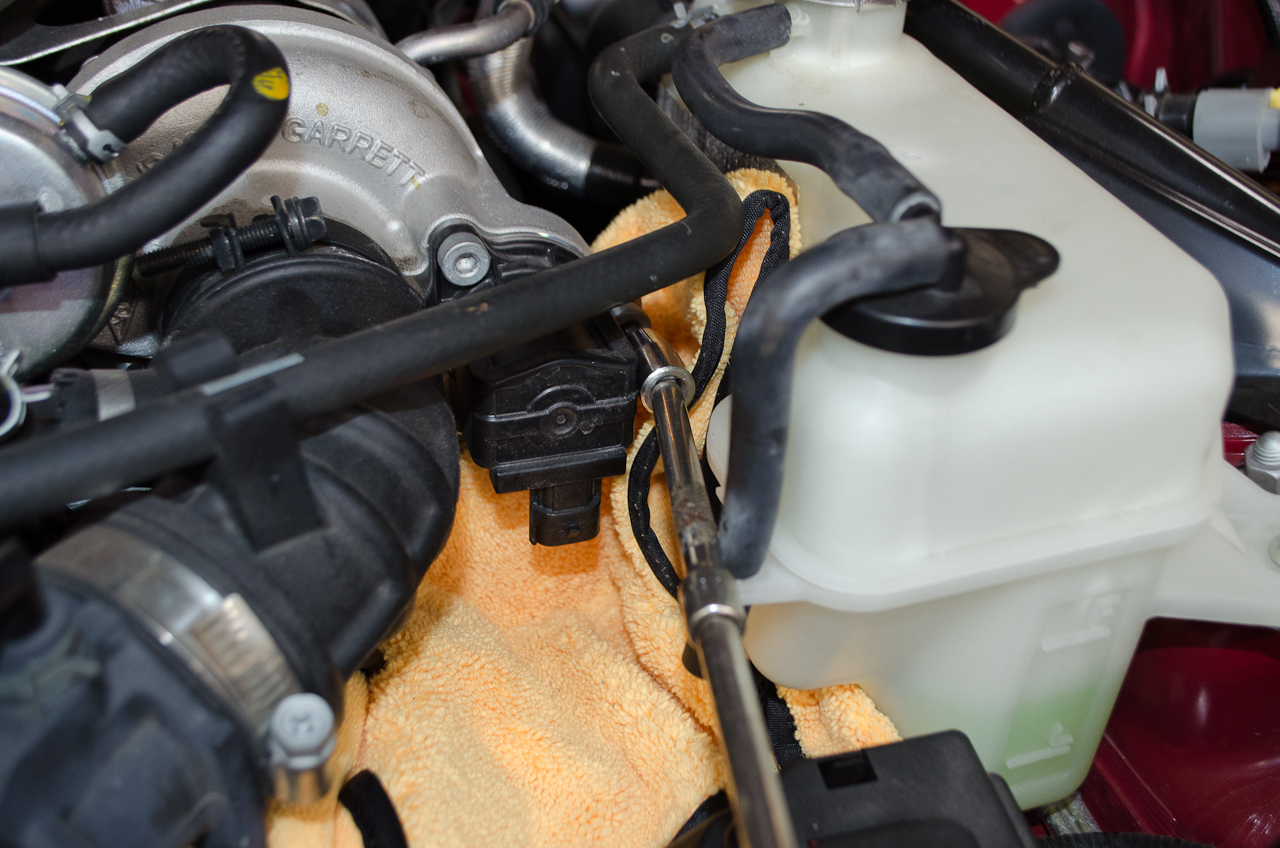
It is a very good idea to place a rag under the valve before we start removing the bolts. Space is tight and the bolts are smalland if you drop one without a rag to catch it it can fall into the engine bay and be a pain to retrieve. |
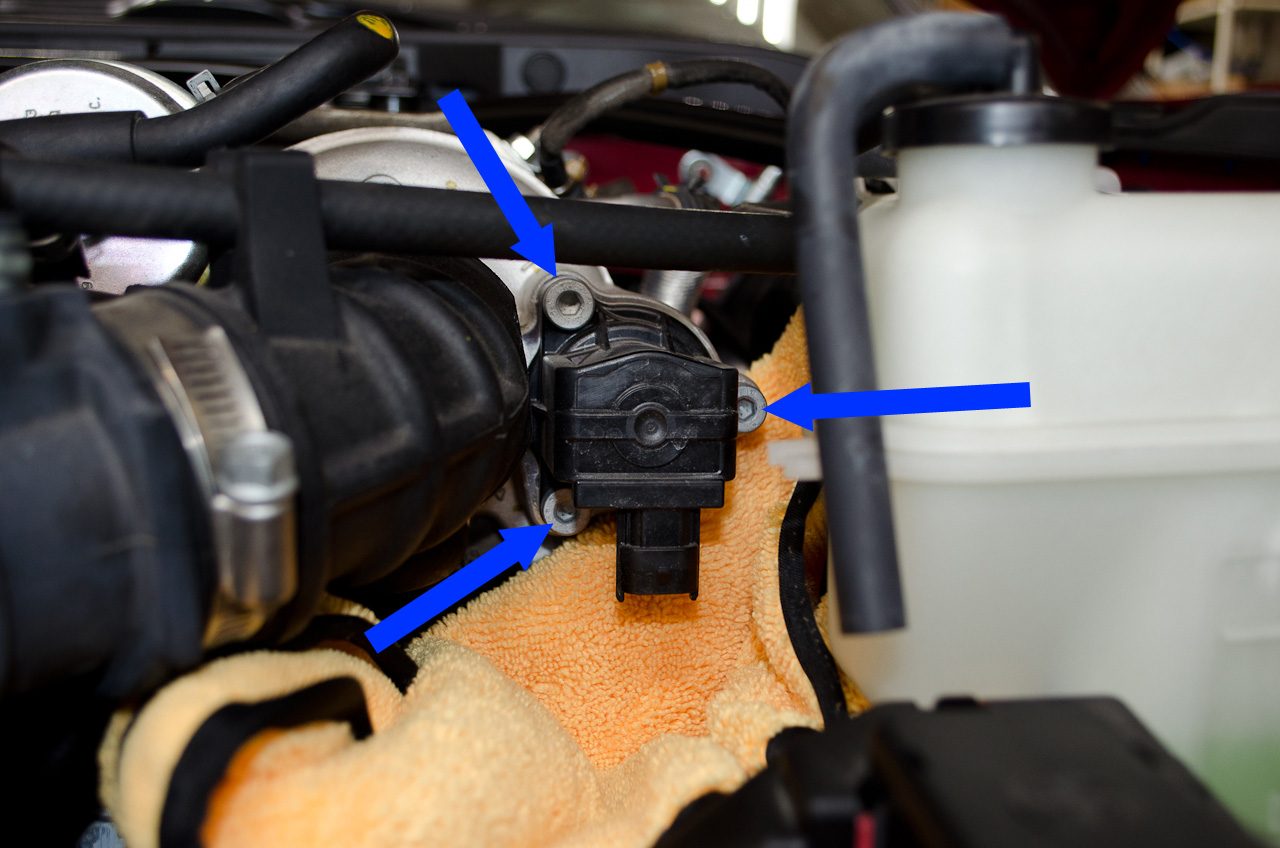 |
These are the 3 Allen-head bolts we need to remove. You can see how space is tight! |
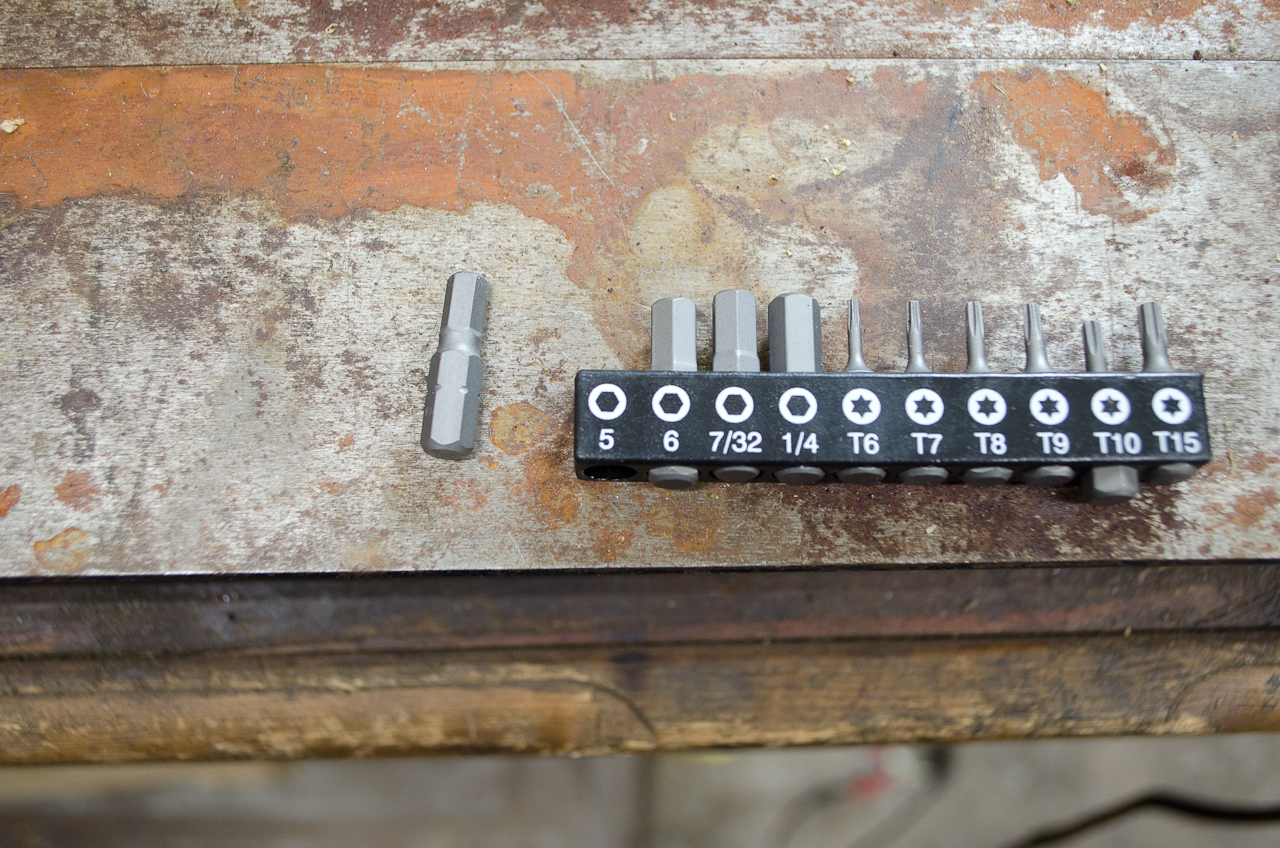 |
You need a 5mm Allen wrench (hex wrench) to remove the bolts. I used a small bit like this... |
 |
...coupled with a bot holder, a couple of wobble extensions, and a small 1/4" ratchet driver to snake in there and get to the bolts.
|
 |
If you don't have tools suitable to snake in there like this, there is a very simple way to gain additional space that only involves a couple of extra steps. I only discovered the following trick when I was reinstalling the GFB DV+ as it is thicker than stock and therefore there is even less room available to get the bolts started. Having done the job, I would recommend that you go ahead and do the following before removing the stock valve as it makes the job much easier. |
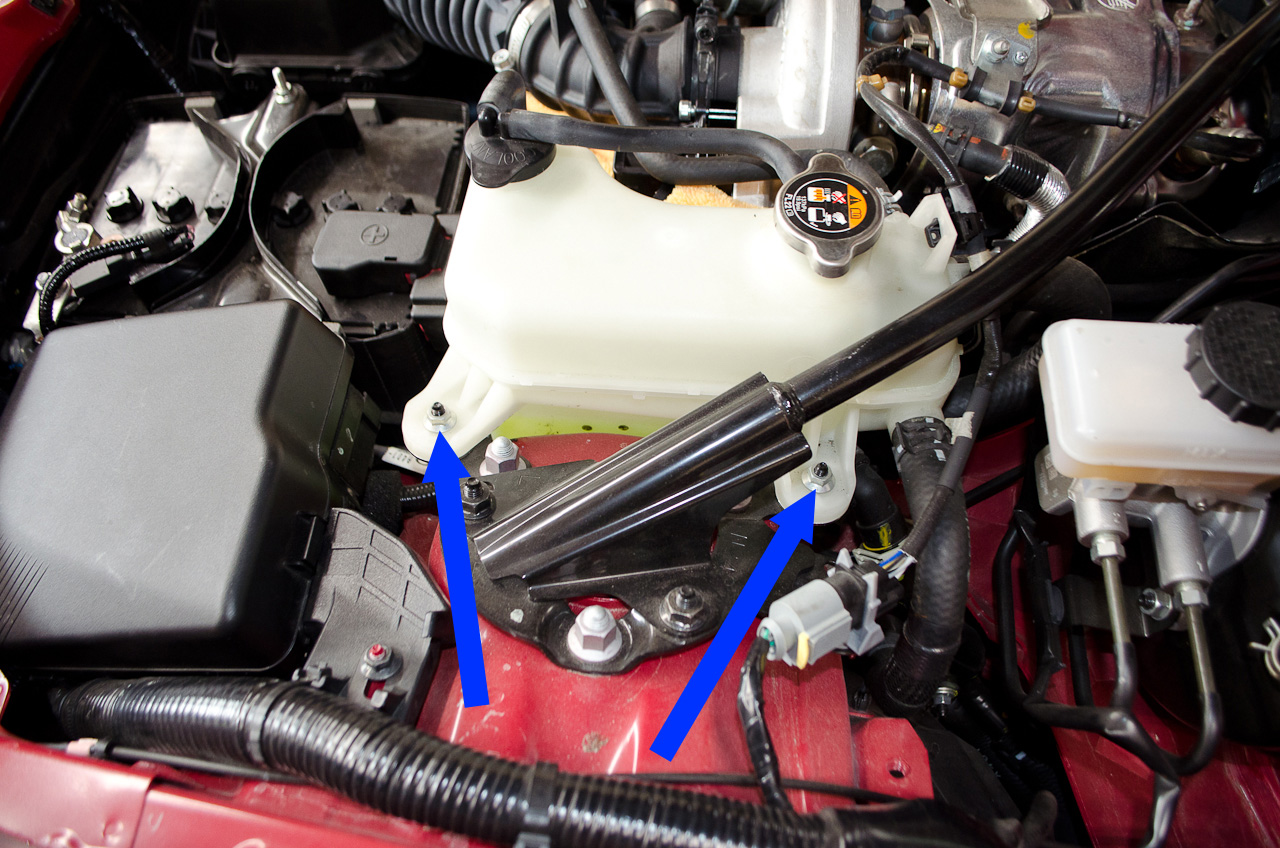 |
To gain more room: Remove these two nuts securing the coolant reservoir. |
 |
They take a 10mm socket. |
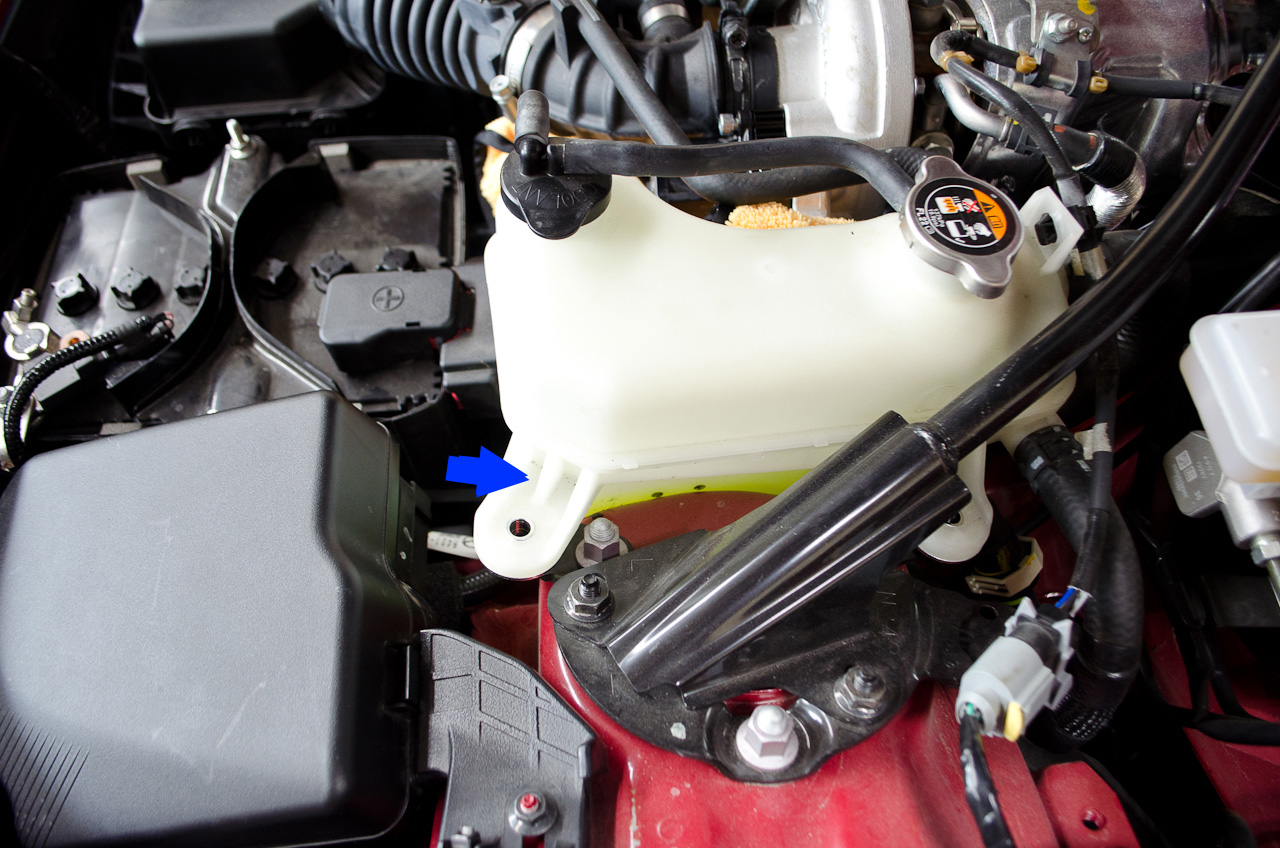 |
With the nuts removed, lift up on the reservoir a bit and pull it slightly towards the left side of the car. You don't need to move it very far to gain the space you need. The rear mounting tab can even stay on its stud and you just need to rotate the front a bit towards the left side of the car. The little blue arrow in this pic shows the approximate location of the front stud. |
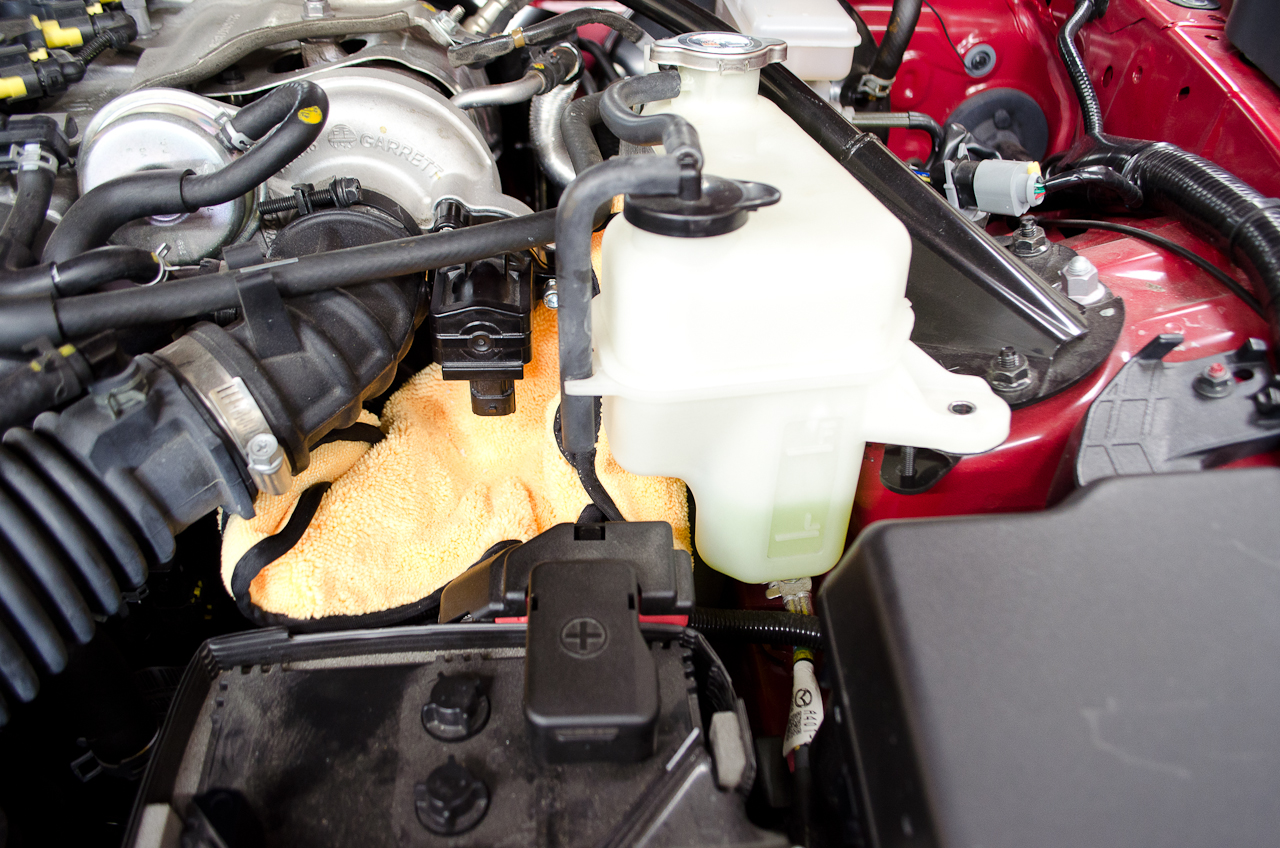 |
With the coolant reservoir moved to the outside a bit... |
 |
...you will have much more room to get to the valve's mounting bolts. |
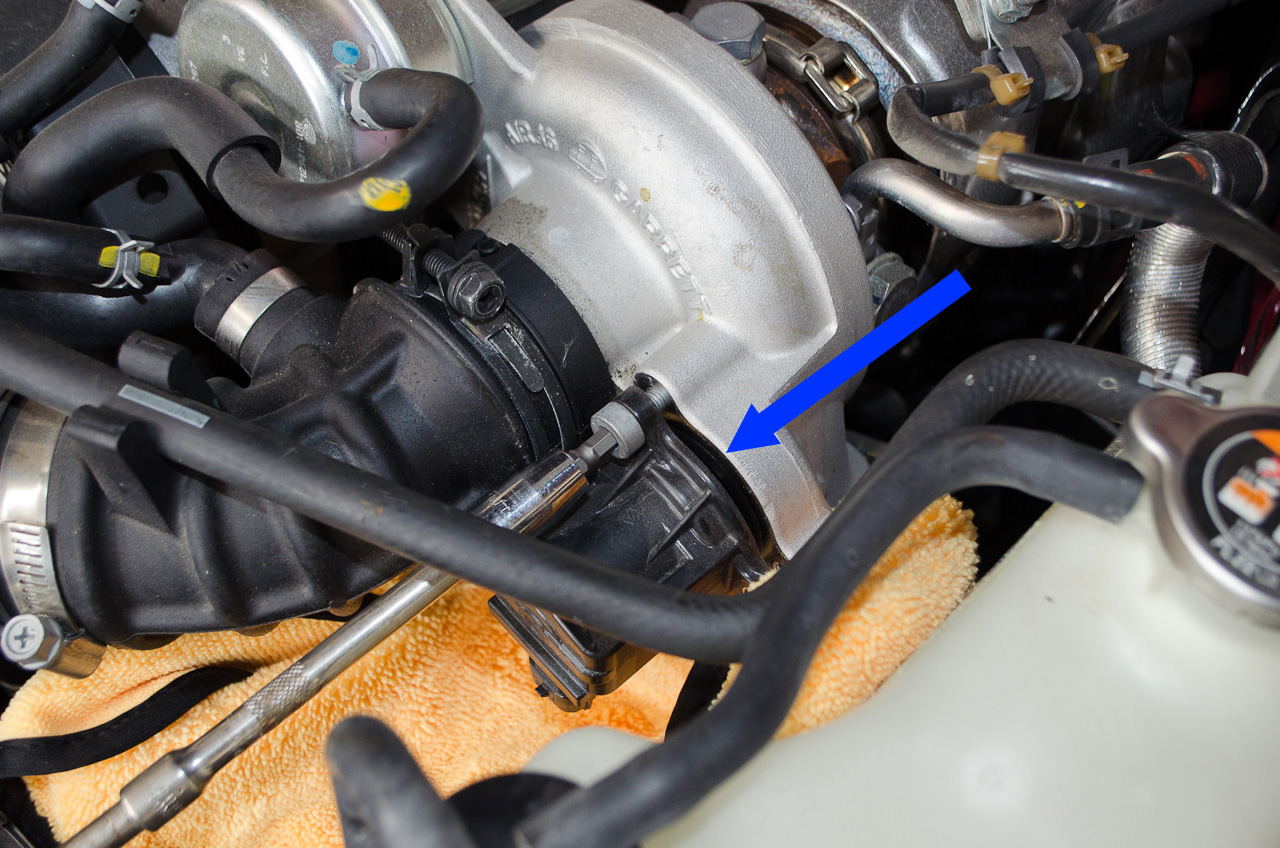 |
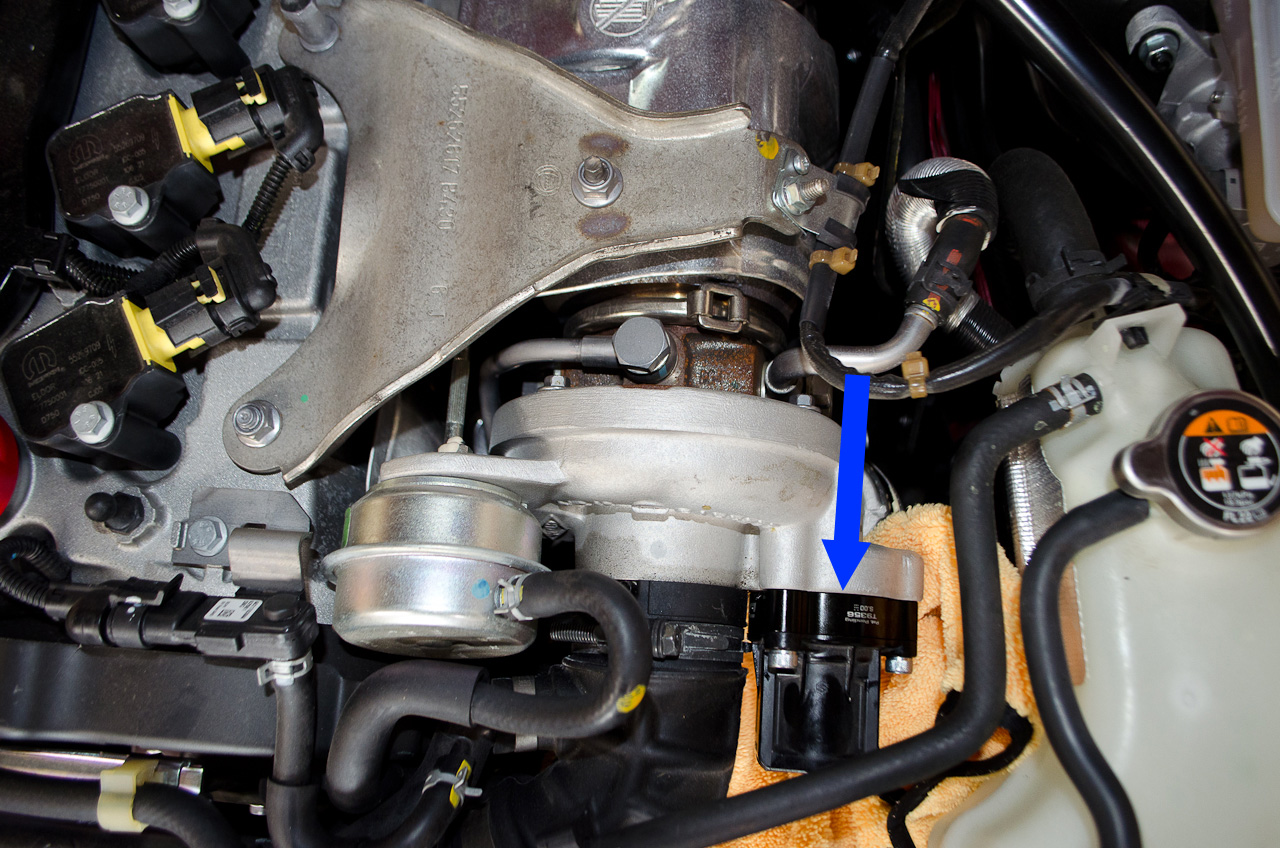
Remove the 3 bolts. As you remove the last the stock valve should come away from its mounting flange on the turbo. If not, wiggle it loose and remove it. |
 |
Stock valve removed. |
 |
Take the stock valve to the bench. We're going to now rebuild it with the parts that come in the GFB DV+ kit. |
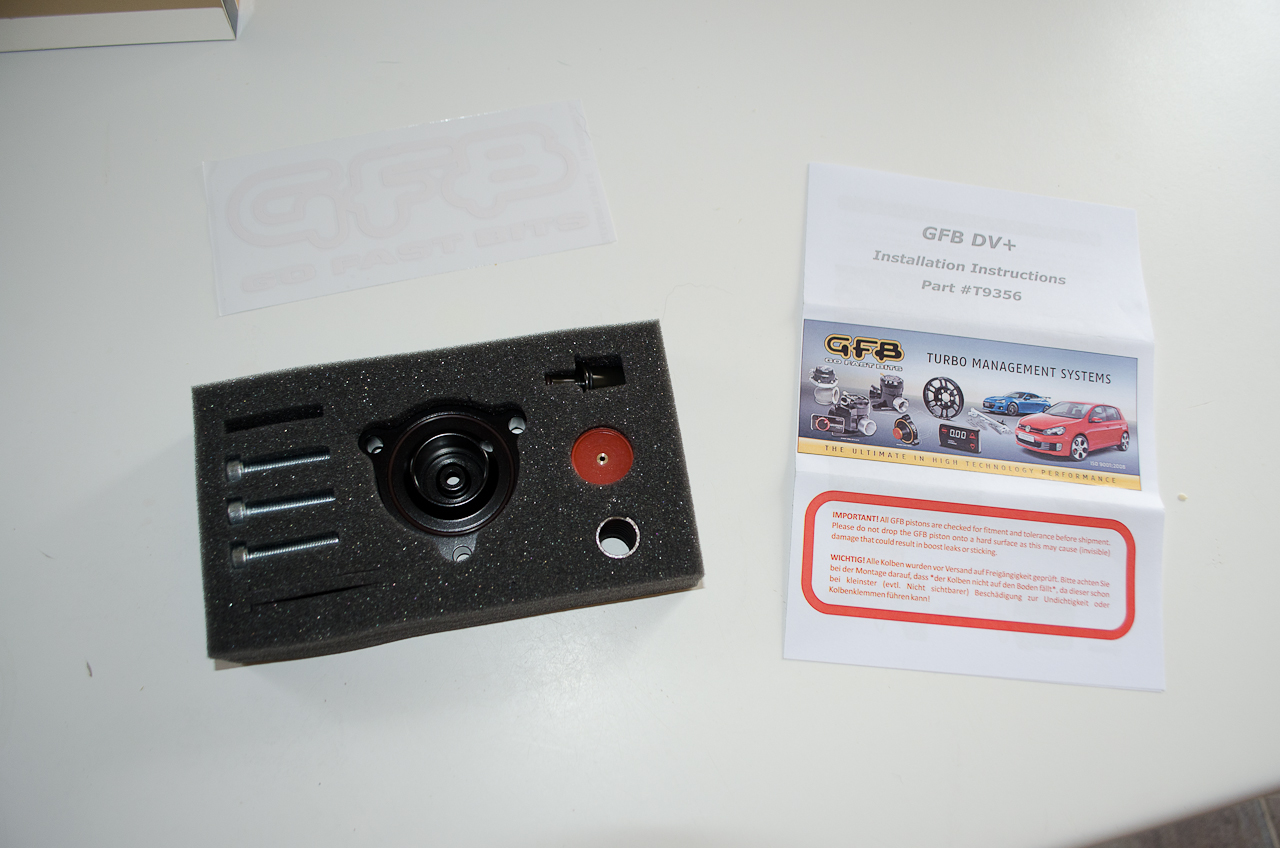 |
This is the kit. It comes with a small instruction leaflet and a sticker. |
 |
The contents of the kit include: 1. Replacement plunger spring
|
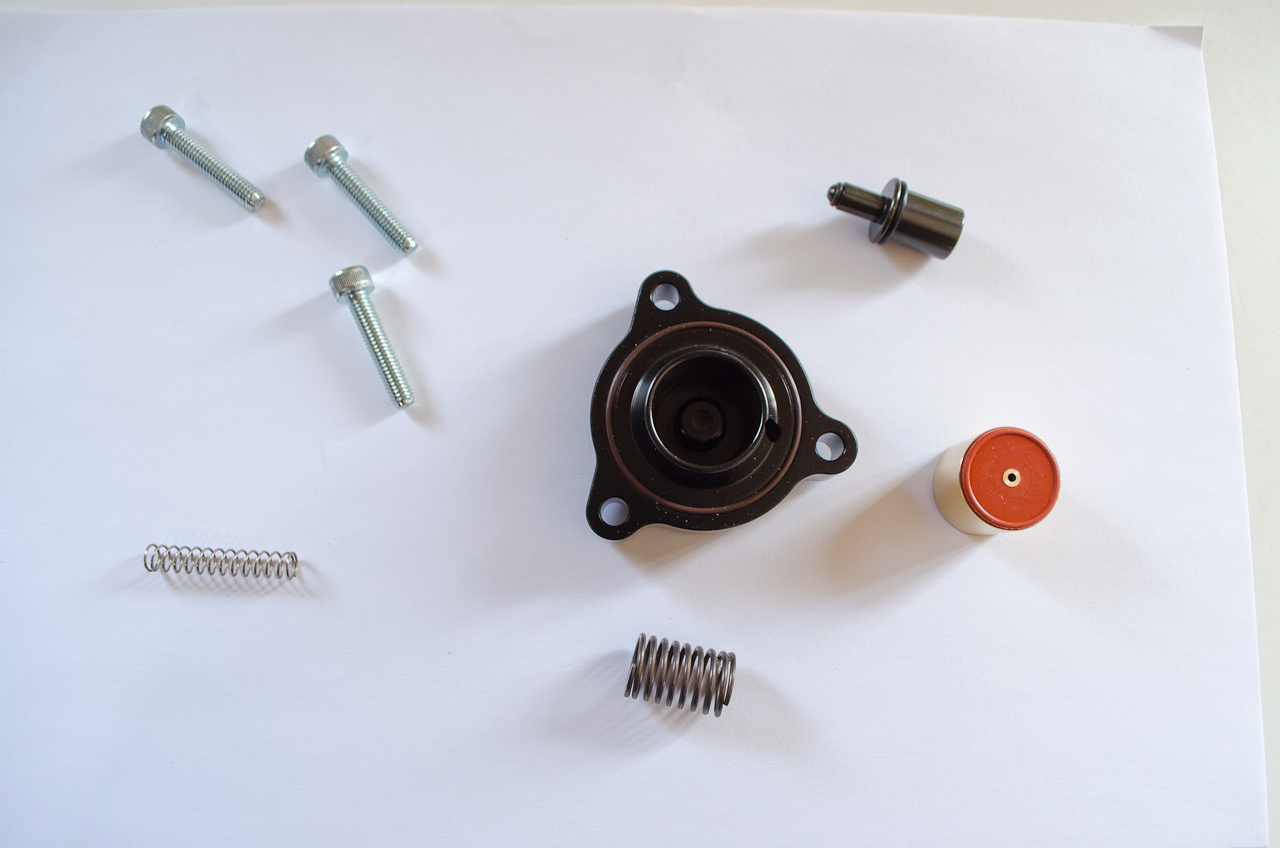 |
Here are the parts out of the case. |
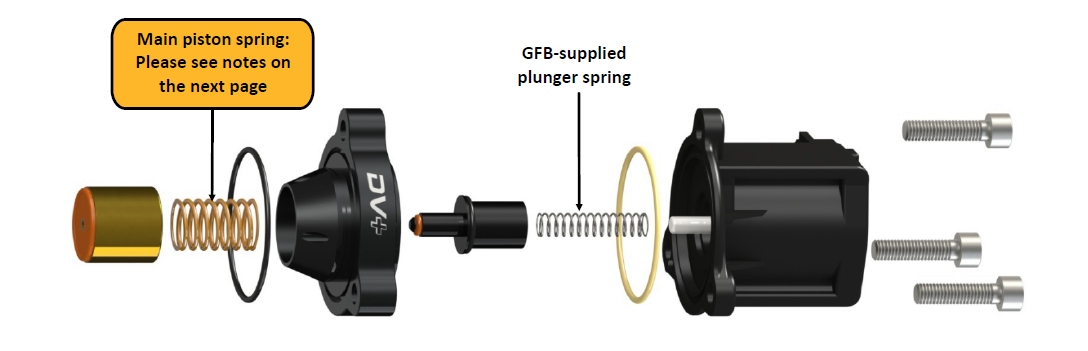 |
This is the picture from the instructions showing the assembly order. Note that the brown o-ring shown around the main spring comes pre-installed in the piston housing. |
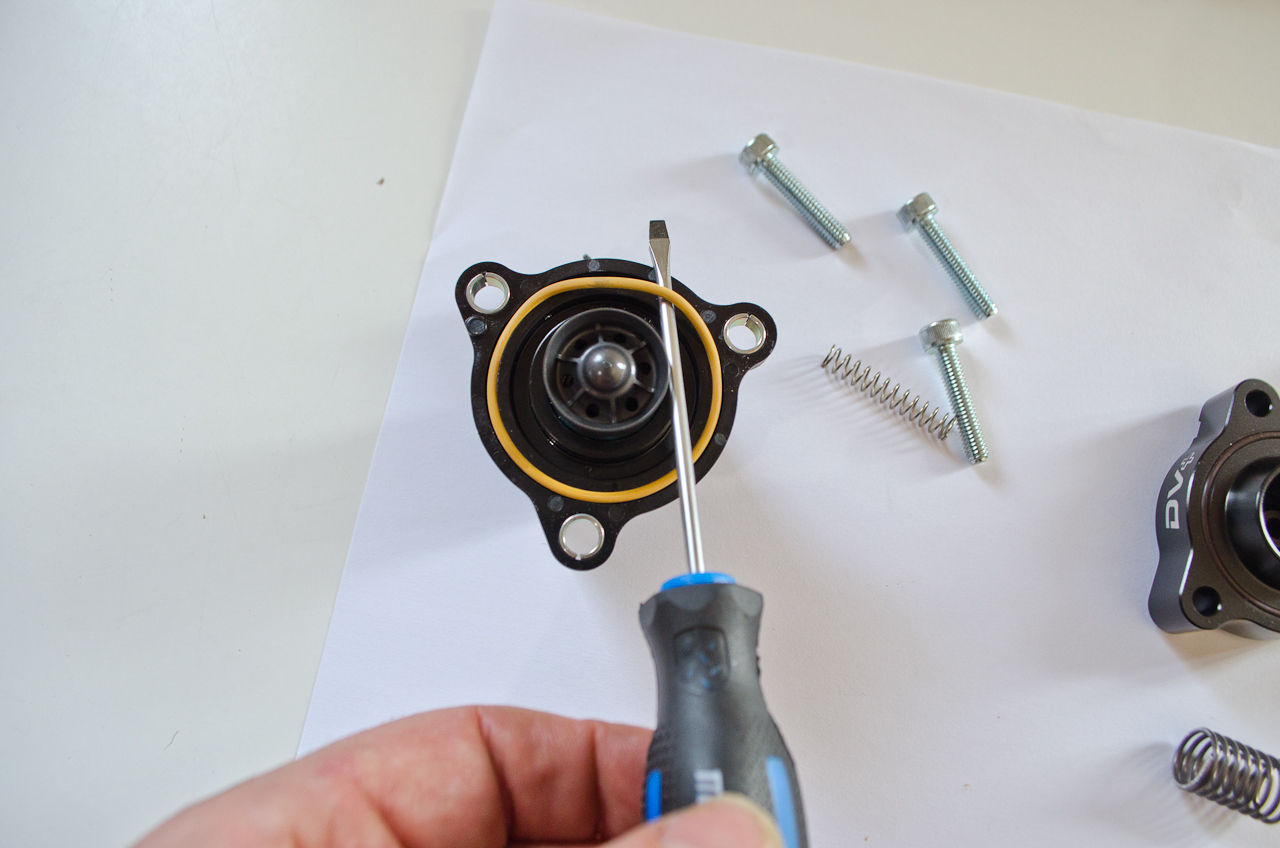 |
Begin the rebuild by carefully prying out the yellow o-ring. It's a tight fit so work carefully and patiently. Do not damage the o-ring as we are going to re-use it. I found it easiest to pry from the inside out using a small screwdriver. |
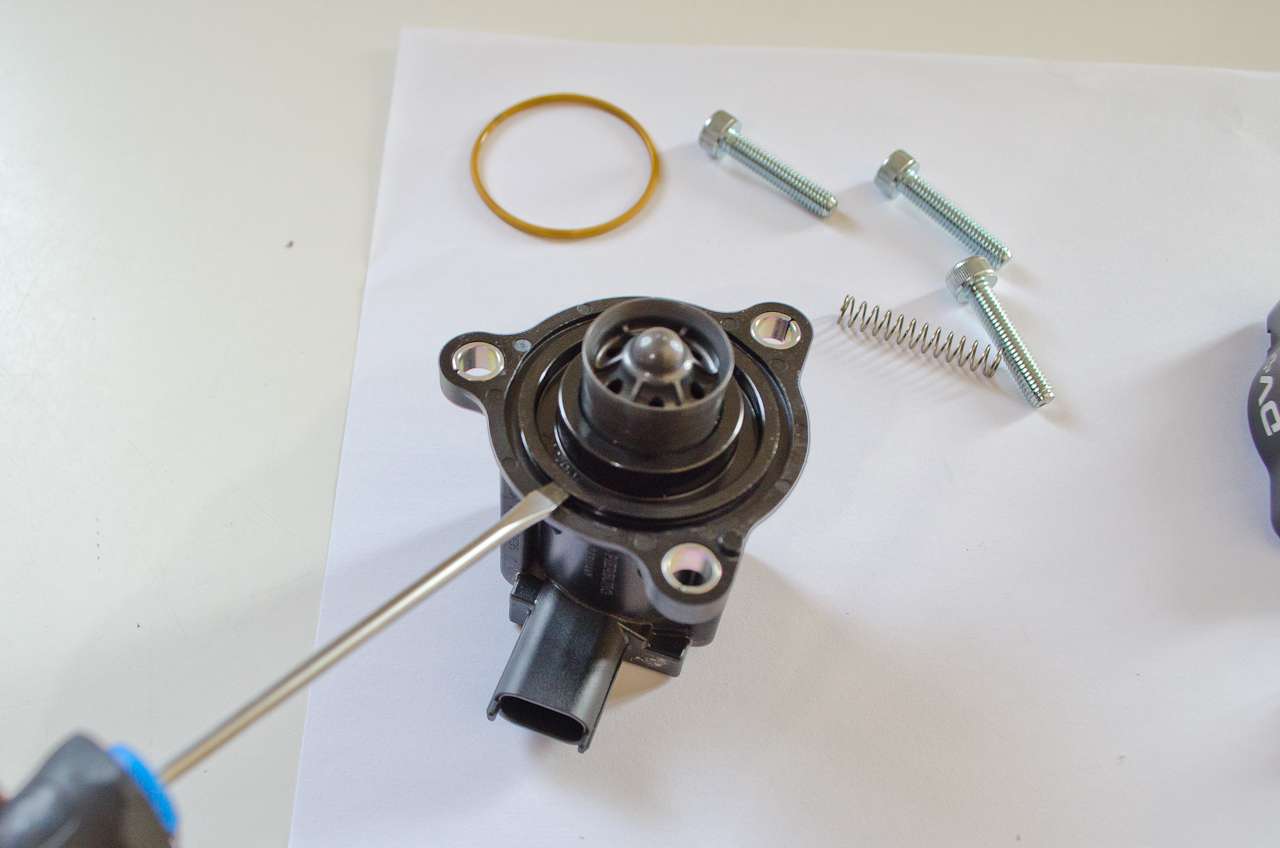 |
Carefully pry the piston sleeve out of the diverter body, using the lip where the o-ring was. |
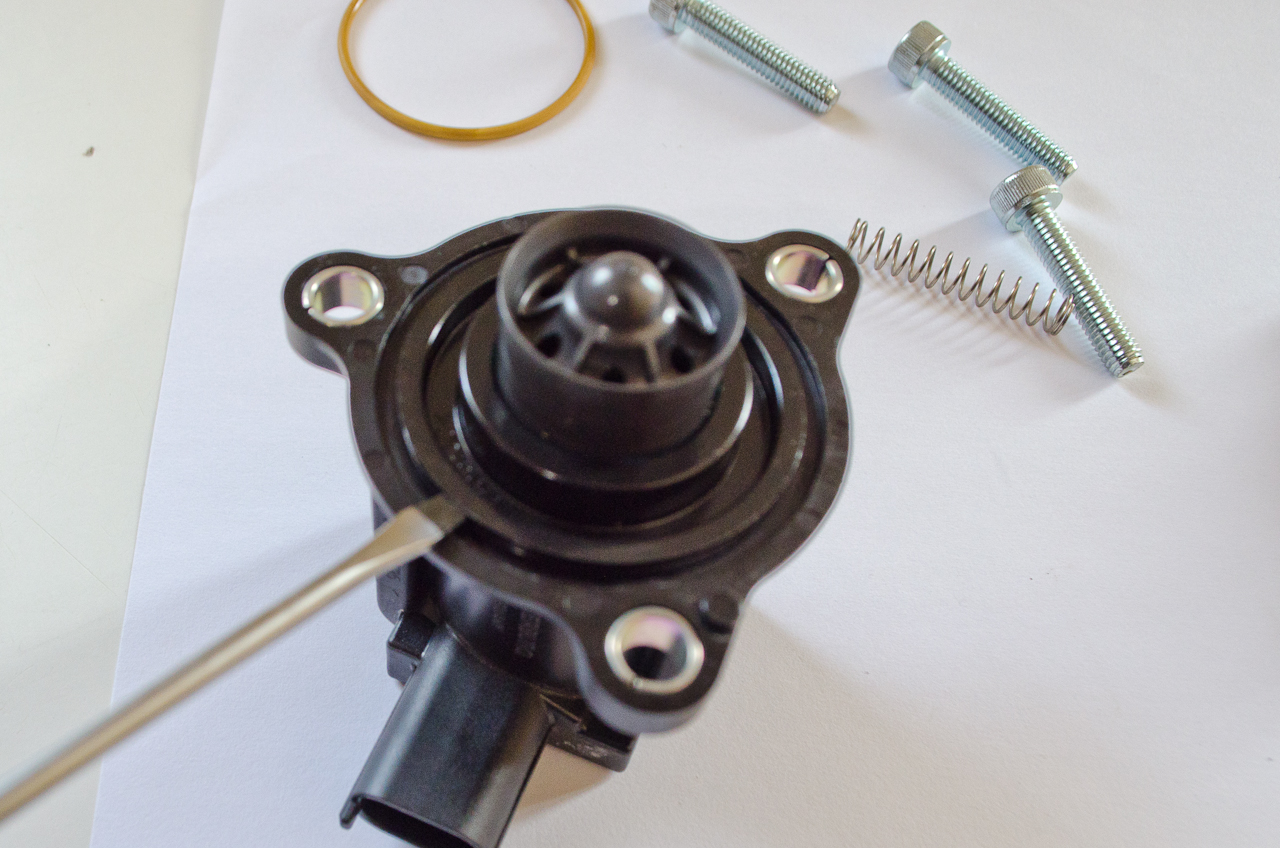 |
Lever it gently and work your way around so it pops out evenly. The plastic sleeve is extremely delicate. Many users report breaking it during removal. This isn;t a huge deal as we don;t need to re-use it - but if it does break it means you won't be able to revert to the stock setup (although I can;t think why you would want to). |
 |
Eventually these parts will pop out (note the little chip in the lip). |
 |
I did in fact break it despite how careful I was. |
 |
And they do actually "pop" out as they are under pressure from the plunger spring. Notice the stock spring is longer than the pin it is mounted on. |
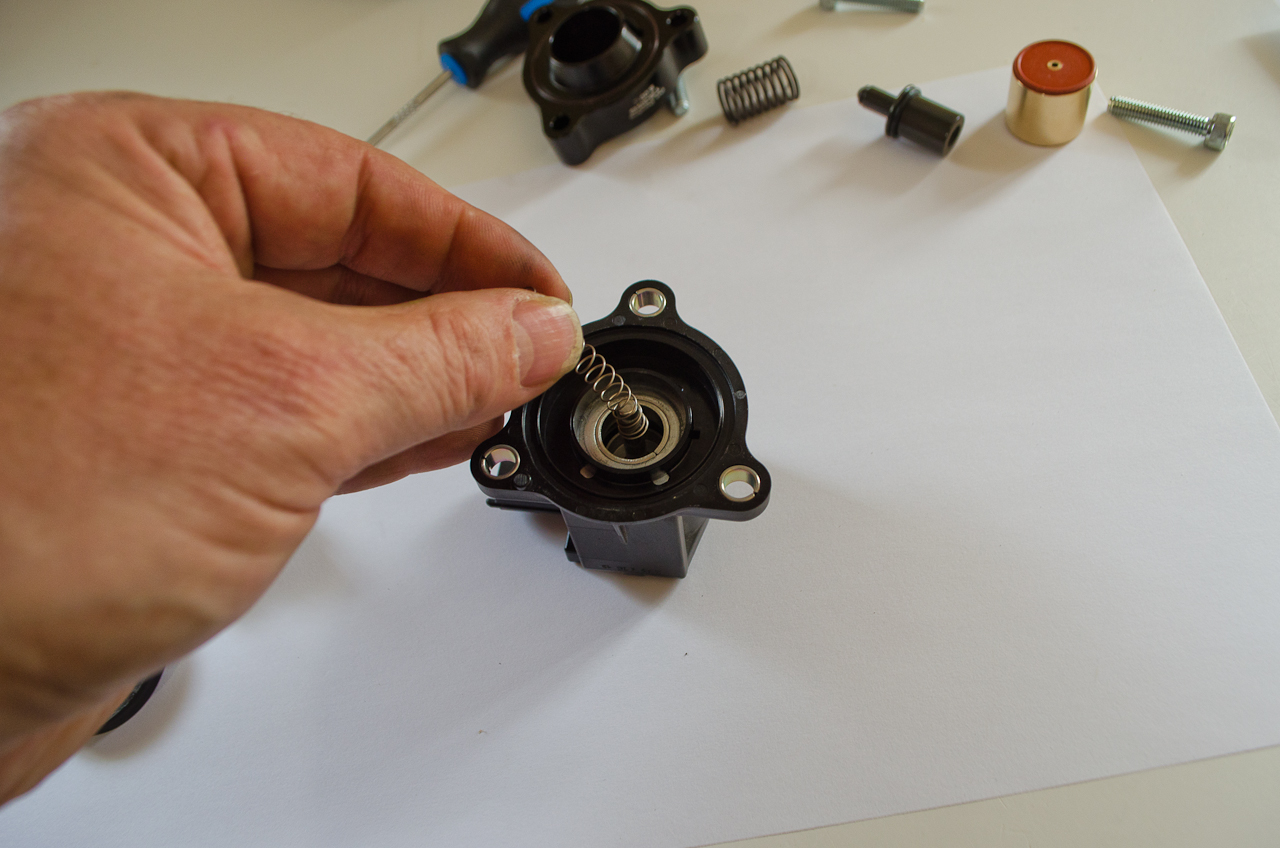 |
Remove the stock spring... |
 |
...and replace it with the new plunger spring. Note how it is shorter than the original spring (this can be helpful to know should you mix them up accidentally!) Replace the yellow o-ring. |
 |
Place the plunger on the plunger spring. |
 |
Place the piston housing over the plunger and place the main spring in the housing. |
 |
Lube the piston with a little engine oil and place it in the housing. |
 |
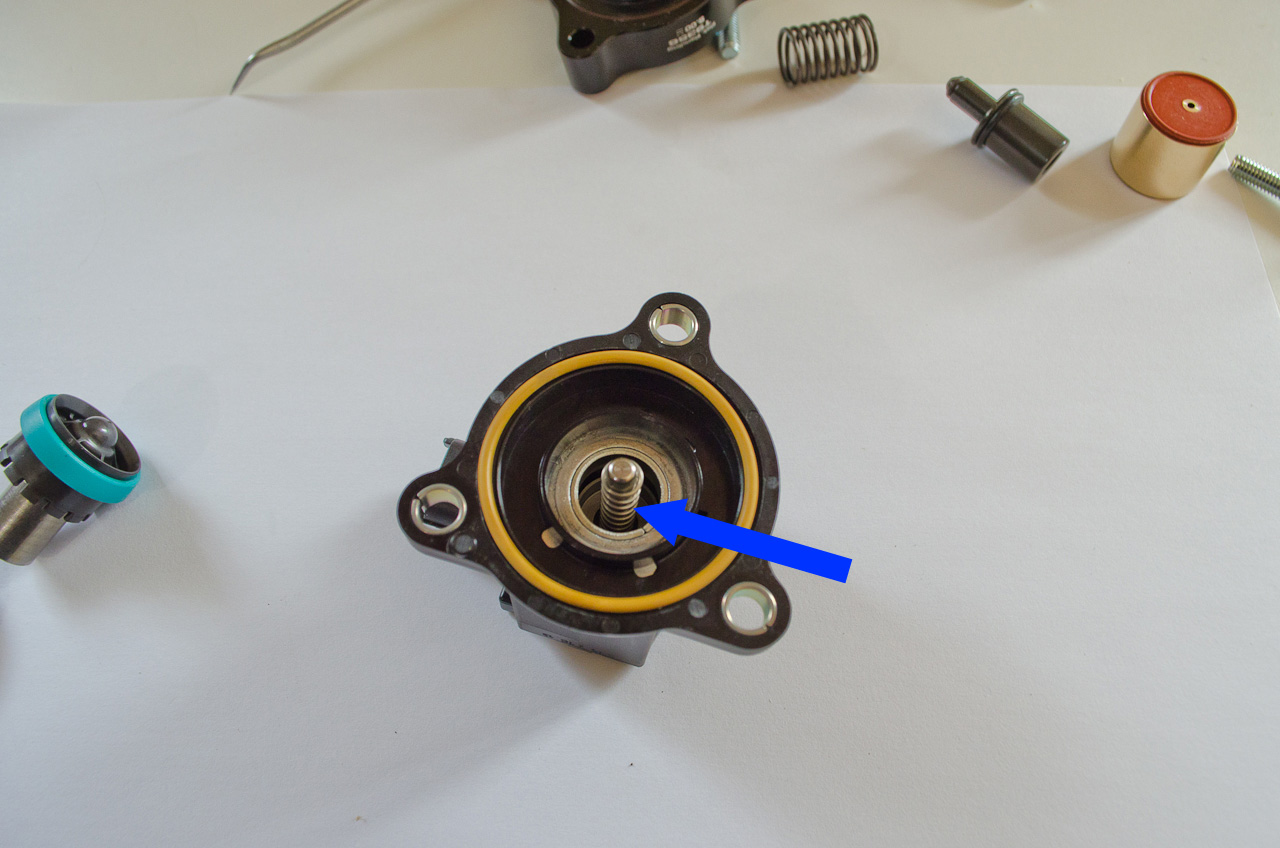
Before you squeeze all the parts together, make sure the alignment post is lined up with the corresponding notch. |
 |
Then gently squeeze everything together. Note the post and notch alligned. |
 |
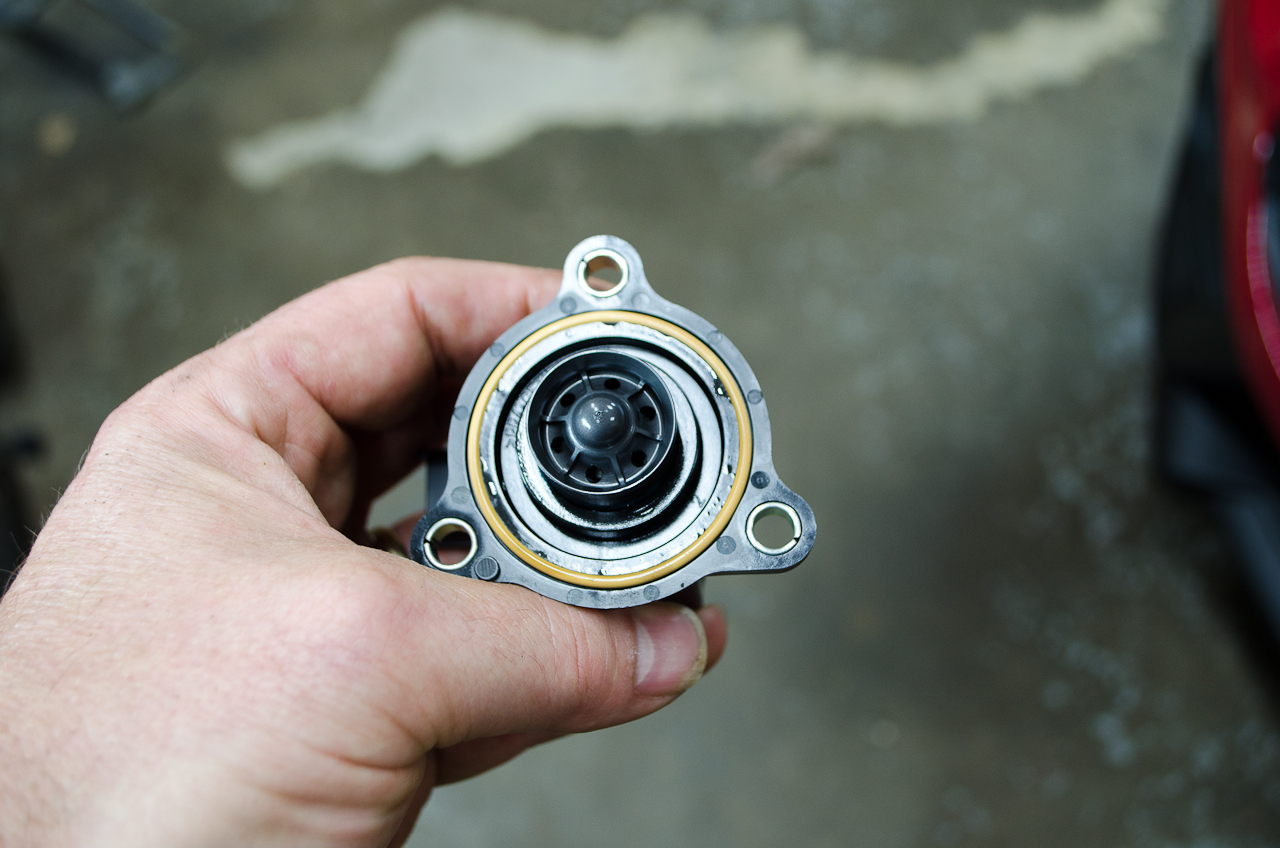
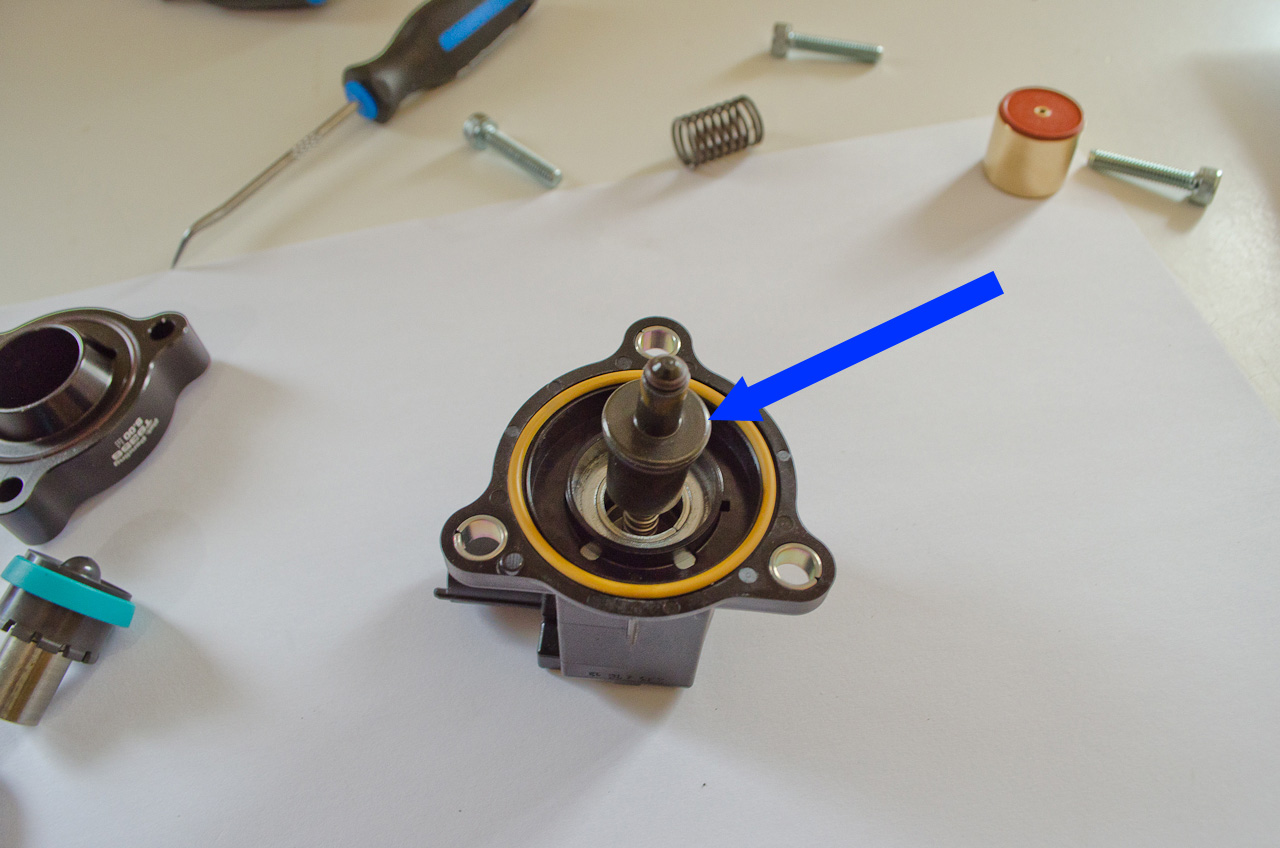
Friction should be enough to hold everything together so you can install it. Note in this pic the pre-installed brown o-ring in the top of the piston housing. |
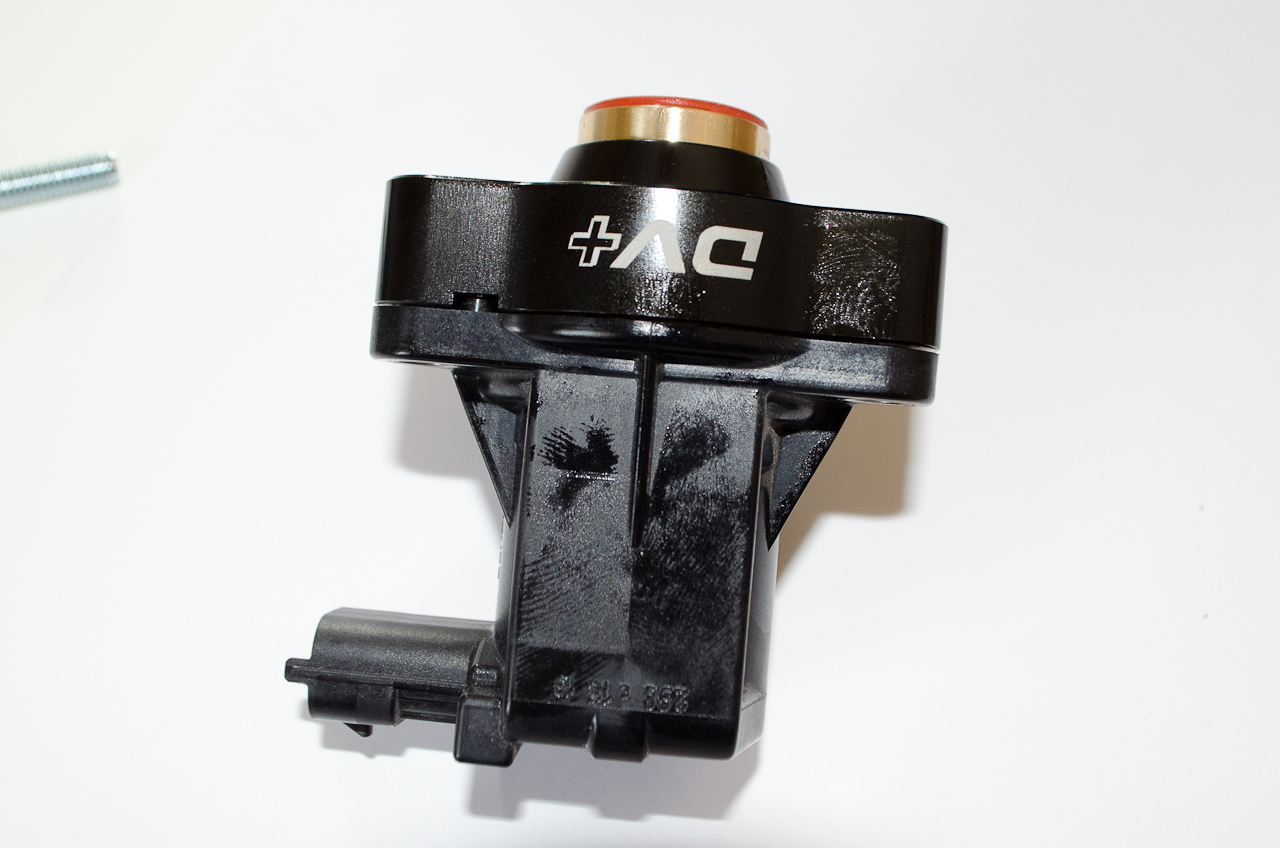 |
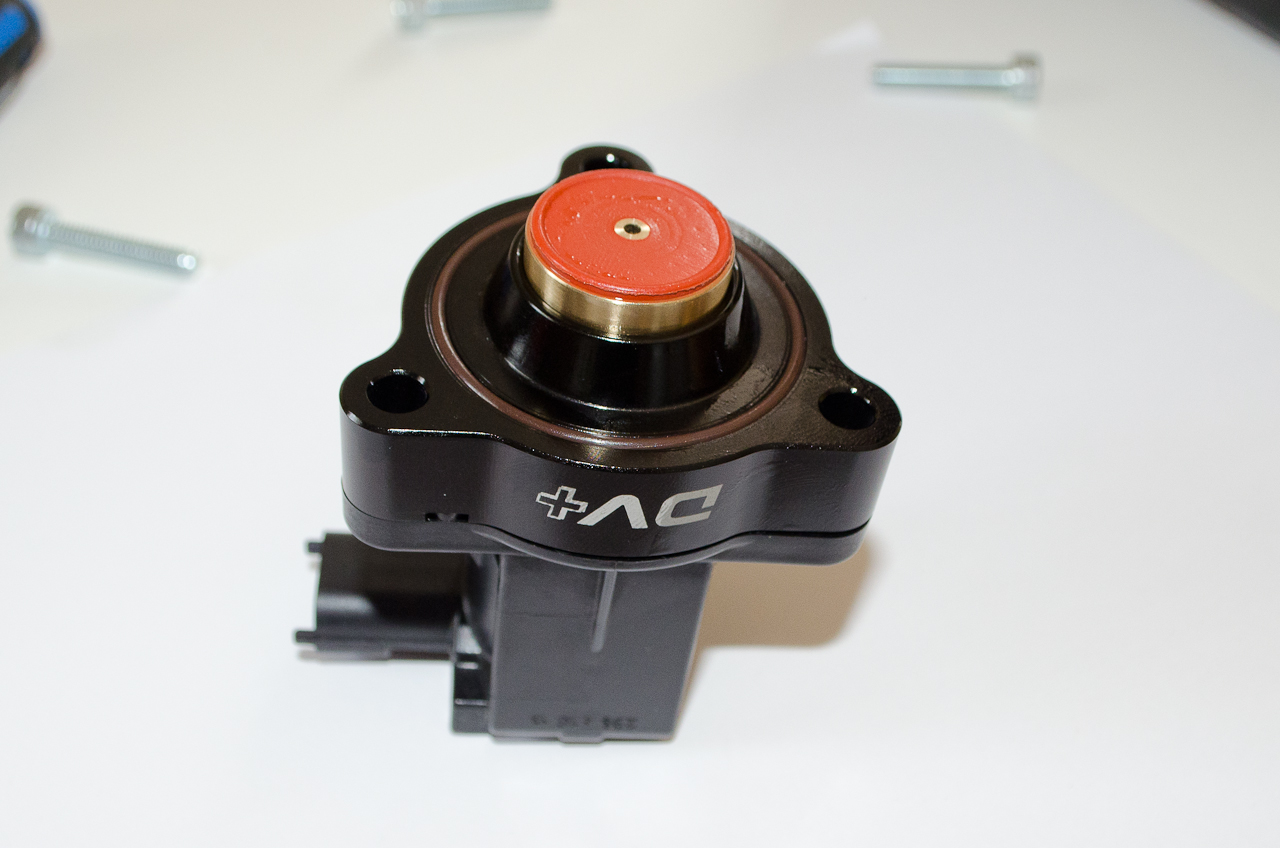
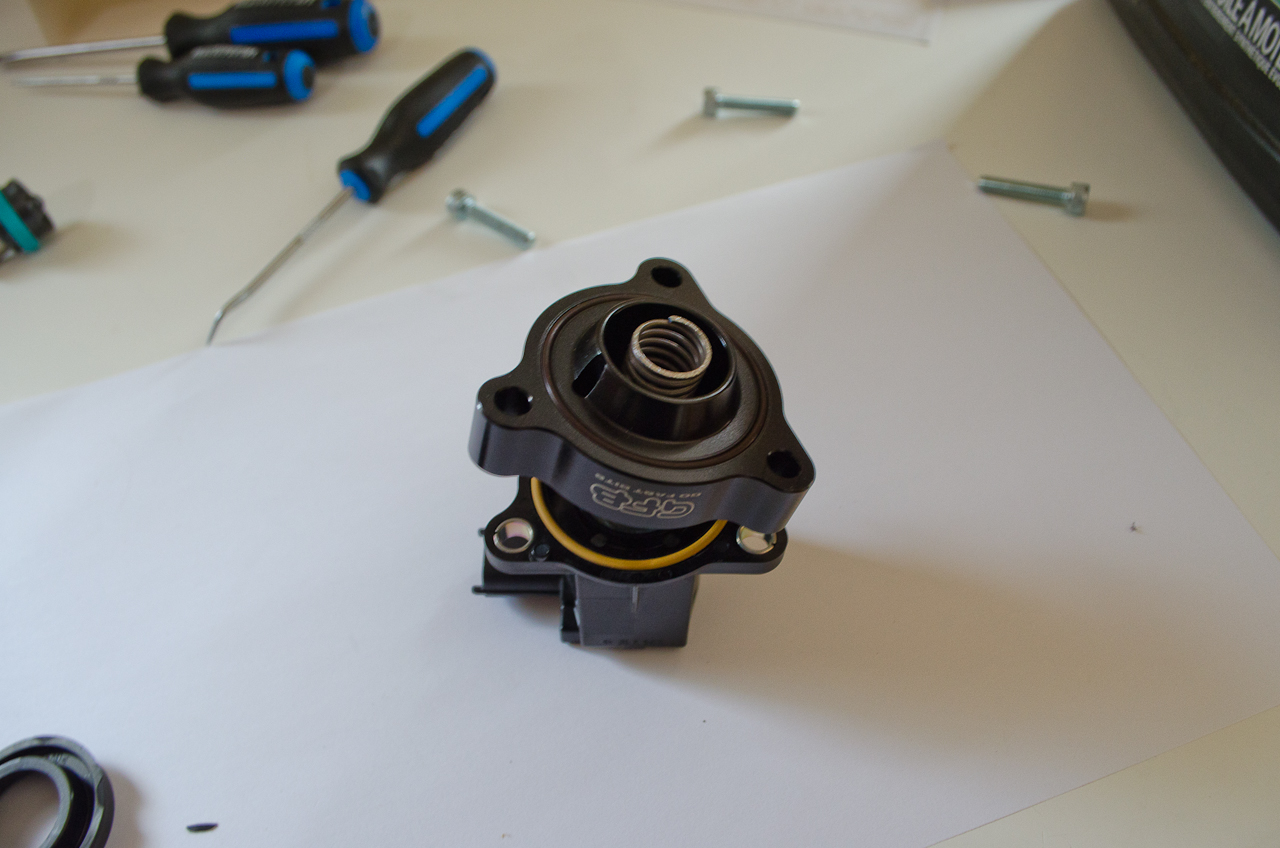
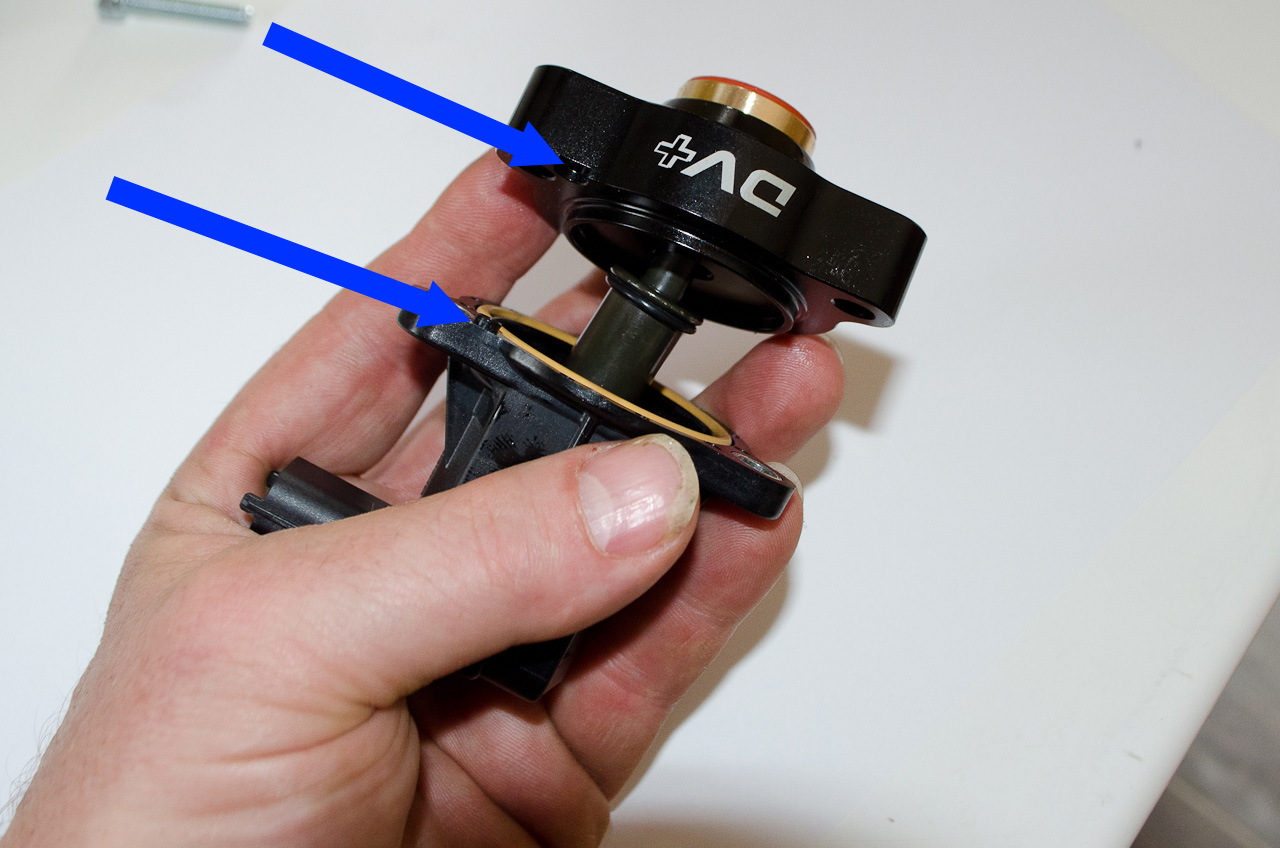
Rebuilt unit ready to be re-installed in the car. |
 |
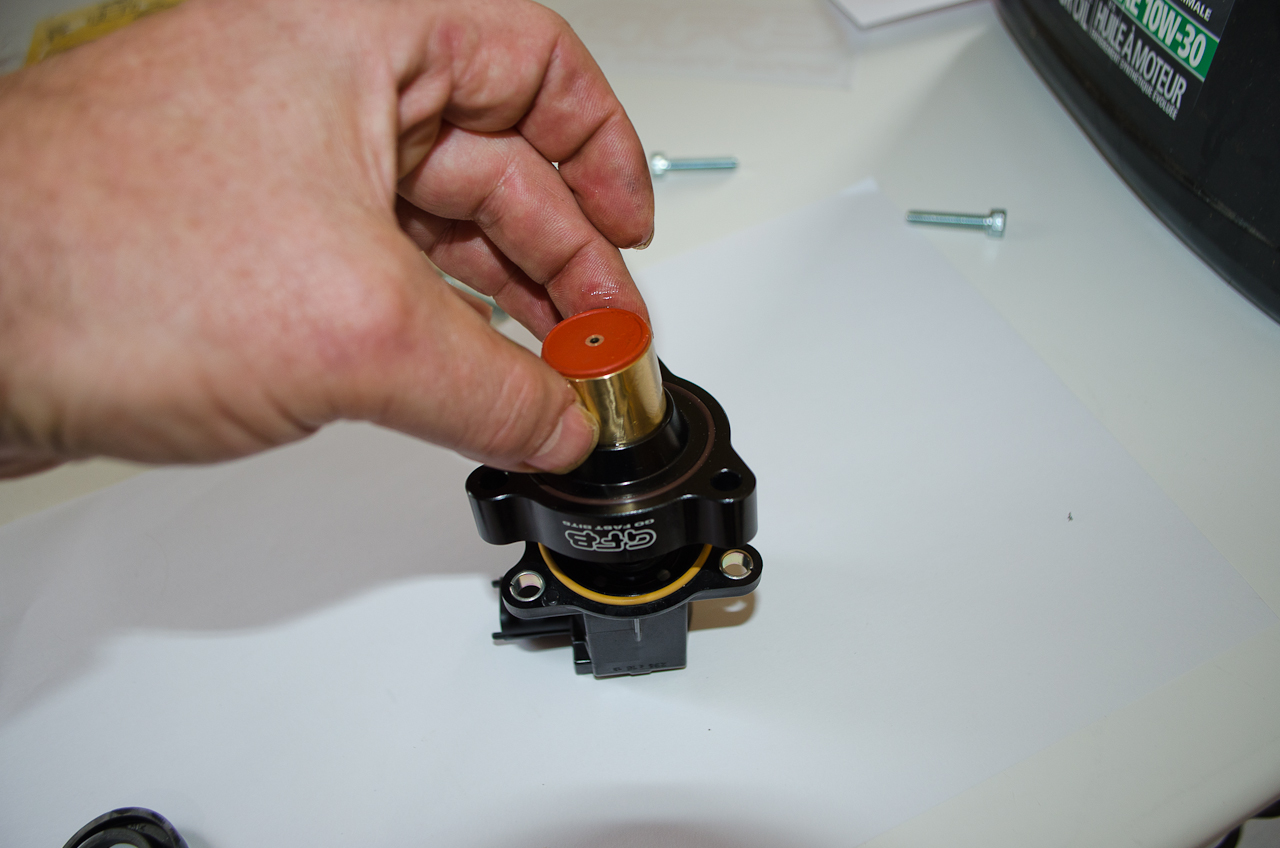
Making sure that your rag is still in place, install the DV+ using the GFB-supplied longer bolts. The longer bolts are required because of the extra thickness of the new piston housing. |
 |
That extra thickness also means the already tight space is even tighter - so if you hadn't previously moved the coolant reservoir, you will want to do that now. |
 |
If everything is lined up correctly there should be no gap between the moutning flange and the DV+. |
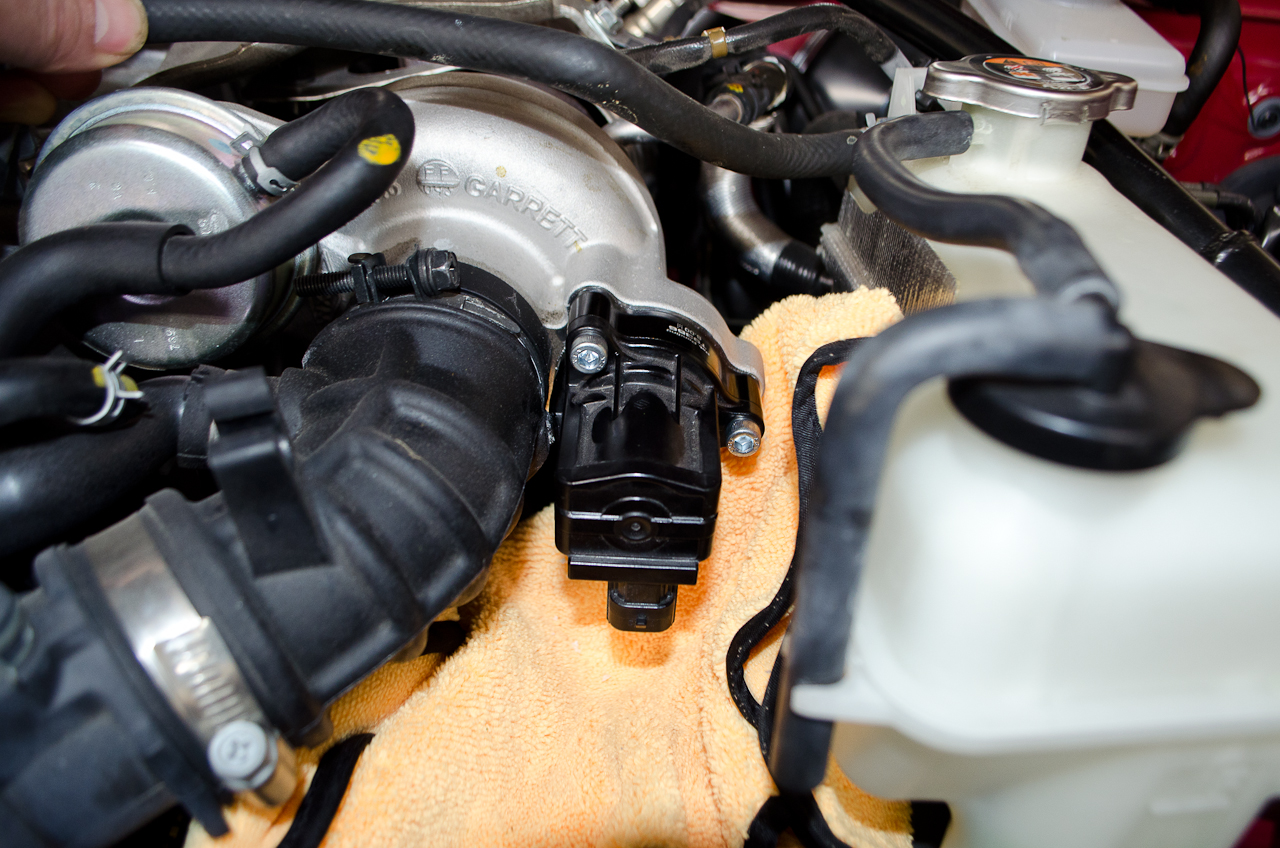 |
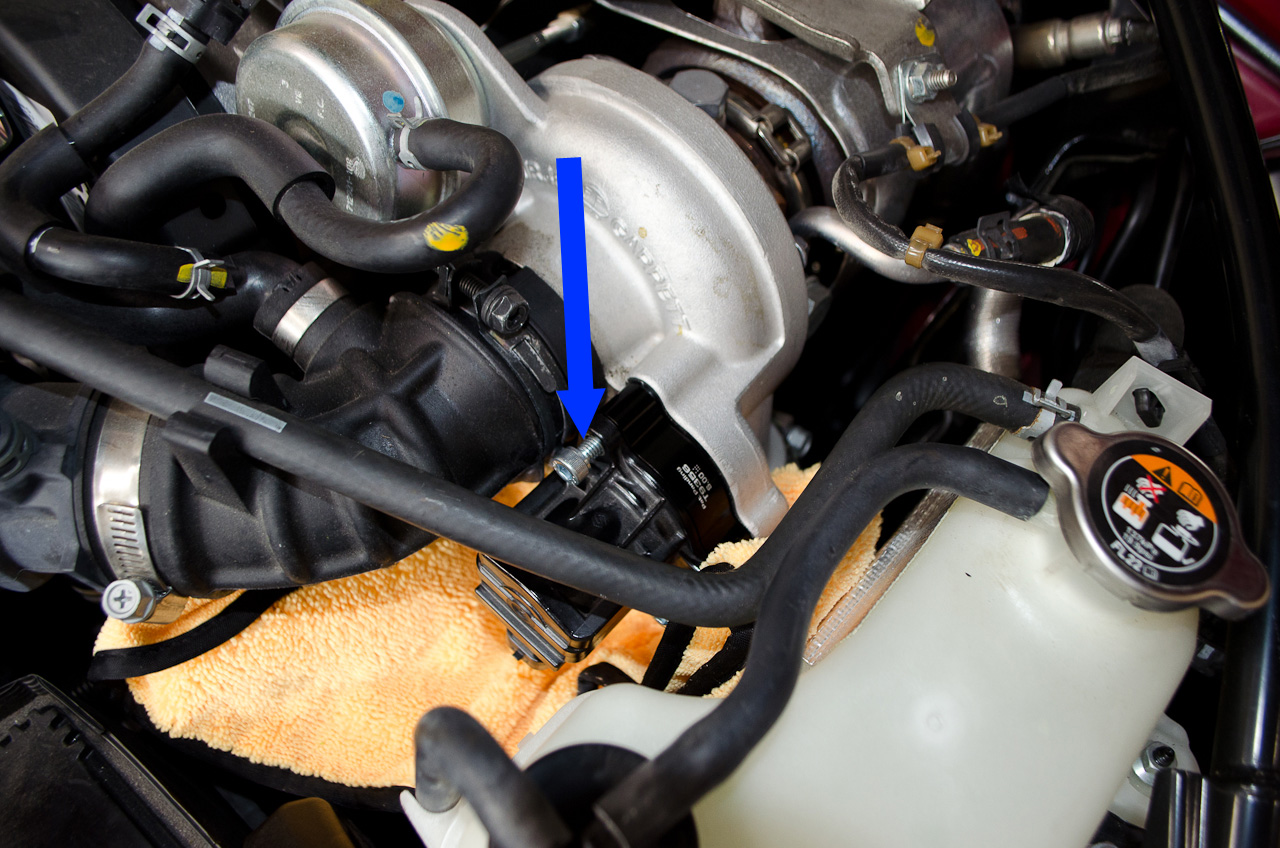
Installed |
 |
Another installed shot. |
|
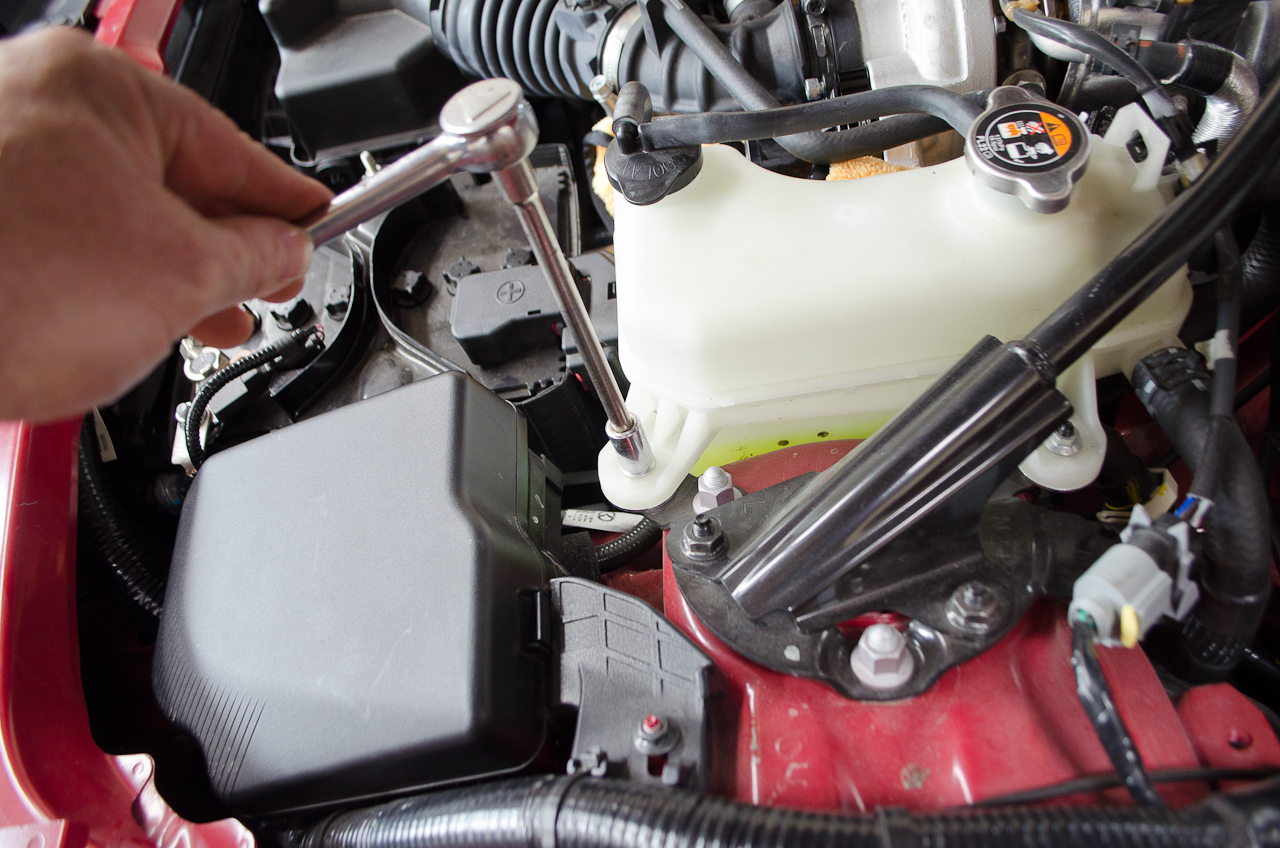
Replace the coolant reservoir and reinstall the 10mm nuts. |
 |
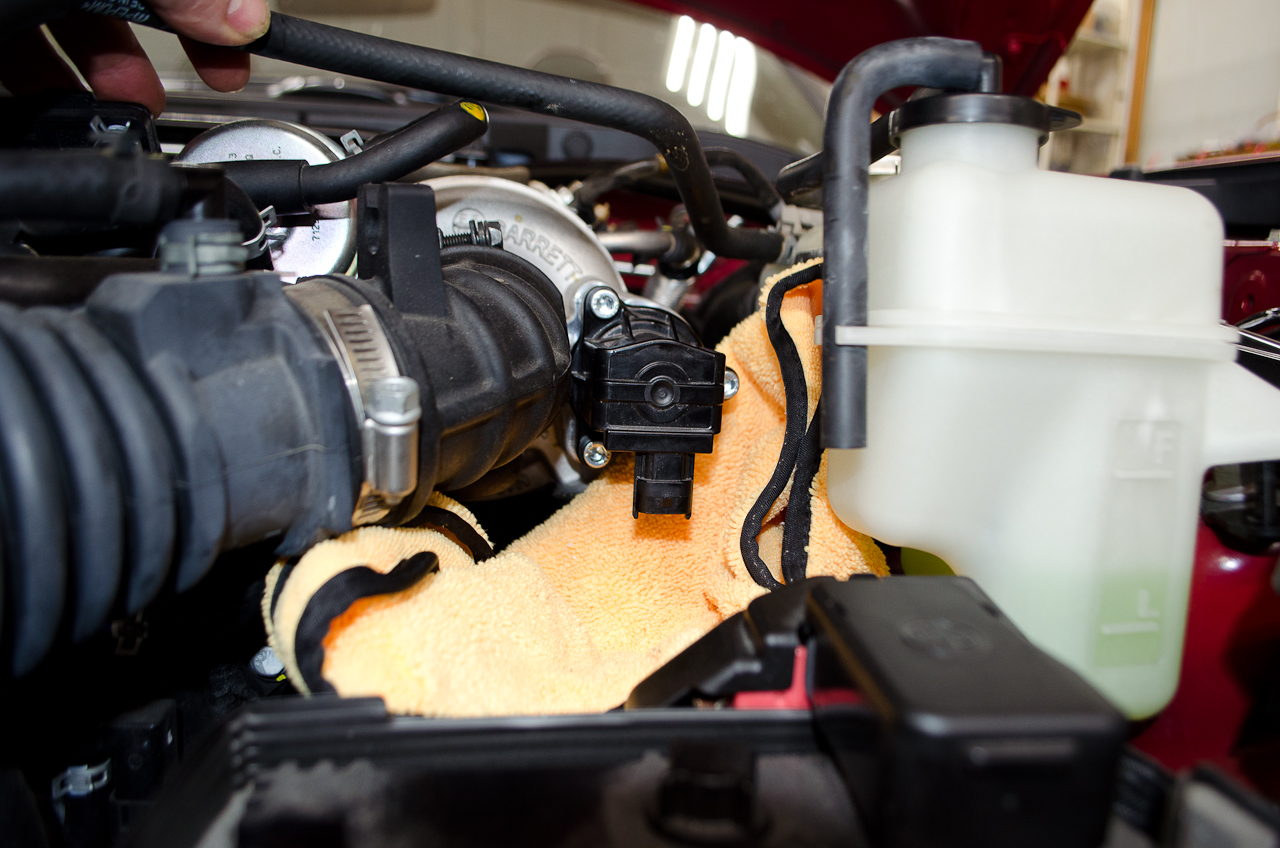
Remove the rag and reconnect the electrical connector, remembering to push up the little yellow locking tab. |
 |
Job done! |
Additional information:GFB DV+ Instrauctions in PFD format. YouTube Videos:Compressor Surge Explained [GO FAST BRETT]https://www.youtube.com/watch?v=vuyJ5jD3r0o&t=1s&index=107&list=PLZoK1n4oxikbS3DKgGwIB7ynqv9UFmH7d Euro Diverter Valves and DV+ Explained [GO FAST BRETT]https://www.youtube.com/watch?v=ijVPz9mW4_A&t=0s&index=105&list=PLZoK1n4oxikbS3DKgGwIB7ynqv9UFmH7d How the GFB DV+ Workshttps://www.youtube.com/watch?v=3EgXspDfI08&t=0s&index=122&list=PLZoK1n4oxikbS3DKgGwIB7ynqv9UFmH7d GFB DV+ T9351 Assemblyhttps://www.youtube.com/watch?v=Z1TtkSykhYo&t=0s&index=104&list=PLZoK1n4oxikbS3DKgGwIB7ynqv9UFmH7d
|
|
|